
The issue with headlight lenses that once they have been restored with a quick and easy DIY headlight restoration kit is that you cannot use them a second time and expect a good result, in-fact you can very easily destroy the lens. The legacy of using these kits is that in the preparation process you sand to etch the crazing/discolouration off the lens before applying the clear-coat.
The grit is pretty course that leaves deep sanding etching in the lens. This etching is where the challenge begins as it is very hard to get a clear lens on a 2nd restoration and even harder to get a restoration to last the service life of the car.
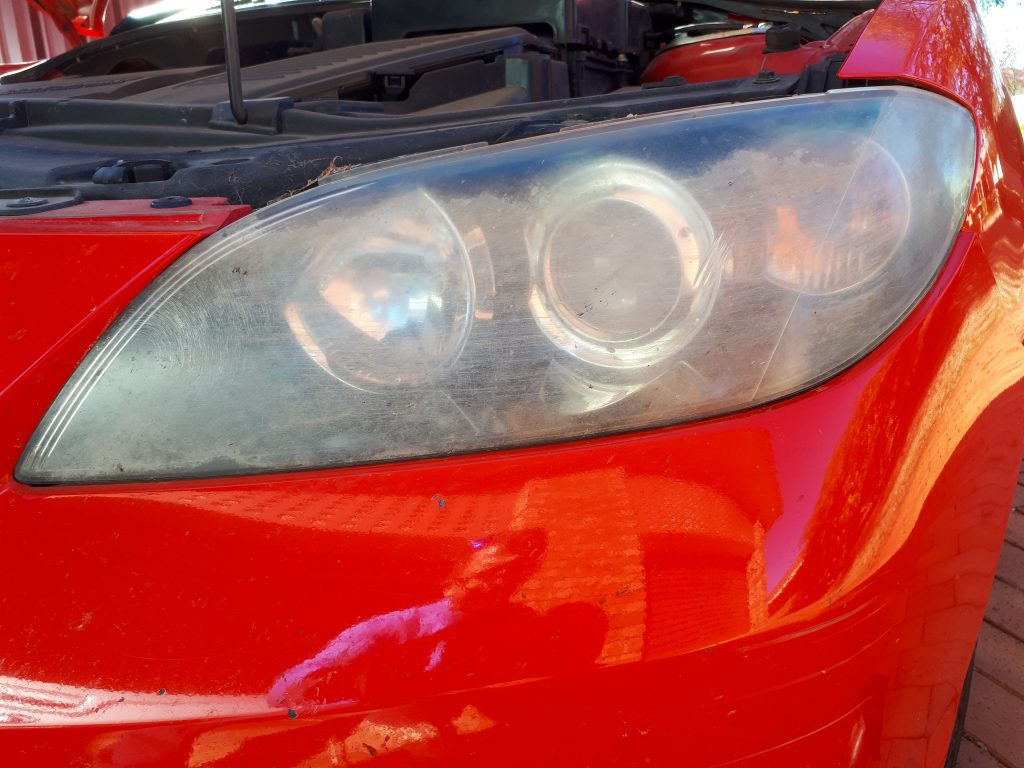
Typical headlight issues that occur after an off the counter DIY headlight restoration
- Hazing
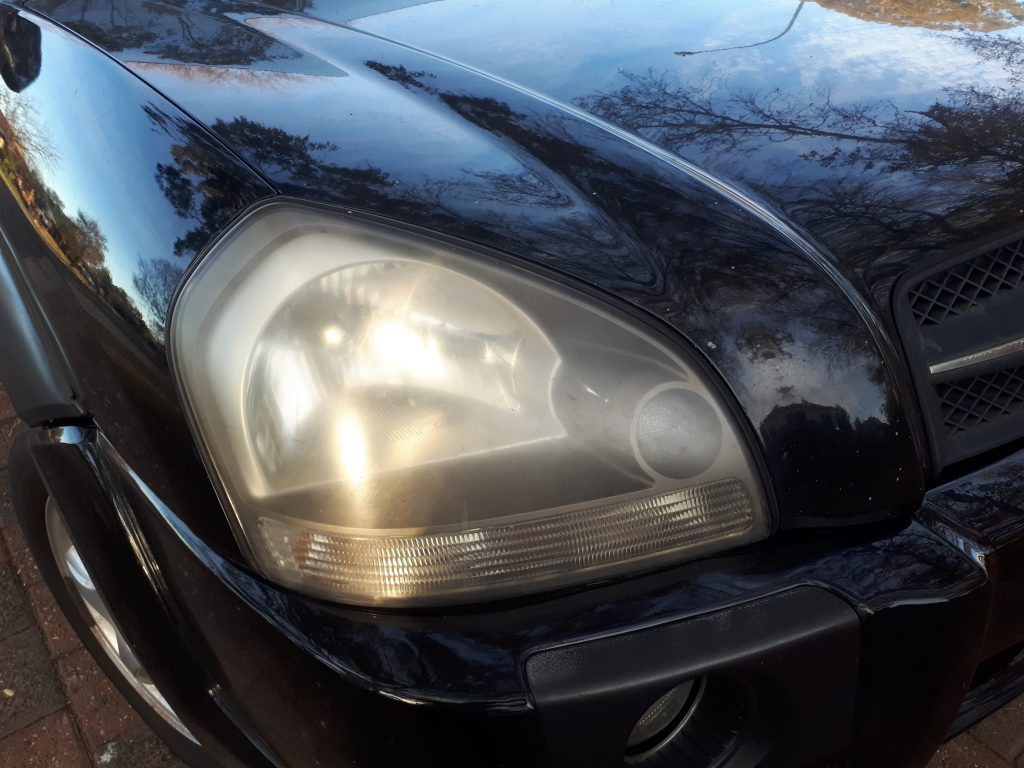
- Crazing

- Severe Etching
The NDG Process.
What you need
- Bucket of clean water
- Waterproof gloves
- Chamois and 2 x micro fibre cloth pieces
- 1 sheet of 400 grit Wet & Dry cut in to 10cm * 10cm pieces
- 1 sheet of 800 grit Wet & Dry cut in to 10cm * 10cm pieces
- 1 sheet of 2500+ grit Wet & Dry cut in to 10cm * 10cm pieces
- 5ml of NDG Hyperseal or NDG shield 120 or NDG Screen Shield
Here is what to do
Starting with 400, wet one piece and starting on the most etched damaged area on the lens start sanding in a linear motion with heavy pressure and insuring the 400 grit stays wet but dipping into the water to clean and keep wet. Change 400 grit pieces when sanding effect is diminished.
Keep sanding until the scratching noise reduces significantly and the residue starts to turn white. Wipe the lens to see how it looks and that the major scratching has been reduced significantly.
Using 800 grit with the same process and hard pressure keep sanding the entire lens wiping clear occasionally to see the clarity of the lens. Keep sanding and clearing until the lens looks very clear when wet.
Using 2500 grit and using the same methods as the other grits you start the finishing process. Keep sanding and wiping until no visible etching, crazing of disscolouration. Wet the lens with clear water and wipe down to check on the clarity and quality of finish. (if you need to touch up areas start the process of the more agressive grit papers as required)
Once you are satisfied with the finish wash the lens with water and prepare a clean piece of Microfibre or other lint free cloth and apply a small amount (coin size) and wipe onto the entire lens.
Leave Hyperseal to settle for 3 to 5 minutes before buffing clear with a clean mocrofibre or other lint free cloth or a buff machine with a soft pad.
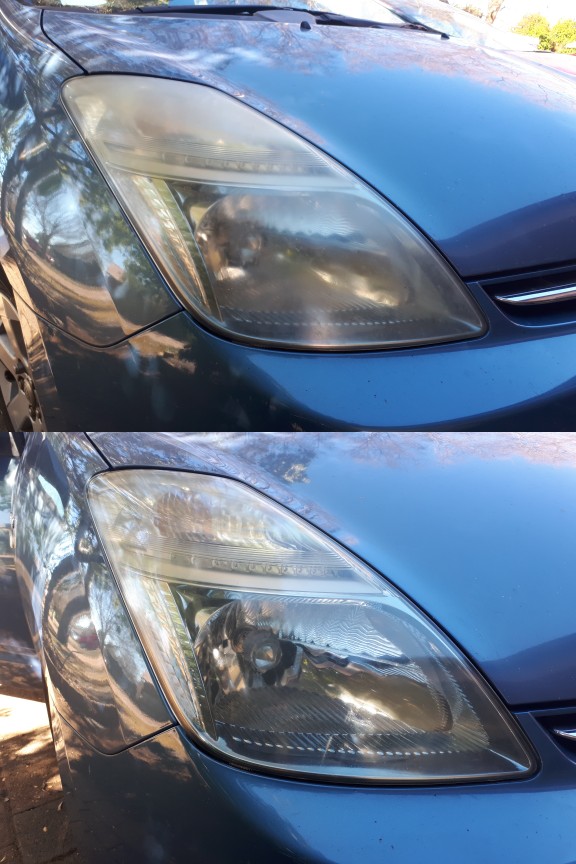
Now your lens will be good for several years, if not longer. Recommended best practices is to apply Hyperseal to the lens every 2 to 3 years to ensure continued protection.


Copyright ©2016 Nano DG Singapore Pte. Ltd. All Rights Reserved