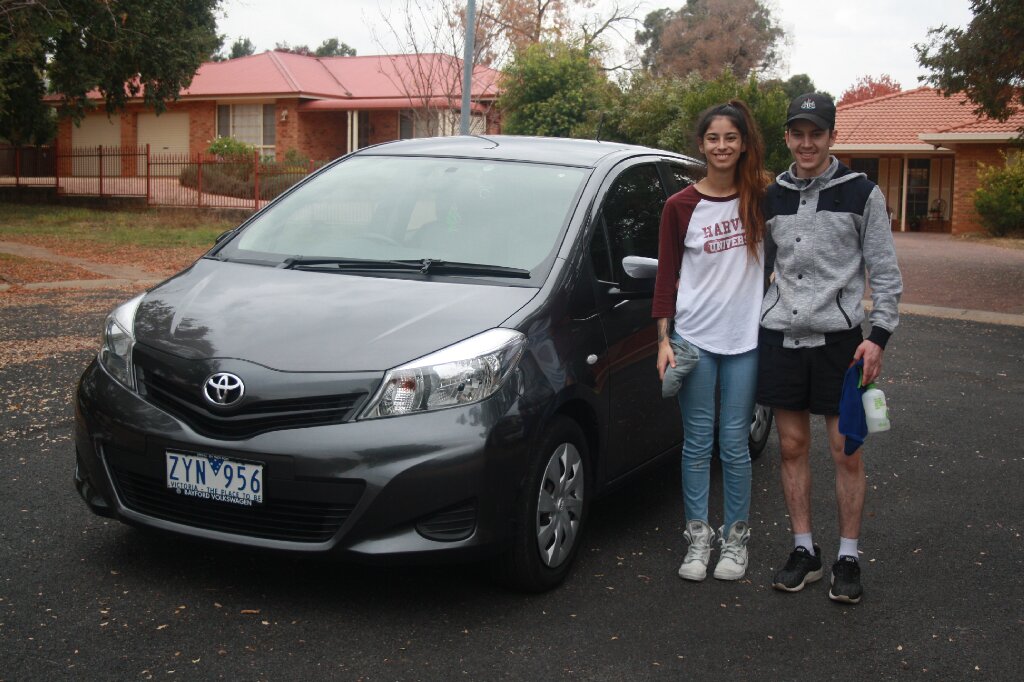
During our product development process we use focus groups and live off the street people to test our processes so we grab a young couple who were in the street and in exchange for their services gave them a bag of NDG car care goodies.
We we wanted them to do was read some very basic instructions on applying Hyperseal to their car and then go for it with him working on one side and her on the other. Our objective was to backup our claim that NDG Hyperseal is truely a DIY (Do it yourself).
It was an interesting exercise as what we were looking for was can you get the same result using your own style?
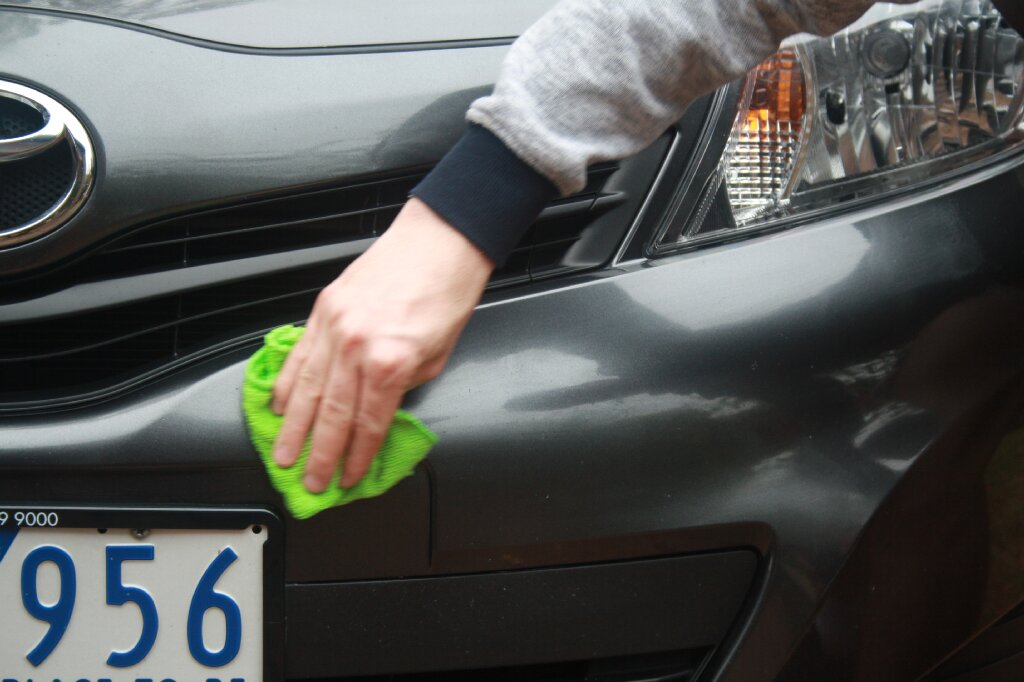
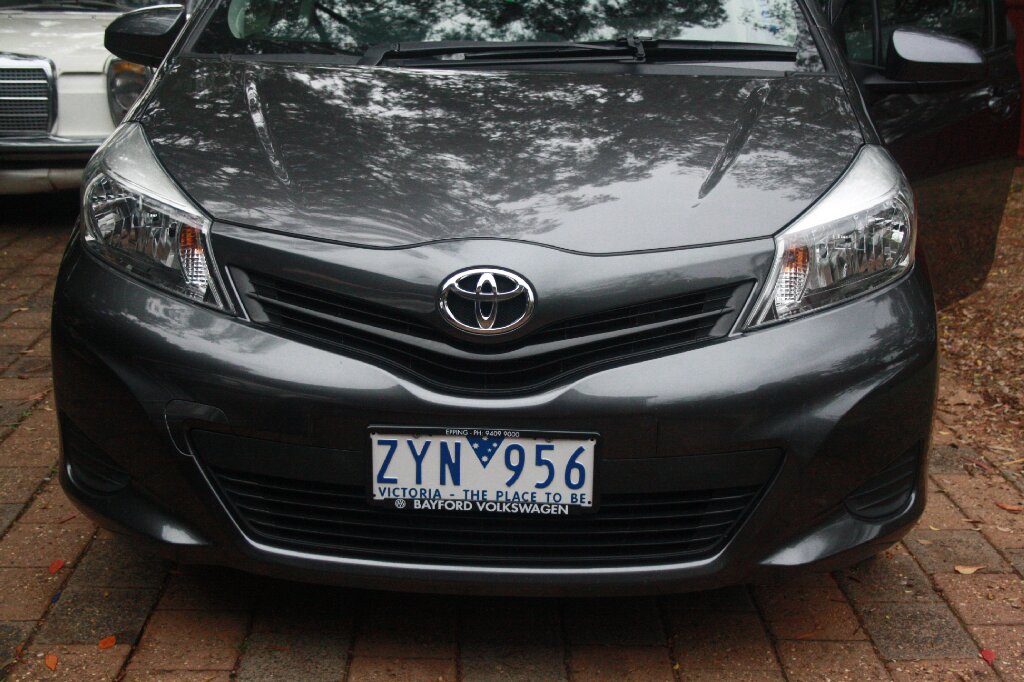
So how did they go?
Besides the very difference of opinion as to the right technique and the wrong it was all pretty straight forward. We were asked to give an opinion as to who did the best work? It could have been a diplomatic answer but we hands down said that her work was the best.
Bottom line in this experiment was that it really doesn’t matter what technique you use you will still get a great result with our Hyperseal.
Our long term test car is still at it, driving around the vast Australian landscape but not without it’s challenges.
Just last week we had the turbo Ford in the workshop to do our annual inspection after it had rear suspension failure somewhere out on a country road. It had to be recovered and brought in. The car is now at 230,000kms on the odometer which is far beyond our original 60,000km test and now well beyond the 2nd 60,000km testing and into the 3rd 60,000 test cycle.
We are super pleased with the results we are getting from our products and this car has helped us understand how far we can predict that our product will last for and how robust they really are.
We prep the car with some new experimental products and some of our existing products while the suspension is being repaired.
We wash & claybar the body with Mega Gloss Wash to have a look at the condition of the paintwork and Hyperseal. We find that the Leading edges of the car are holding up well and the Bugs are still easy to remove but the water beading has dropped off. The horizontal surfaces that are most exposed to the sun and acid rain are doing well and no halo’s or swirl marks are appearing and the acid rain fallout is easily removed without any ingress into the clearcoat.
We re-coat the car with Hyperseal. We found the application to be easier than the first time we did it so reapplication after extended periods is no problem.
We take a good look at the Shield 120 that was applied to the windscreen and see that there is very little pitting on the glass and no cracks or impacts to be found. This is 2 years of service for 130,000kms.
We then applied Screen Shield which is a stronger product for impacts and is a permanent solution for the windscreen.
We apply our Long Lasting Tyre shine to all tyres
We apply some experimental products to various components
After replacing the lower coil over suspension bolt (one of the problems with coil overs is that any failure will cause the car to bottom out with no spring support).
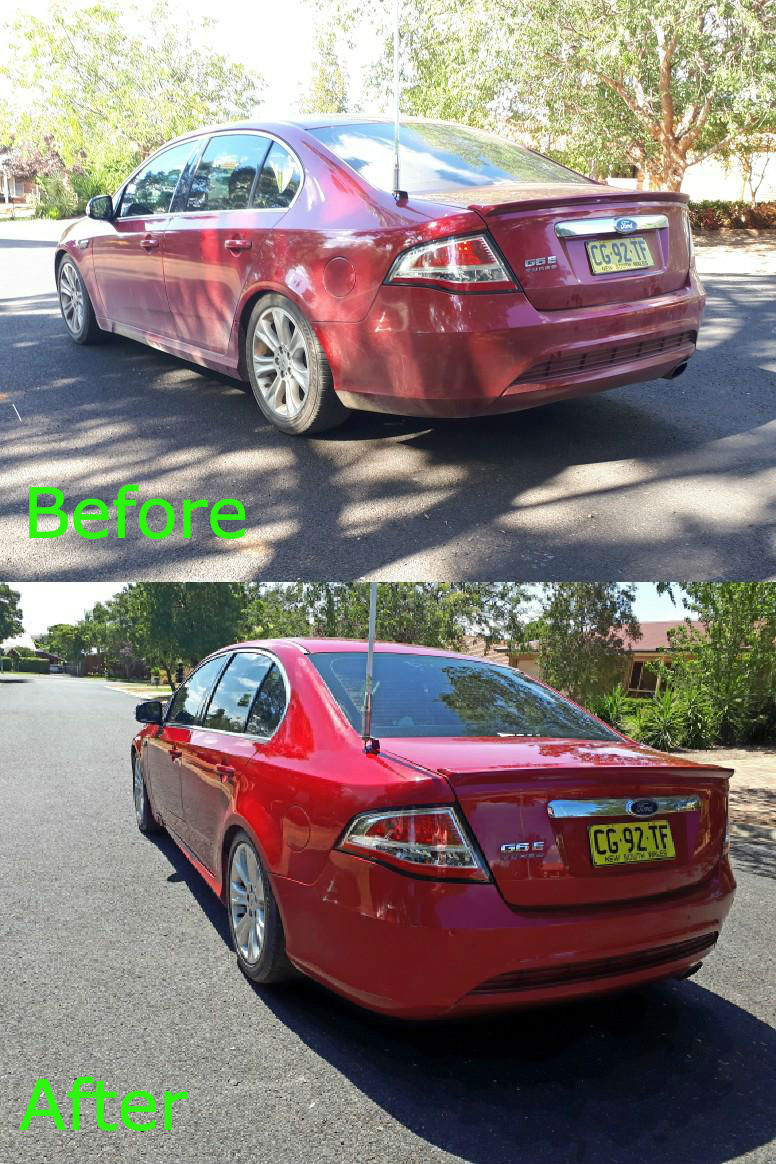
Before and after March 2018 inspection and recoating of HypersealRecovery truck loadedLower shock mount broke off. Nearly took the tyre sidewall with it.
On the road again
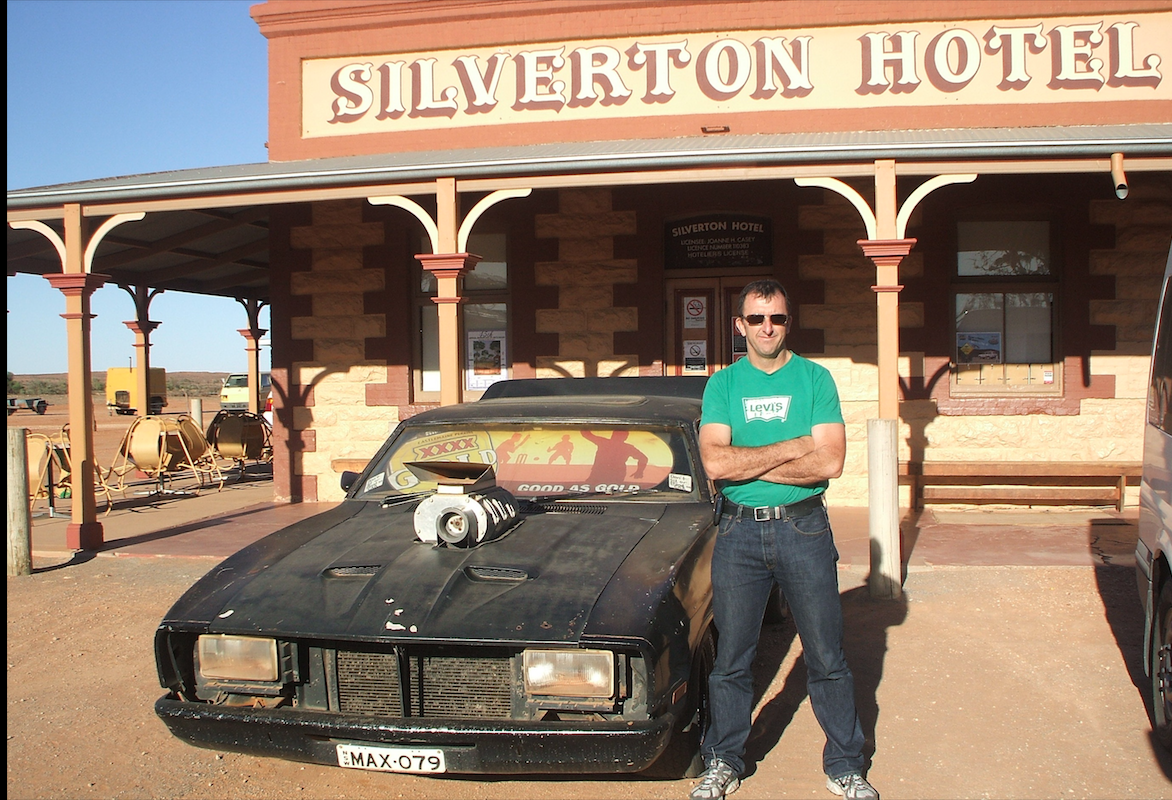
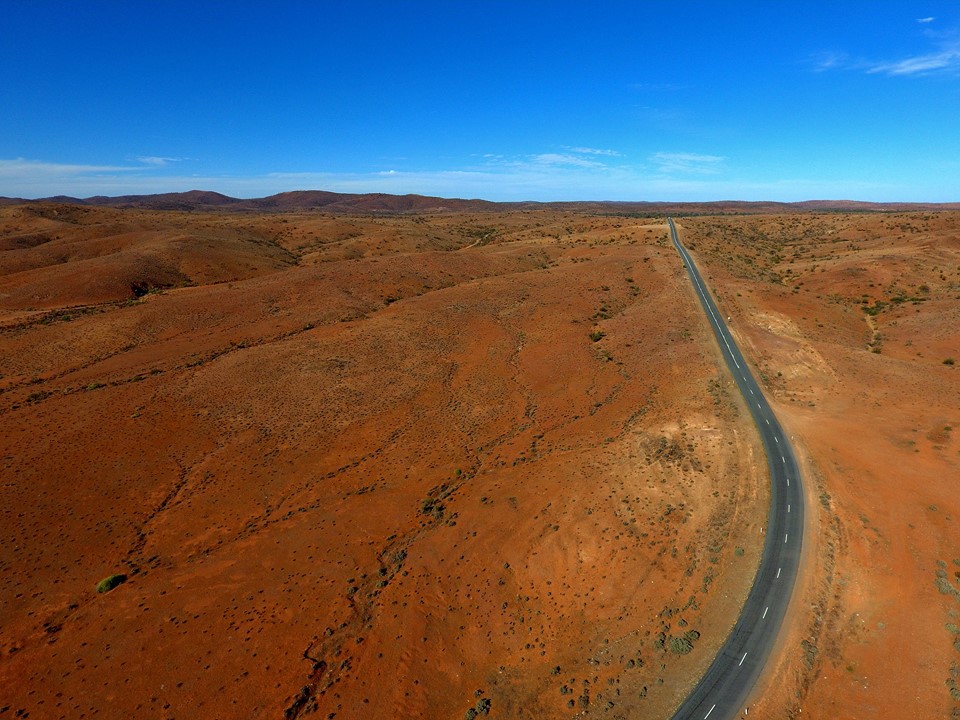
No sooner had we photographed the car and it was on the road again going west into the Australian interior desert for a very long, hard drive to Adelaide via White Cliffs and Broken Hill, MAD MAX territory.
The end of the trip findings
This trip the ford travelled over 5000kms on a variety of terrains in borderline extreme conditions. We check the condition of the coatings after the trip and we are very pleased with the results.
We will take our findings to develop some of the still secret experimental products further and finalise some of the others.
We will keep updating blogs on the test car over the next 12 months when the car will be at the end of it’s service life.
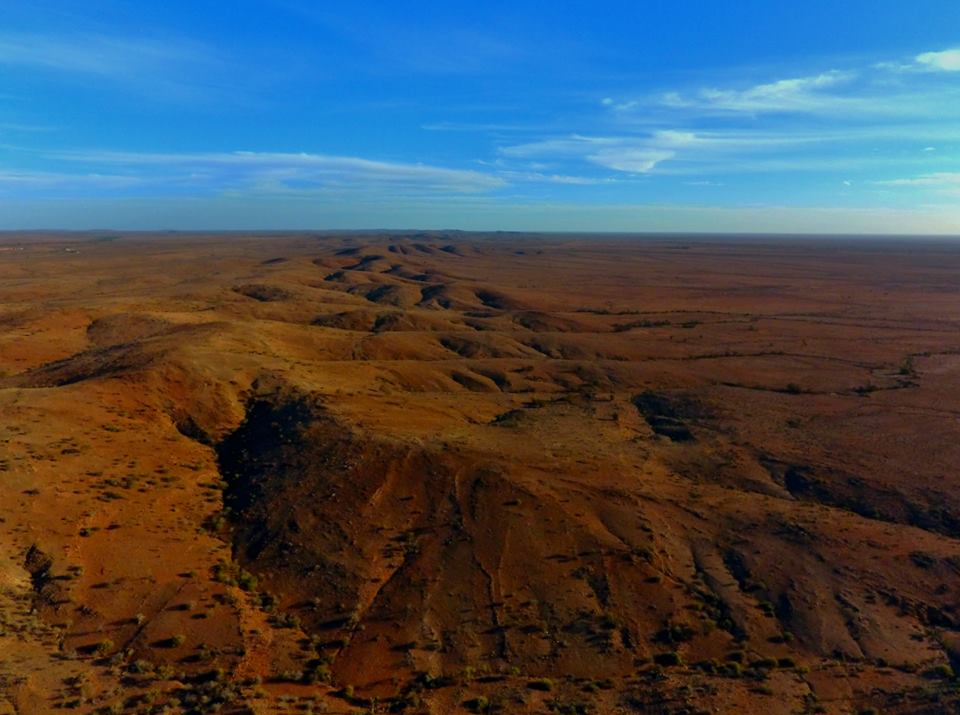
The very road that Mad Max 2 was filmed
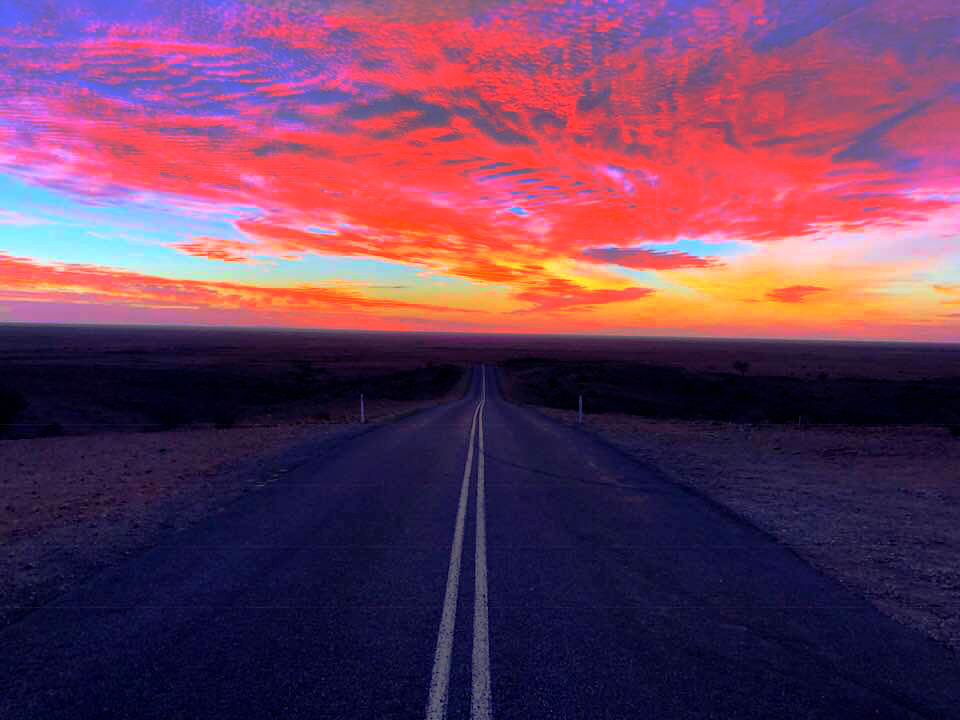
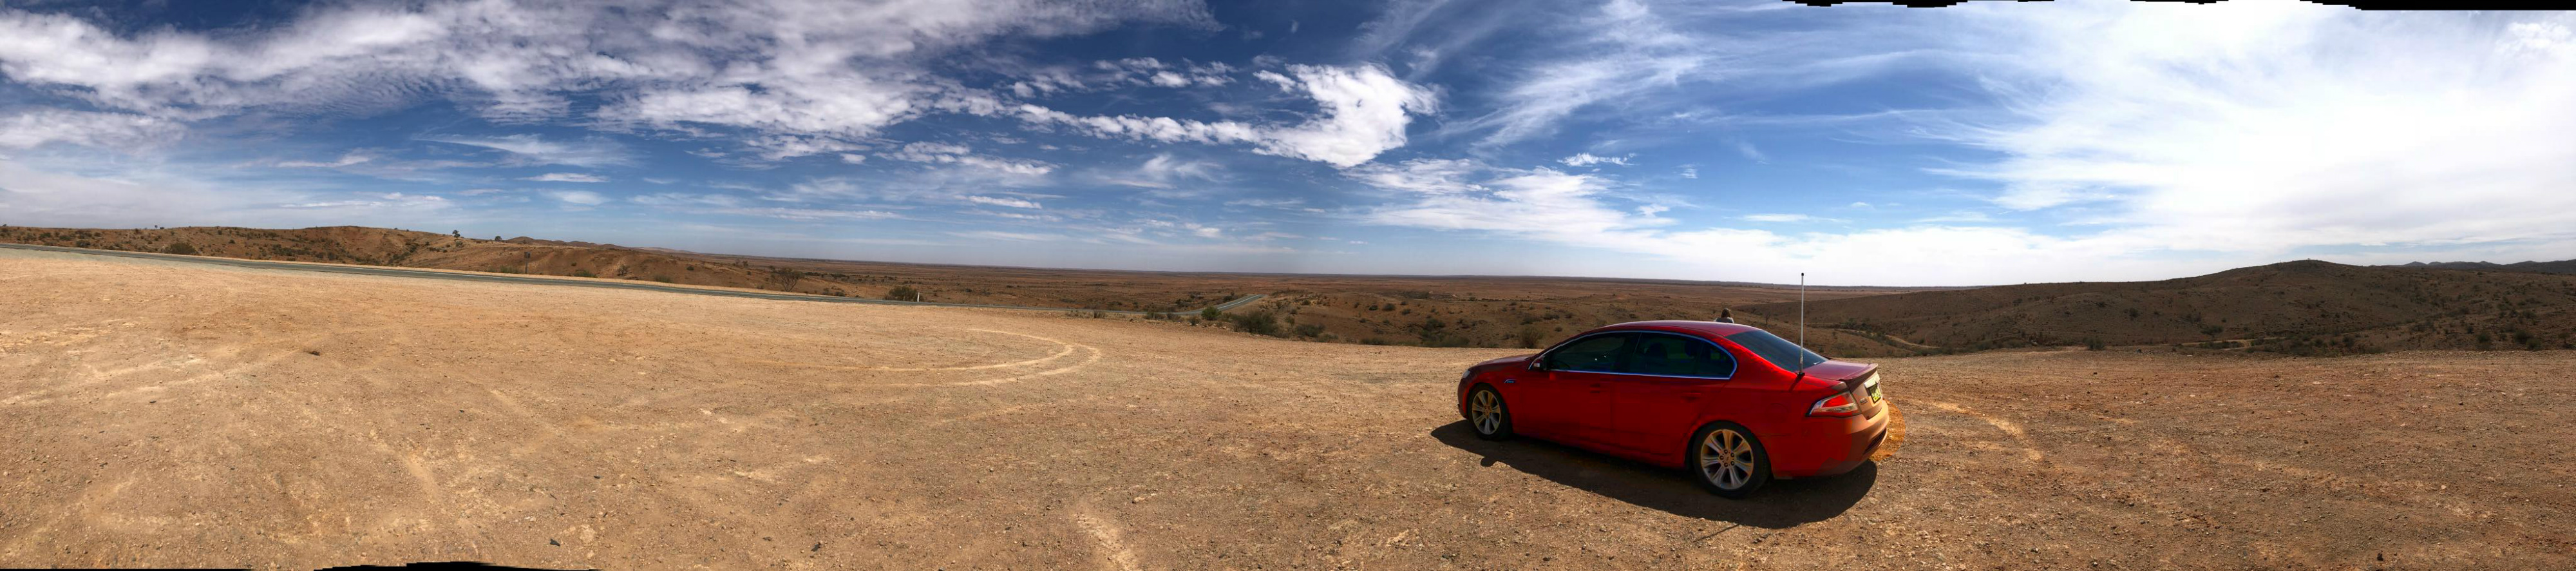
Look closely, you can see our Ford test carMundi plains Western NSW Australia.Looking great at Sculptures in the Desert SunsetOne of the long and not so winding test roads in central AustraliaKeep an eye out for Mad MaxBeautiful but harsh terrain
Mid 2018
It was decided to retrofit the original coil and shock suspension system after several more suspension bolt failures that when happens the car is immobilised. Along with this we started looking around for a replacement car as the reliability of the ford was starting to become an issue.
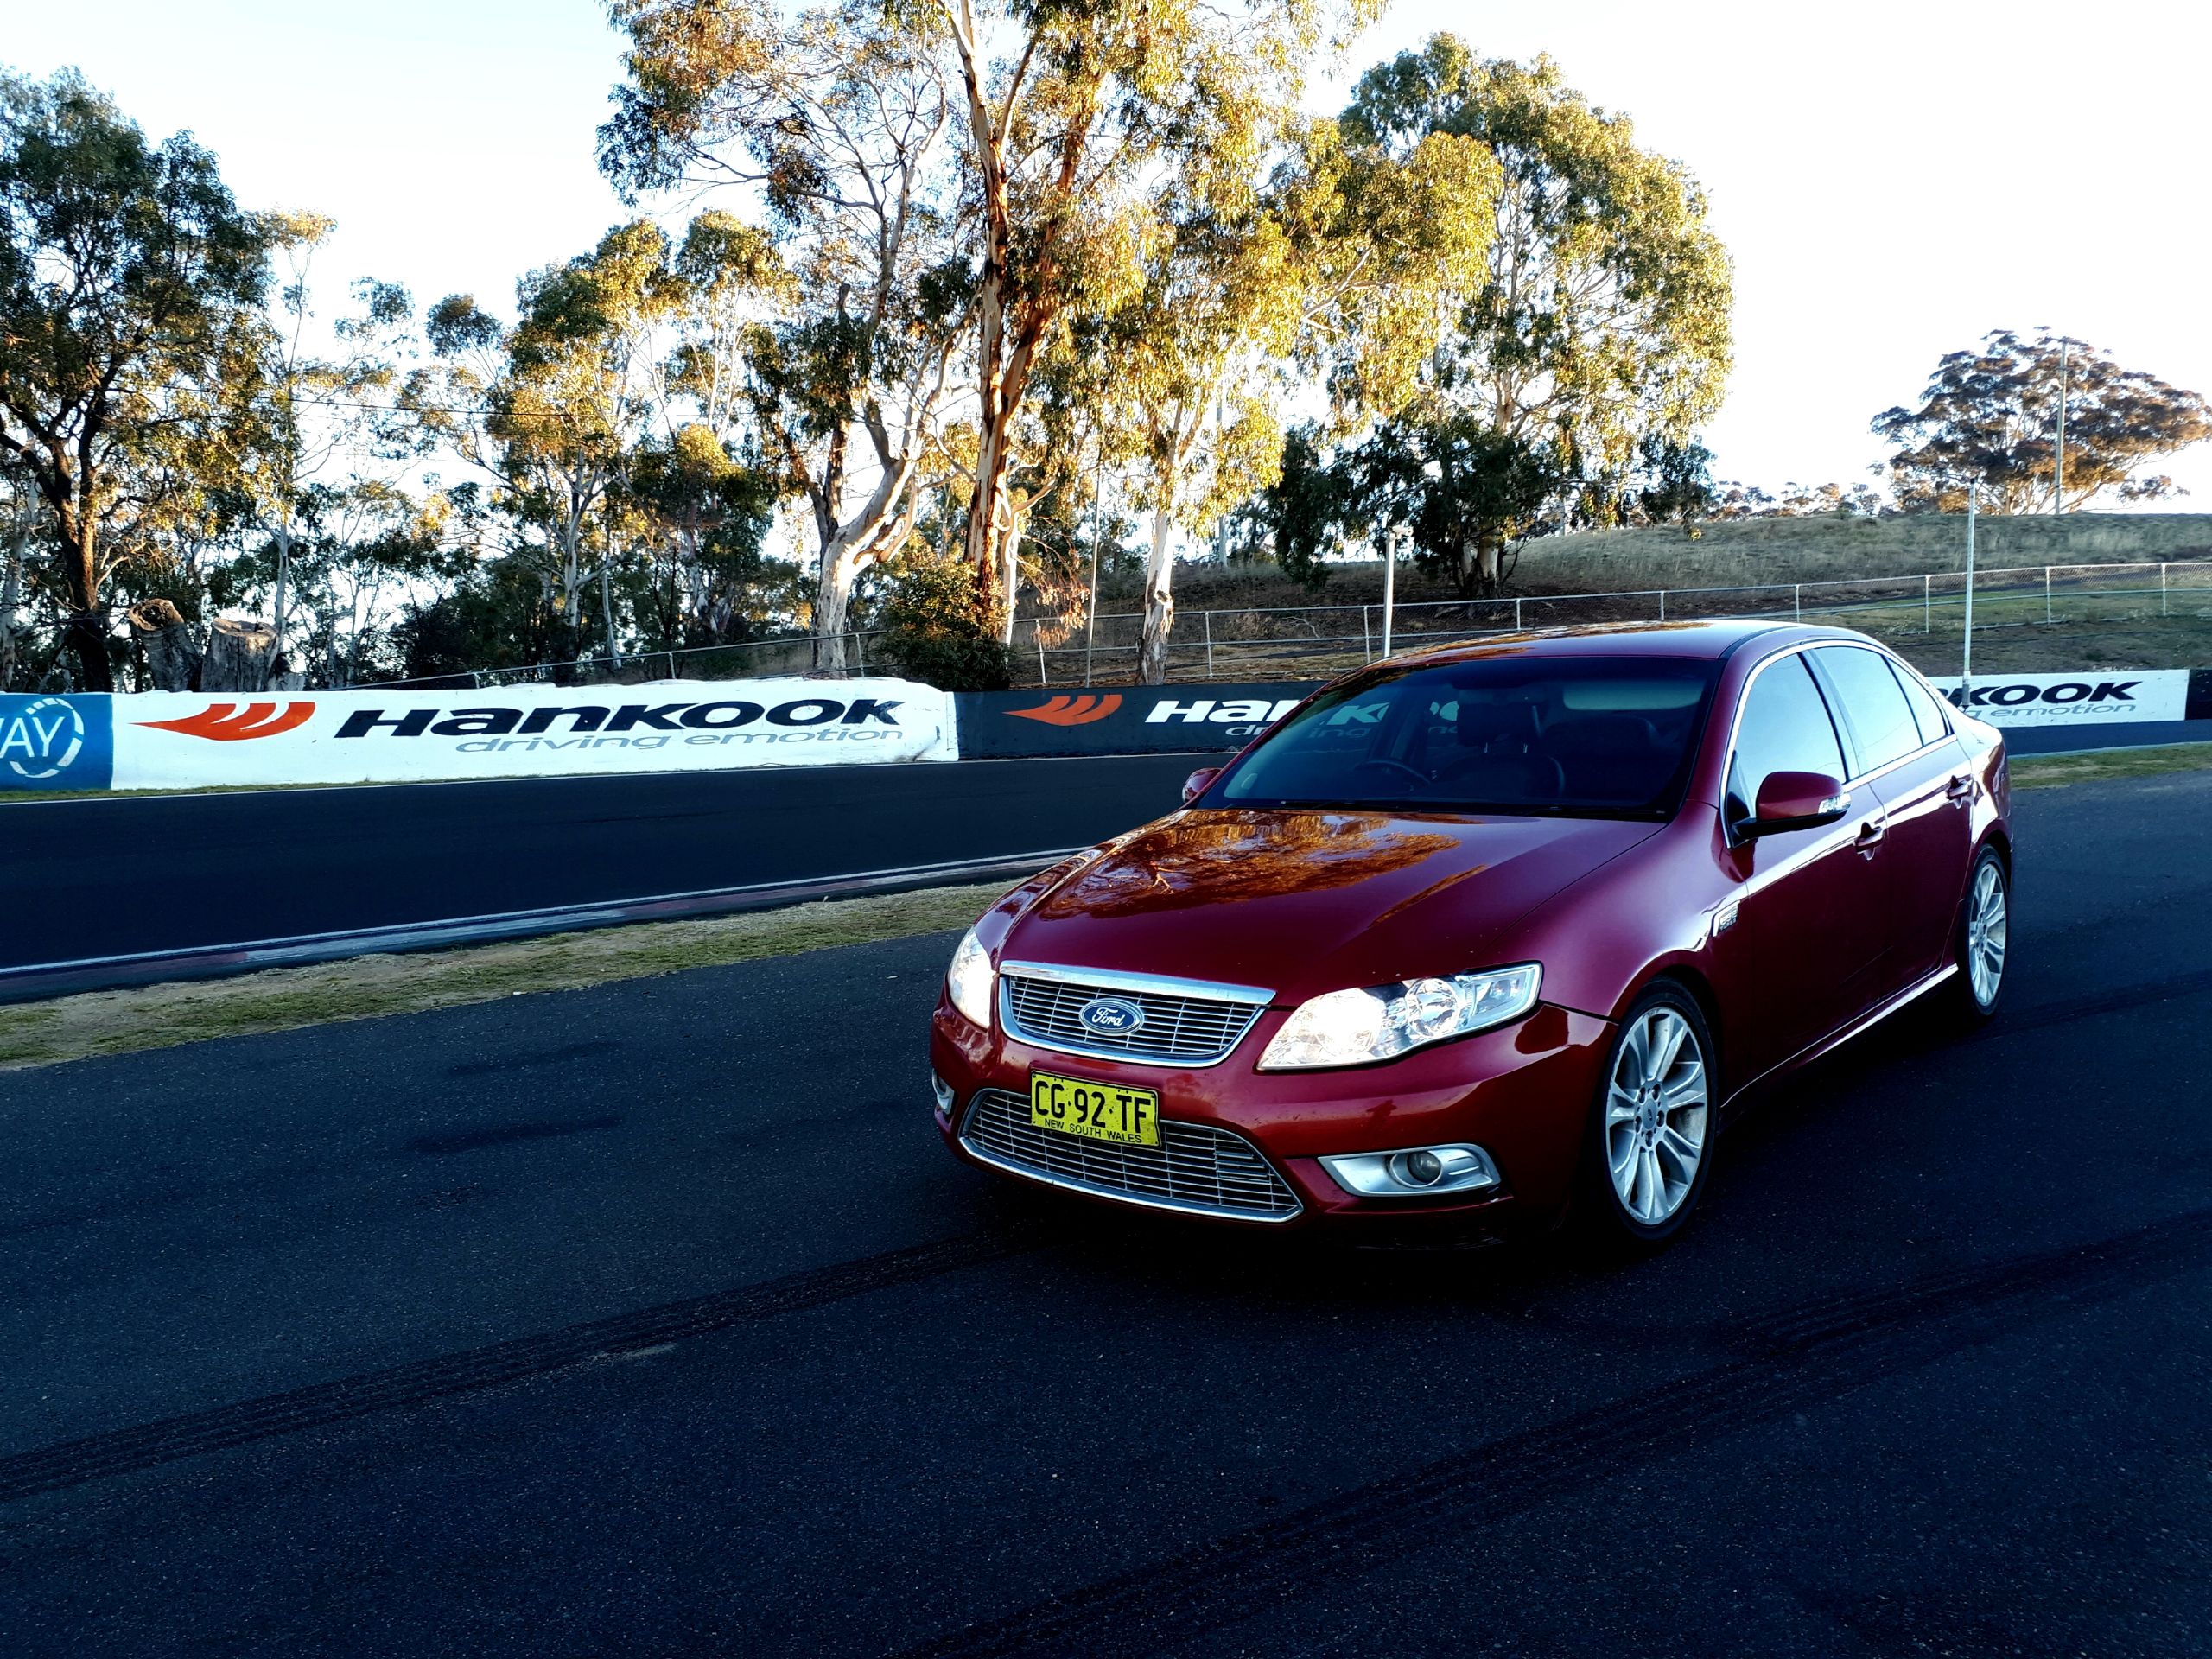
Hyperseal coating still looks great. 1 hour before the Kangaroo hit
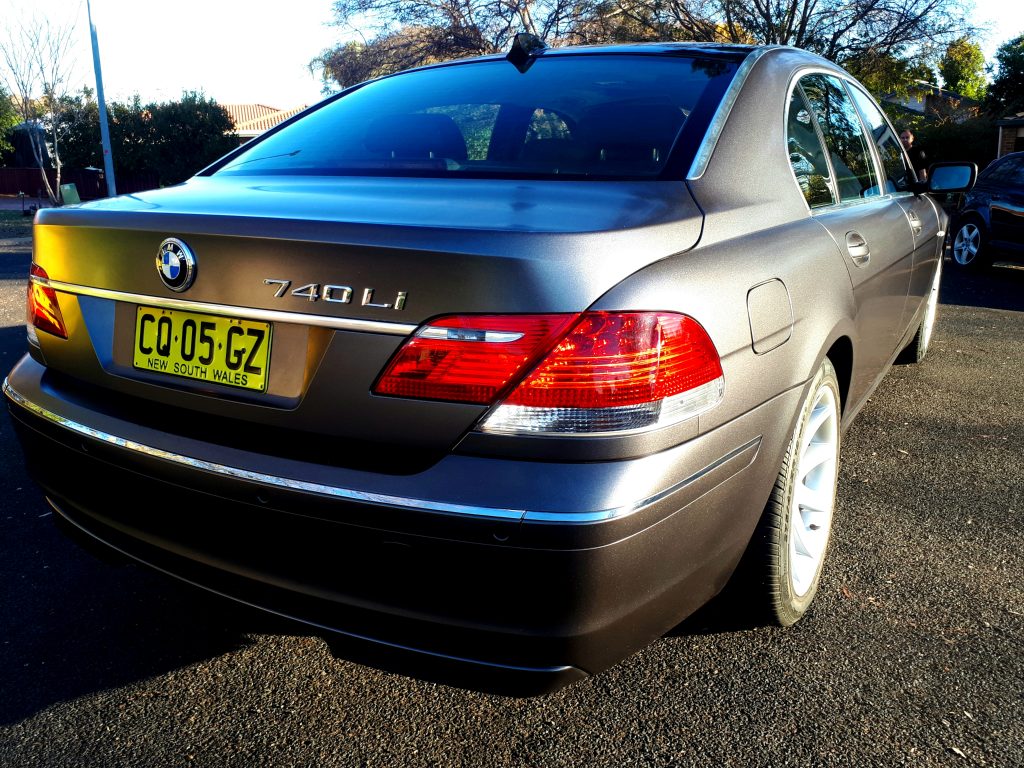
Some time later we found a 2006 BMW 740Li with 100,000kms and matte grey vinyl wrap. See blog
On driving back from picking up the BMW and a final drive around Mount Panorama endurance circuit a kangaroo jumped out in front of the car and caused big damage to the car..
This spells the end of the road for our long term test car.
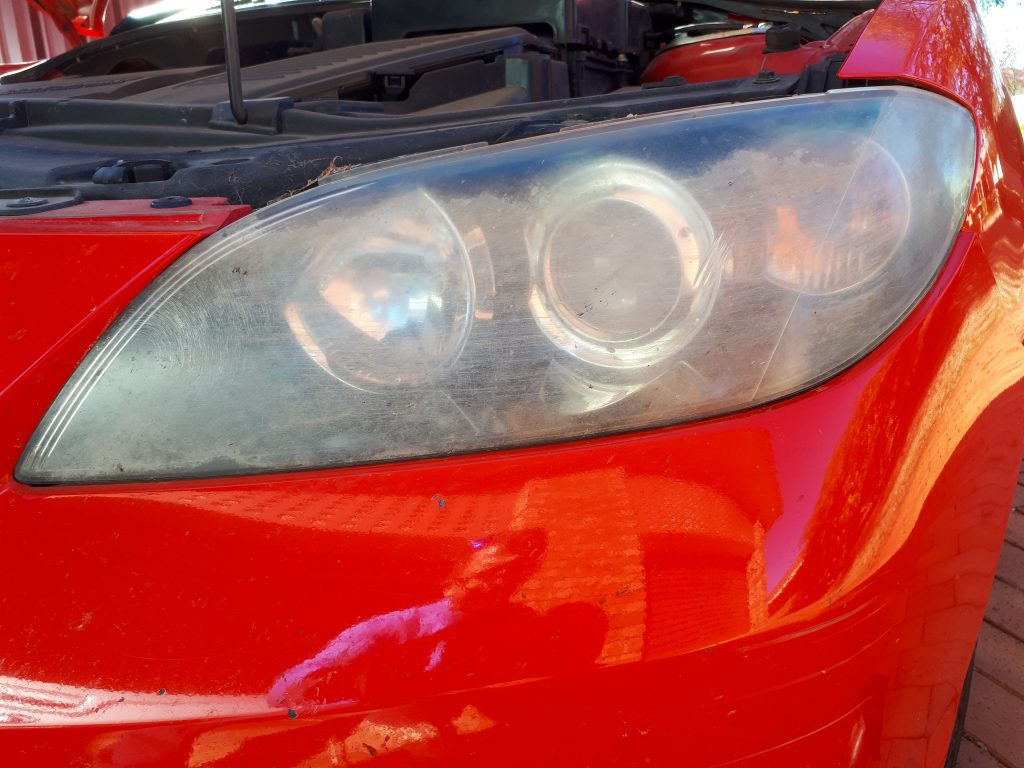
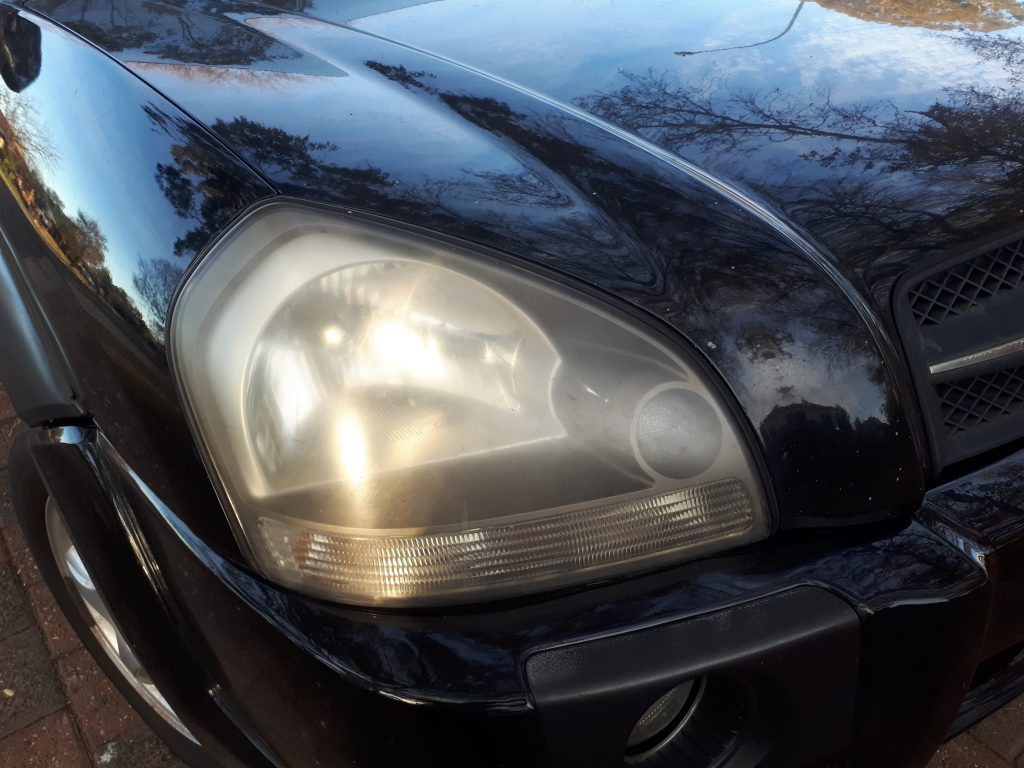
Headlight restoration kits are available everywhere and are priced to motivate the DIY market to buy and try their luck on getting the desired result, clear headlight lenses. The problem is that most if not all of these kits give a great result but it is short lived.
The issue with headlight lenses that once they have been restored with a quick and easy DIY headlight restoration kit is that you cannot use them a second time and expect a good result, in-fact you can very easily destroy the lens. The legacy of using these kits is that in the preparation process you sand to etch the crazing/discolouration off the lens before applying the clear-coat.
The grit is pretty course that leaves deep sanding etching in the lens. This etching is where the challenge begins as it is very hard to get a clear lens on a 2nd restoration and even harder to get a restoration to last the service life of the car.
Typical headlight issues that occur after an off the counter DIY headlight restoration
Hazing
Hazing
Crazing
Crazing
Severe Etching
Severe etching
The NDG Process.
What you need
Bucket of clean water
Waterproof gloves
Chamois and 2 x micro fibre cloth pieces
1 sheet of 400 grit Wet & Dry cut in to 10cm * 10cm pieces
1 sheet of 800 grit Wet & Dry cut in to 10cm * 10cm pieces
1 sheet of 2500+ grit Wet & Dry cut in to 10cm * 10cm pieces
5ml of NDG Hyperseal or NDG shield 120 or NDG Screen Shield
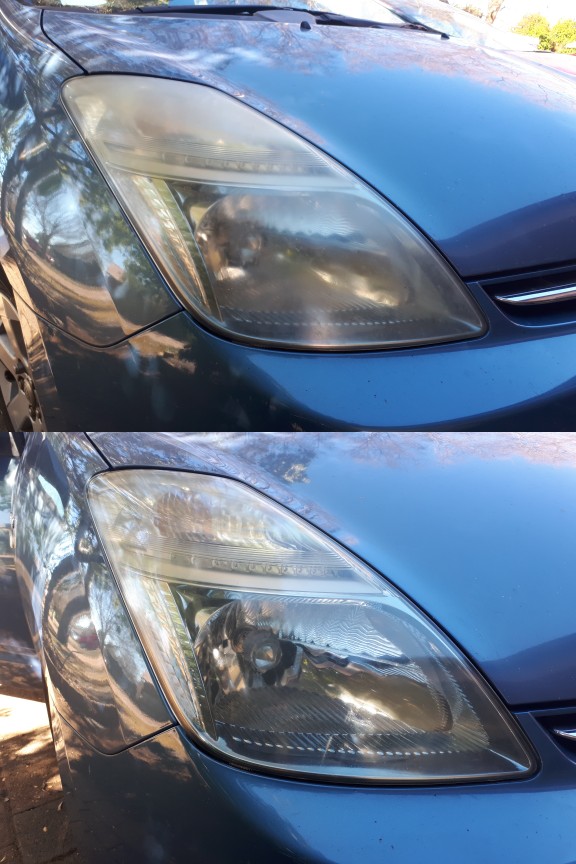
Here is what to do
Starting with 400, wet one piece and starting on the most etched damaged area on the lens start sanding in a linear motion with heavy pressure and insuring the 400 grit stays wet but dipping into the water to clean and keep wet. Change 400 grit pieces when sanding effect is diminished.
Keep sanding until the scratching noise reduces significantly and the residue starts to turn white. Wipe the lens to see how it looks and that the major scratching has been reduced significantly.
Using 800 grit with the same process and hard pressure keep sanding the entire lens wiping clear occasionally to see the clarity of the lens. Keep sanding and clearing until the lens looks very clear when wet.
Using 2500 grit and using the same methods as the other grits you start the finishing process. Keep sanding and wiping until no visible etching, crazing of disscolouration. Wet the lens with clear water and wipe down to check on the clarity and quality of finish. (if you need to touch up areas start the process of the more agressive grit papers as required)
Once you are satisfied with the finish wash the lens with water and prepare a clean piece of Microfibre or other lint free cloth and apply a small amount (coin size) and wipe onto the entire lens.
Leave Hyperseal to settle for 3 to 5 minutes before buffing clear with a clean mocrofibre or other lint free cloth or a buff machine with a soft pad.
Now your lens will be good for several years, if not longer. Recommended best practices is to apply Hyperseal to the lens every 2 to 3 years to ensure continued protection.
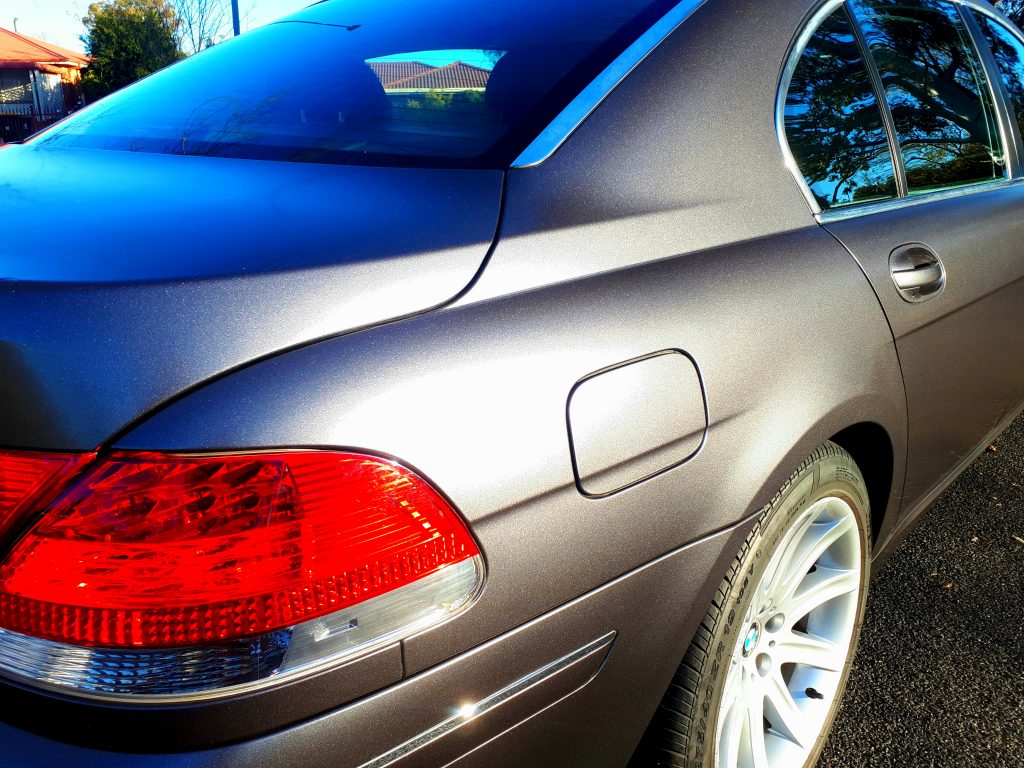
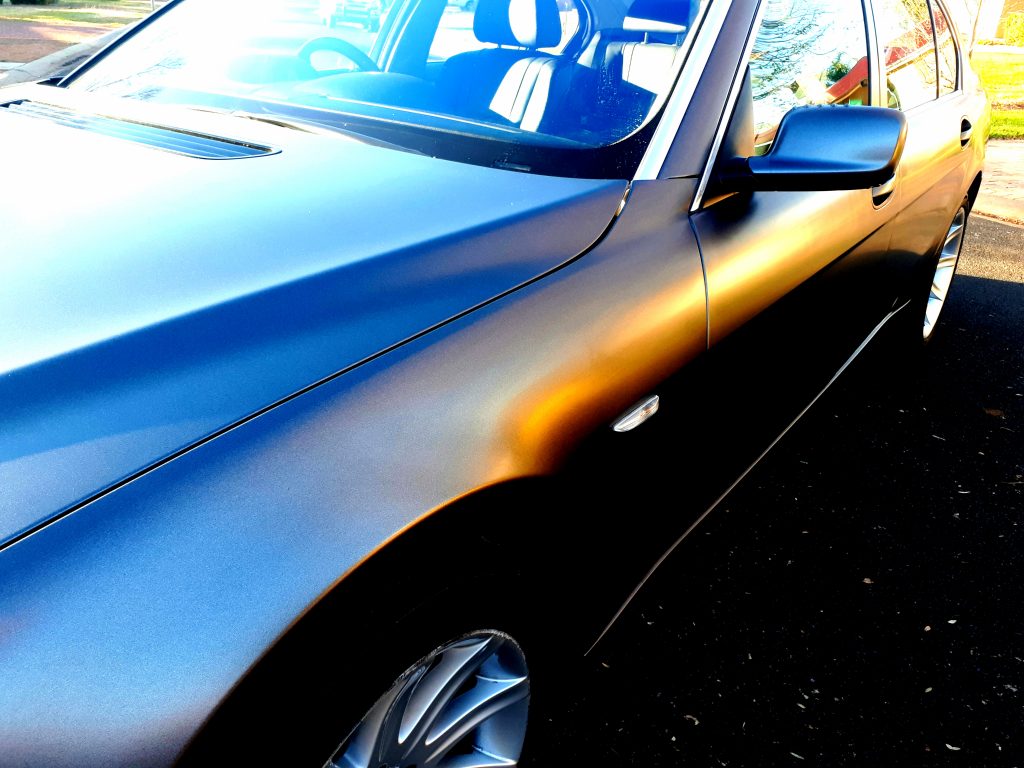
We have always claimed that our Hyperseal is an excellent coating for Vinyl wrapped cars. Here we have photographed a recent job that was on a late 2000’s BMW 740il that has had a metal flaked matte vinyl wrapping for approximately 6 years.
First inspection of the wrap showed that bird droppings had left their permanent mark on the horizontal surfaces and that the Suns UV rays had dried out the same surfaces. The metal flakes were very dull and the surface looked 1 dimensional.
There were several large scratch marks on the Boot/Trunk lid possibly from shopping bags or boxes being dragged on or off but other than that the wrap adhesion was as good as ever.
The restoration plan.
The plan was to restore the wrap to look unified in it’s appearance and the original Metallic flake Matte look.
First we washed the car with Mega Gloss Wash to clean the surface well
Using a waffle pad and an orbital buffing machine on low speed applied Hyperseal to the horizontal services and hand applied Hyperseal after misting all the panels with water to the vertical surfaces and left to settle for 30 minutes.
Using the same pad and machine on midrange speed we buffed the excess Hyperseal.
The Bonnet/Hood and Boot/Trunk took some work. The dryness was worse than it first seemed so it took 3 coats of Hyperseal & polishing process to get the look and feel of a newly wrapped car in all it’s glory.
The owner was beyond happy with the result and so were we.