With all our products we like to work out how they work, how to apply them and where the limits of their performance lie.
We have been testing our Bicycle Anti-Chip since mid 2014 in various parts of the world. All different terrains and all the bikes are of different ages which we felt would represent a good cross section of riders from semi-pro to weekend warrior. Our objective was to learn from what we heard from the types of bike owners we would commonly sell our products to. To date we are very happy with the results that we have received and as a result have concluded the individual owners testing phase and move into the corporate distributor comfort test phase where we will be covering in future blogs.
For this blog we we carried out testing of our Bicycle Anti-chip Specialty surface coating (EXHS) on 7 seperate Mountain bikes in different locations.
The bikes tested
Singapore x Specialized Camber 2015
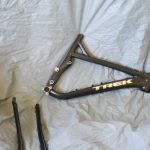
Arizona x 2 Bike 1 a 2014 Specialized, Bike 2 a 2013 freshly painted Trek
Florida x Walmart 29er
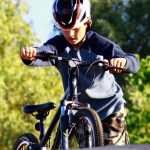
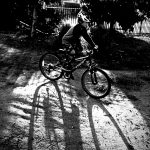
Australia x 2 Bike 1 a 1997 Cannondale V500 ( nice big downtube to test with) Bike 2 a 2016 16″ Trek kids bike
Dubai UAE x Scott Addict SL road bike. (we don’t have pictures of this bike in test)
Bicycle frame Anti-Chip is available here on our ecommerce website.
Bicycle Anti-Chip
Singapore

Visions of riding in an ultra clean urban jungle doesn’t conjure up visions of high speed riding with rocks and dirt impacting the frame and bike but we found that Singapore has joined all their parks with Park connector pathways so you can effectively ride around the entire island state riding in one continuous loop with some of these parks dedicated mountain bike trails.
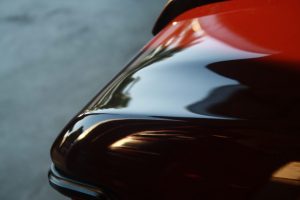
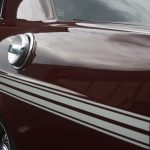
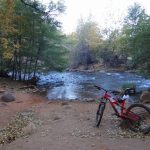
Our Test Bike a 2015 Specialized Camber 29er came out of service in Australia. It was the last of our test bikes and it didn’t have any impact Chips but had some marks on the leading edges of the frame.
We applied EXHS to the leading edges and components and Hyperseal to the remaining parts of the frame and sent it out to play.
12 months on the bike is like new even after being ridden everyday on any one of the 60+ National Parks scattered around Singapore including Coney Island and Pulau Ubin Island that has a black diamond Mountain Bike park.
The owner Graham says “no chipping has occurred and when he washes the bike it looks new with no pitting or damage to the paintwork”.
Pics @ 12mths into test.
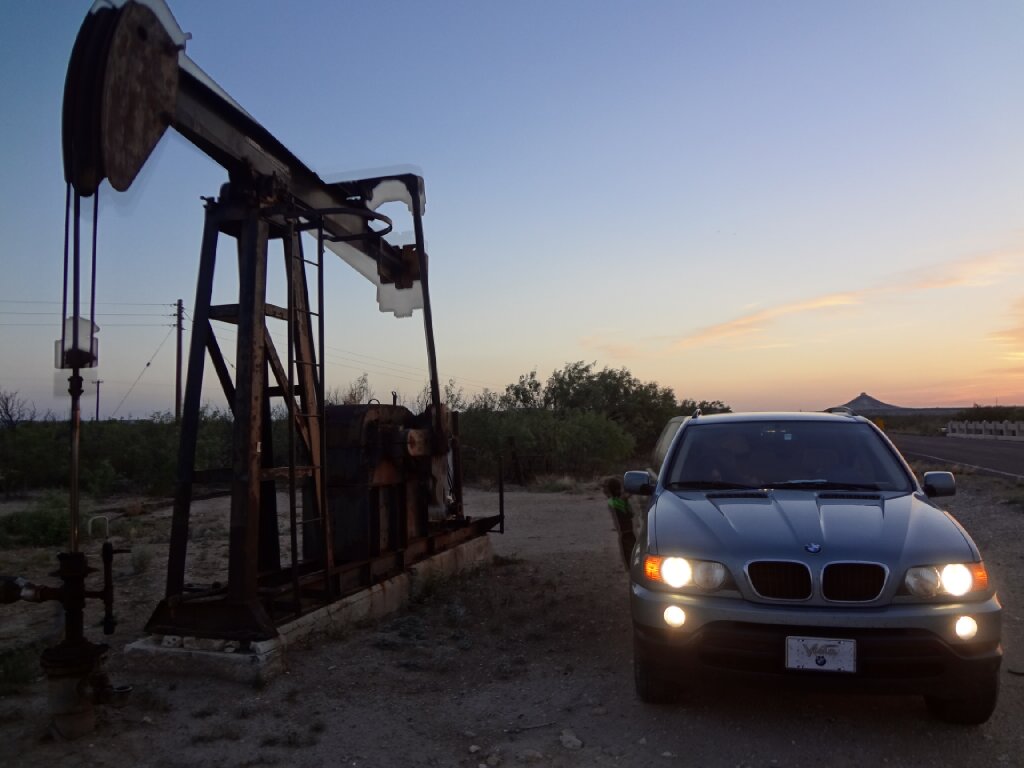
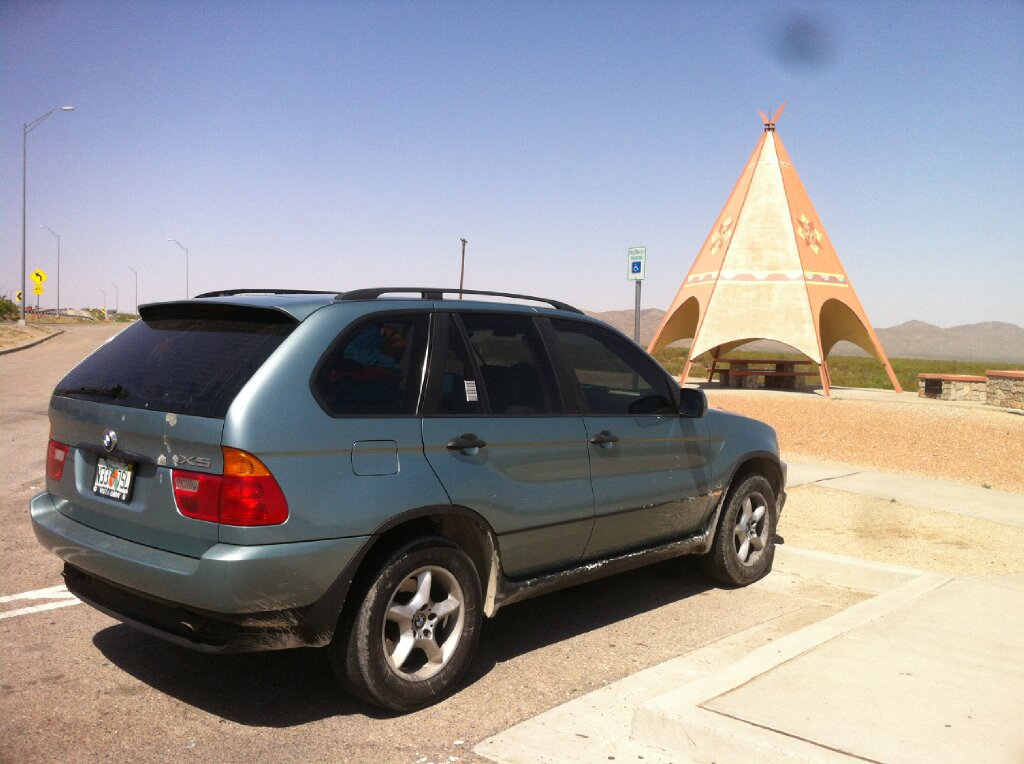
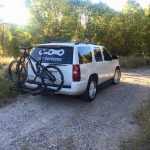
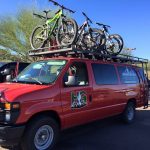
Arizona
Arizona is a harsh place for mountain bikes.
Between high speed sandy trails to rock crawling to super rough mountain decents and all with needle sharp cactus on every turn it was a natural environment to test out our Bicycle Anti-Chip coating.
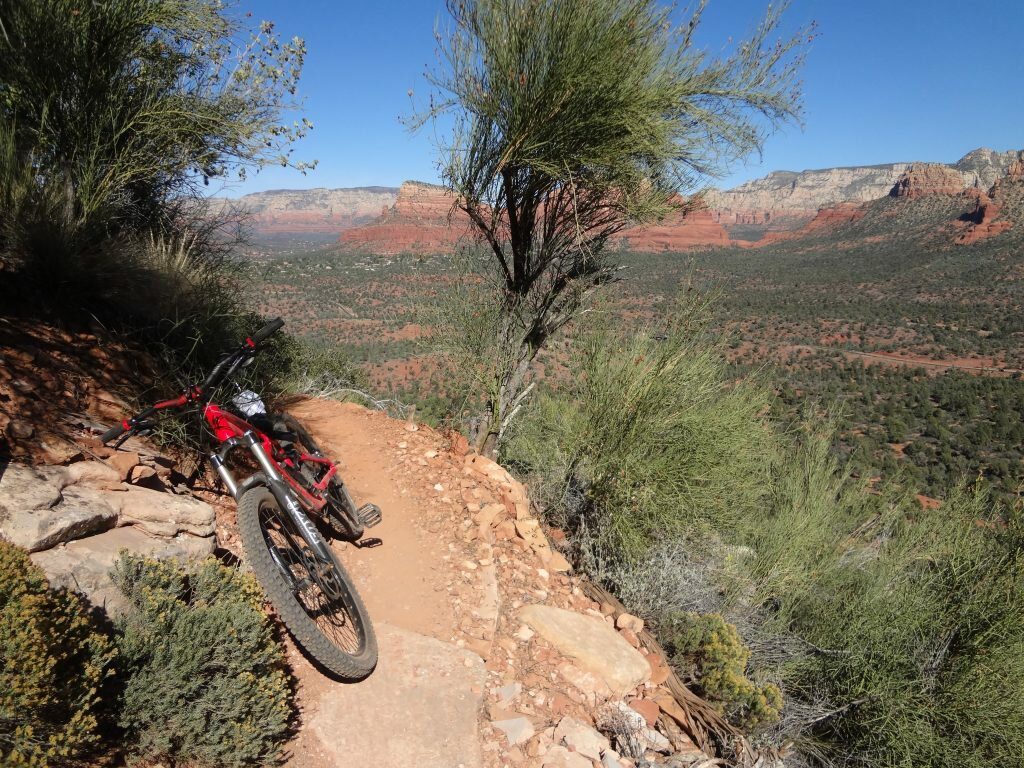
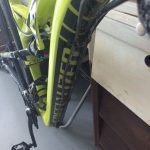
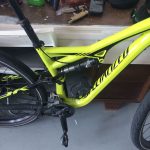
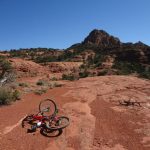
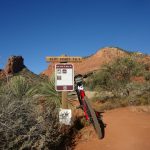
Bike 1 a 2014 Specialized.
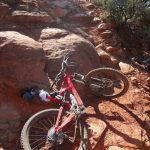
This bike was a hire bike that only got ridden on the trails of Sedona AZ. Super harsh, steep gnarly terrain. We didn’t get many images sent to us of the bike but we do know that this bike survived longer than they expected and was the bike of first choice when it was parked out the front of the store each day for hire.
We coated the entire frame, pedals and components including brake and gear leavers.
According to the Store owners: “NDG EXHS is a must for all bike owners as any hire equipment is not subject to tender loving care ownership but rather hard labor days so after 12 months the bike was sold off as a matter of lease terms” but the store owner said “it looked good as new where the other bikes were tired and ready to be retired”.
They gave it a double thumbs up
Bicycle Anti-Chip
Pics of Bike 1 over the 12 months.
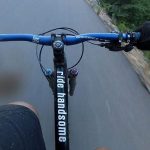
Bike 2 2013 Trek Anthem.
According to the owner Mr. Ride Handsome he rates that coating and he would recommend it for any bike owner as “you can’t see it on the bike but you sure know it is there”. The bike was replaced in May 2017 but up until that point the frame and components were in perfect visual condition even after being ridden on all types of Arizona trails for 3 solid years. He has given the coating a Double thumbs up
Bicycle Anti-Chip
Pics of bike 2 @ 3 years into testing.
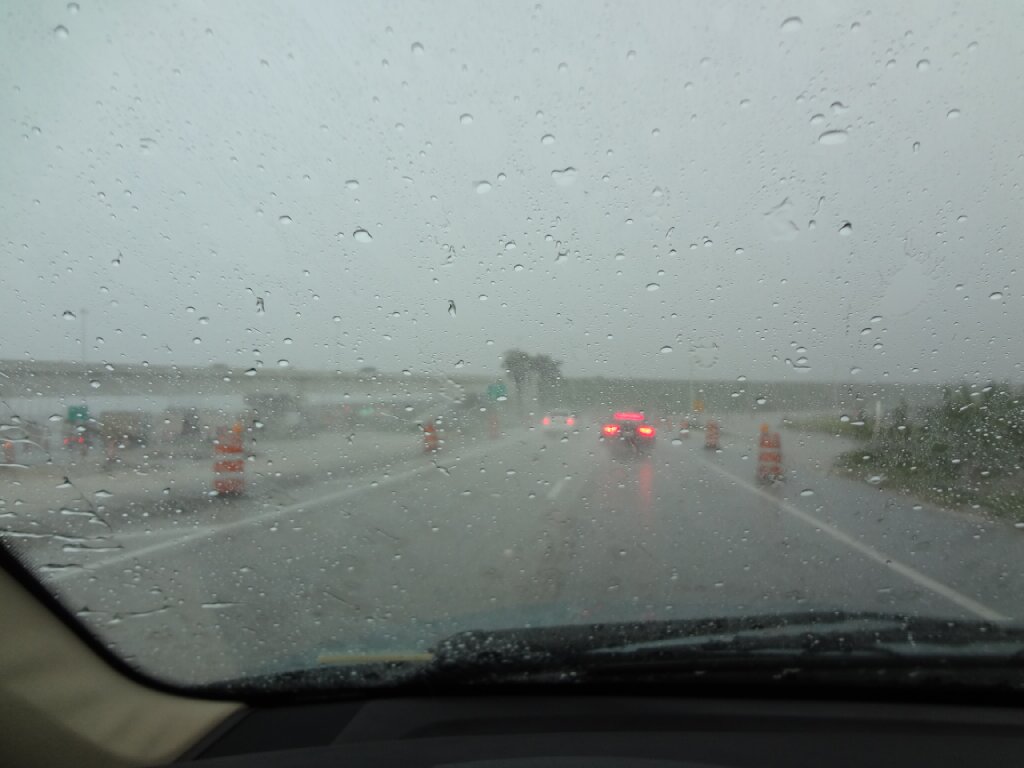
Florida

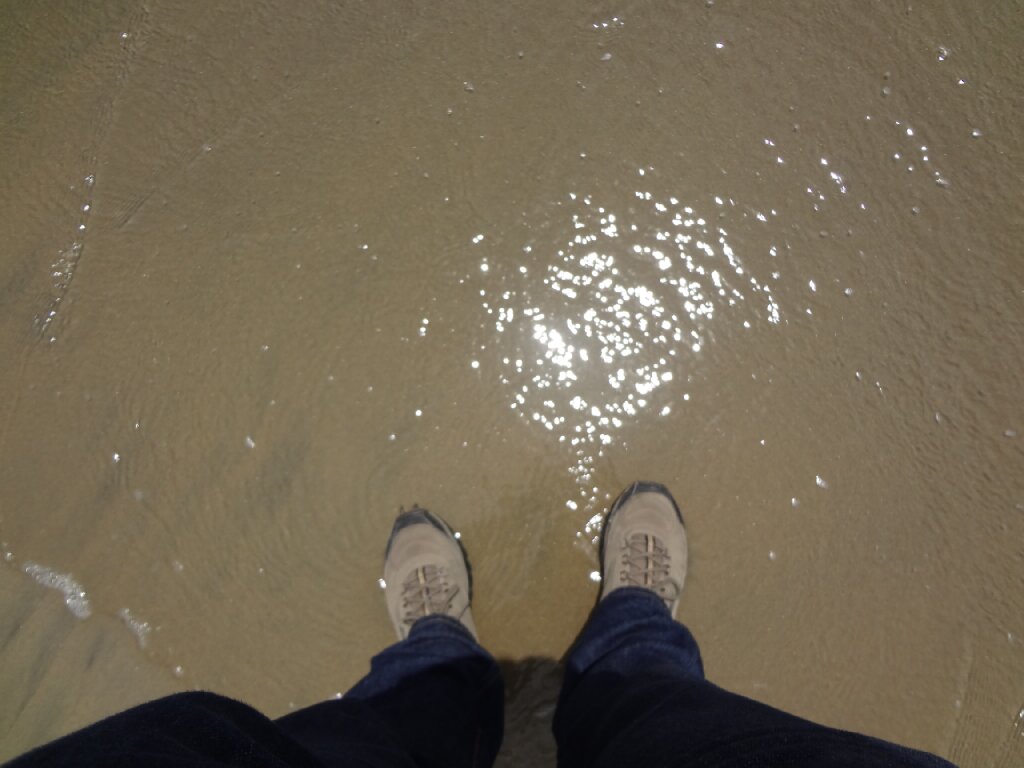
Florida was probably the least abrasive of all the terrains we tested on so we did something a little bit different, we bought a Walmart 29er and rode it until it fell apart. That took about 12 months, but in that time the bike was ridden on all south Florida trails most week days and every weekend without fail.
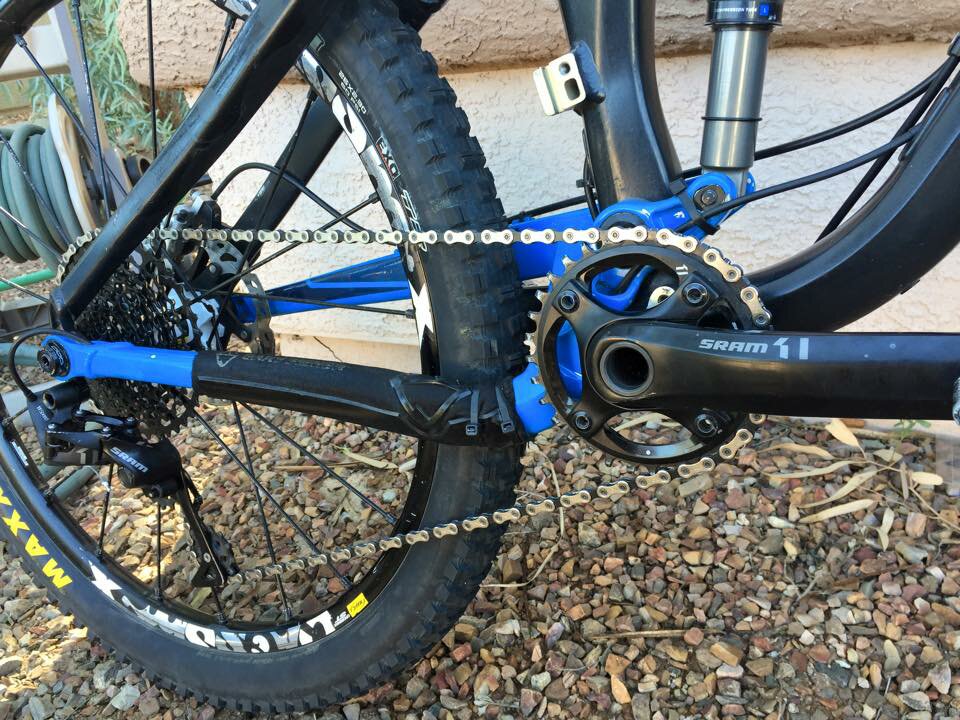
We also experimented with the application process with this bike. Not only did we coat the frame we also coated the chain, gears and components as well as the rear brake cable and the rear derallier entirely.
At the end of 12 months the bike had seen the end of it’s service life but what was observed was that the derallier was still looking like new where a second bike that was ridden half as much in the same time period was showing advanced signs of corrosion and scratching.
The front brake cable was corroded where the treated back cable was still looking like new and had not had any lubrication in the 12 months.
The frame was not damaged in any way chipping wise and still retained it’s like new gloss.
Pics of the Walmart 29er
Australia
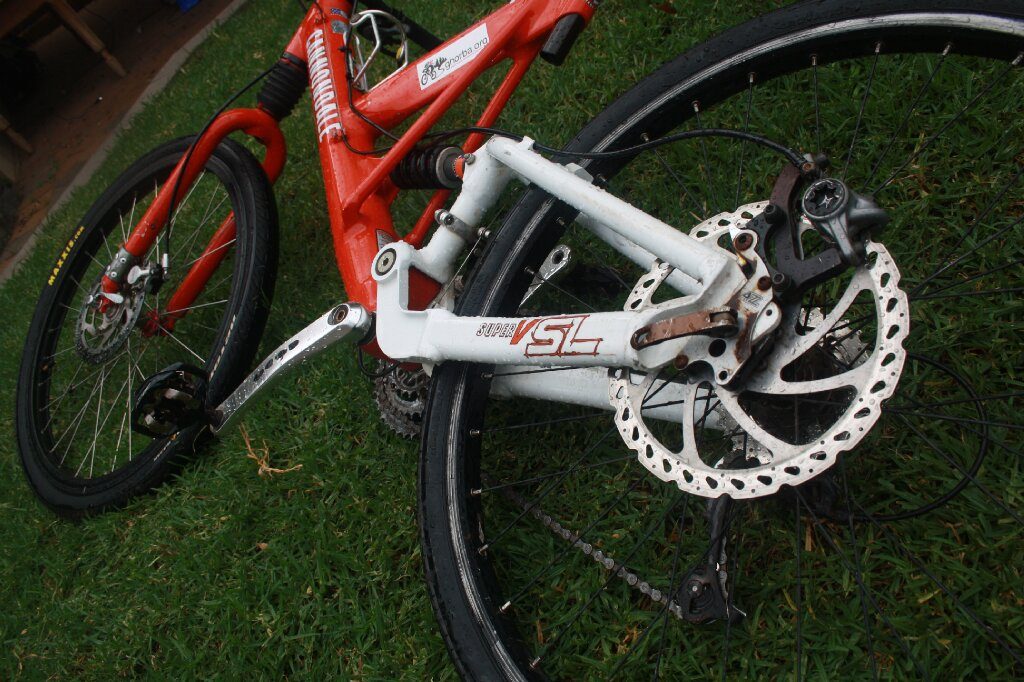
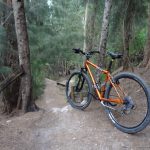
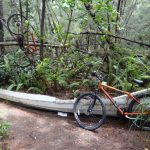
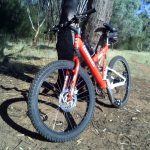
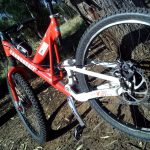
Bike 1 a 1997 Cannondale V500
Our 97 Cannondale V500 was a ground breaking model in it’s day. This test bike has lasted the years by being in storage for some years and along the way had massive disc brakes fitted to it. The bike was in surprisingly great condition and we knew it was a regularly ridden bike so we added it to the test program in 2015
Over the 2 years the bike has sat in the summer sun and winter rain along with hitting the trails which in Australia is prone’d to flying stones and rocks.
According to the owner the bike took a real hammering when on the trails and expected the paint to be chipped in many places when in fact there were no signs of any impacts on the frame.
The chain was also treated as a result of the Florida testing and todate the chain has not been lubricated.
The biggest standout according to the owner was that “when chaining the bike to a pole it doesn’t scratch that easily”. “In the past a soft cloth was used to protect the frame from scratches and rub marks when chained up. This is a big bonus”.
The owner loves our product and give it a Double thumbs up
Bicycle Anti-Chip
Pics of the Cannondale over 2 years of service.
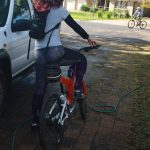

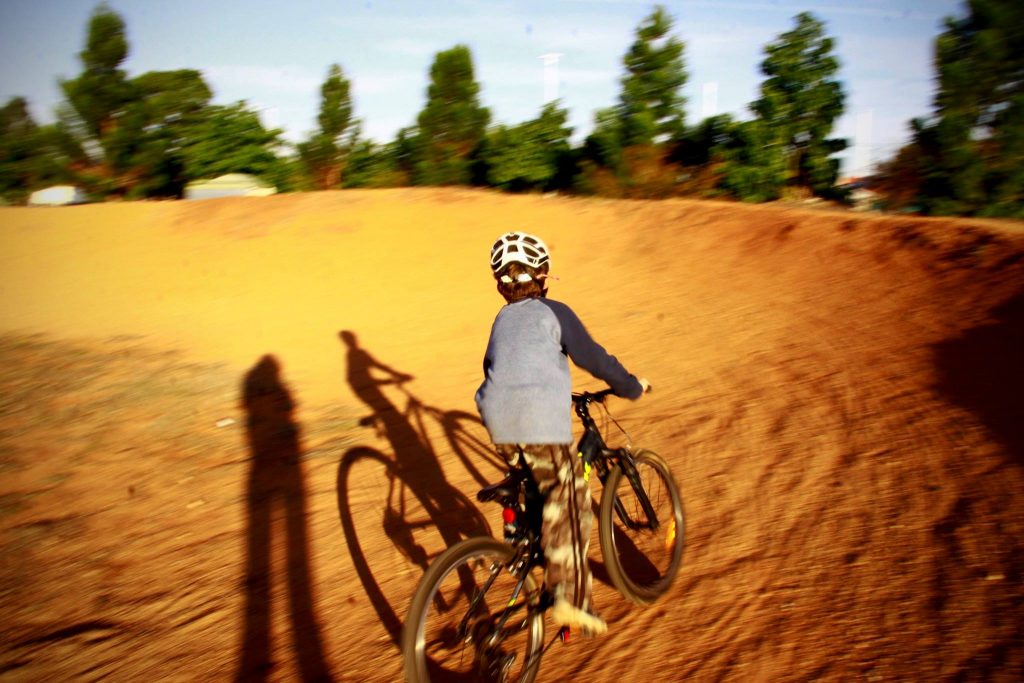
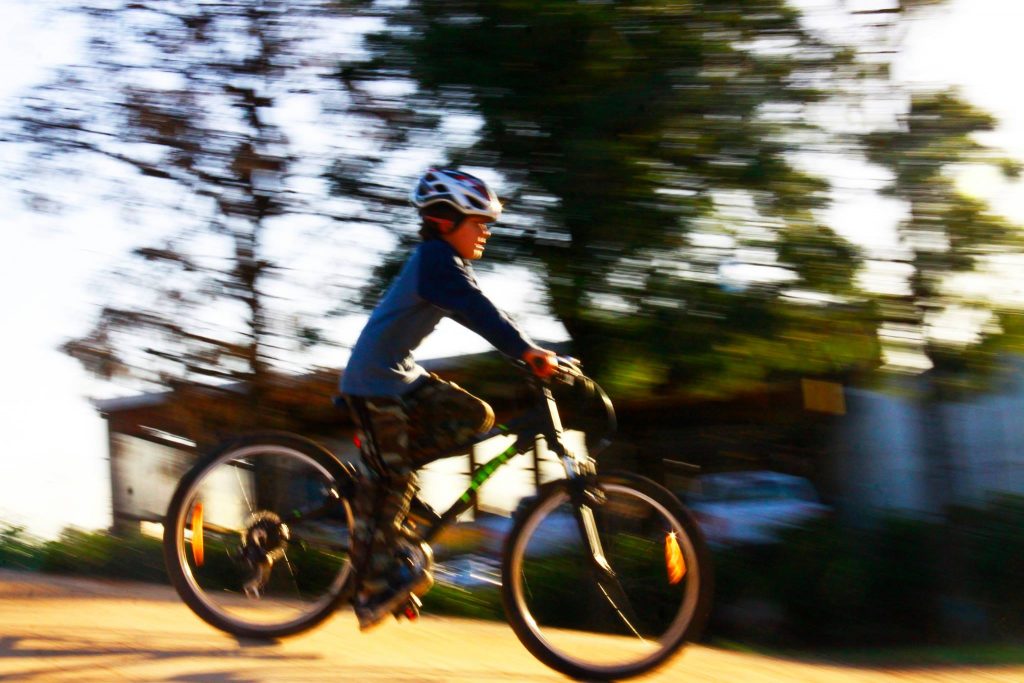
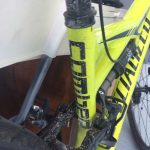
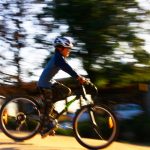
Bike 2 a 2016 16″ Trek kids bike
This bike is treated harshly in every way possible. Whether it is left out in the weather or being pushed down hills without a rider or simply not maintained this bike has done it all.
12 months into the test the components on the bike are not doing well with being bent, and outer cable casings delaminating through cheap assembly techniques but, the frame was treated on the leading edges with EHXS which blended into the Matte finish to create a rock hard coating that was pretty much the only places on the bike that didn’t get harmed.
To date the bike continues into the post initial test phase to see what happens phase but the mission was completed over the first 12 months.
The 11 year old owner had forgotten that there was a coating on his bike but we hadn’t and we give the coating a Double thumbs up.
Dubai UAE
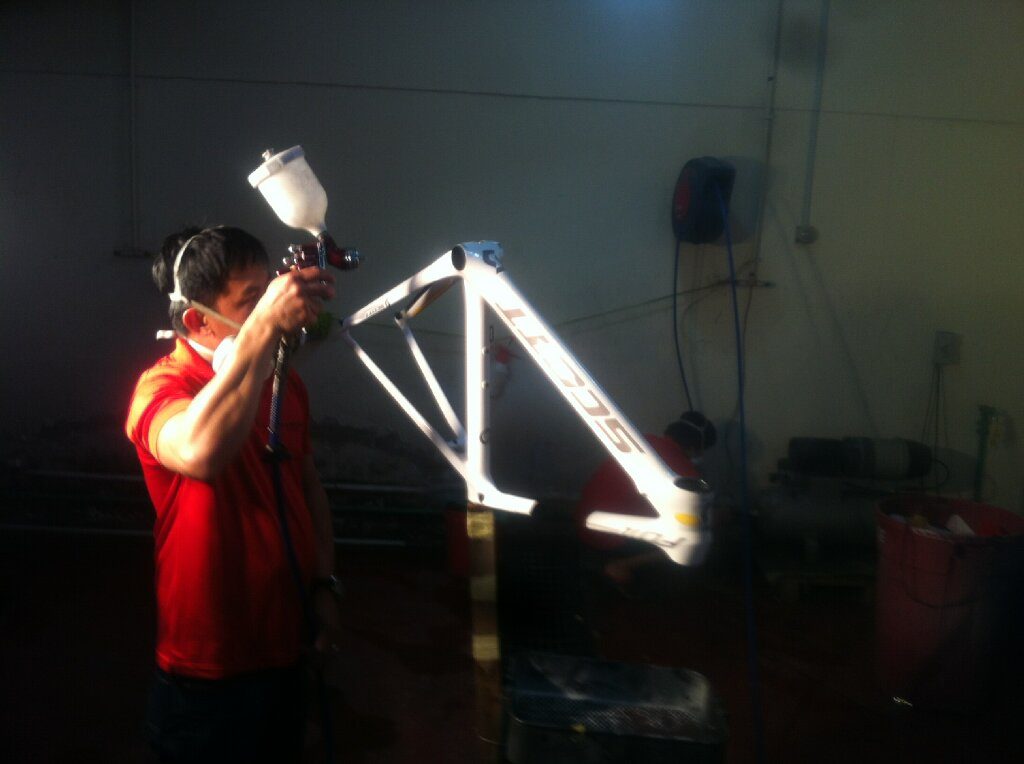
Scott Addict SL
Road racing in the UAE is a way of life. We had a time to get the owner to put anything onto his bike as it was new and he didn’t want to have anything go wrong.
We did get to put our coating onto his frame leading edges and onto his gear changers and chain. The bike was ridden for 2 years each weekend in the local peloton where there is always sand being blown around.
The owner observed that over the 2years his bike looked like new where others who he rode with had significant sand blasting and dulling of the paintwork in the blasted areas of the bike.
The owner has since traded in and bought a new bike and it looking to buy the Bicycle Anti-Chip over the counter at his local bike shop.
The owner gives the product a Double thumbs up
Bicycle Anti-Chip
Copyright ©2016 Nano DG Singapore Pte Ltd. All Rights Reserved