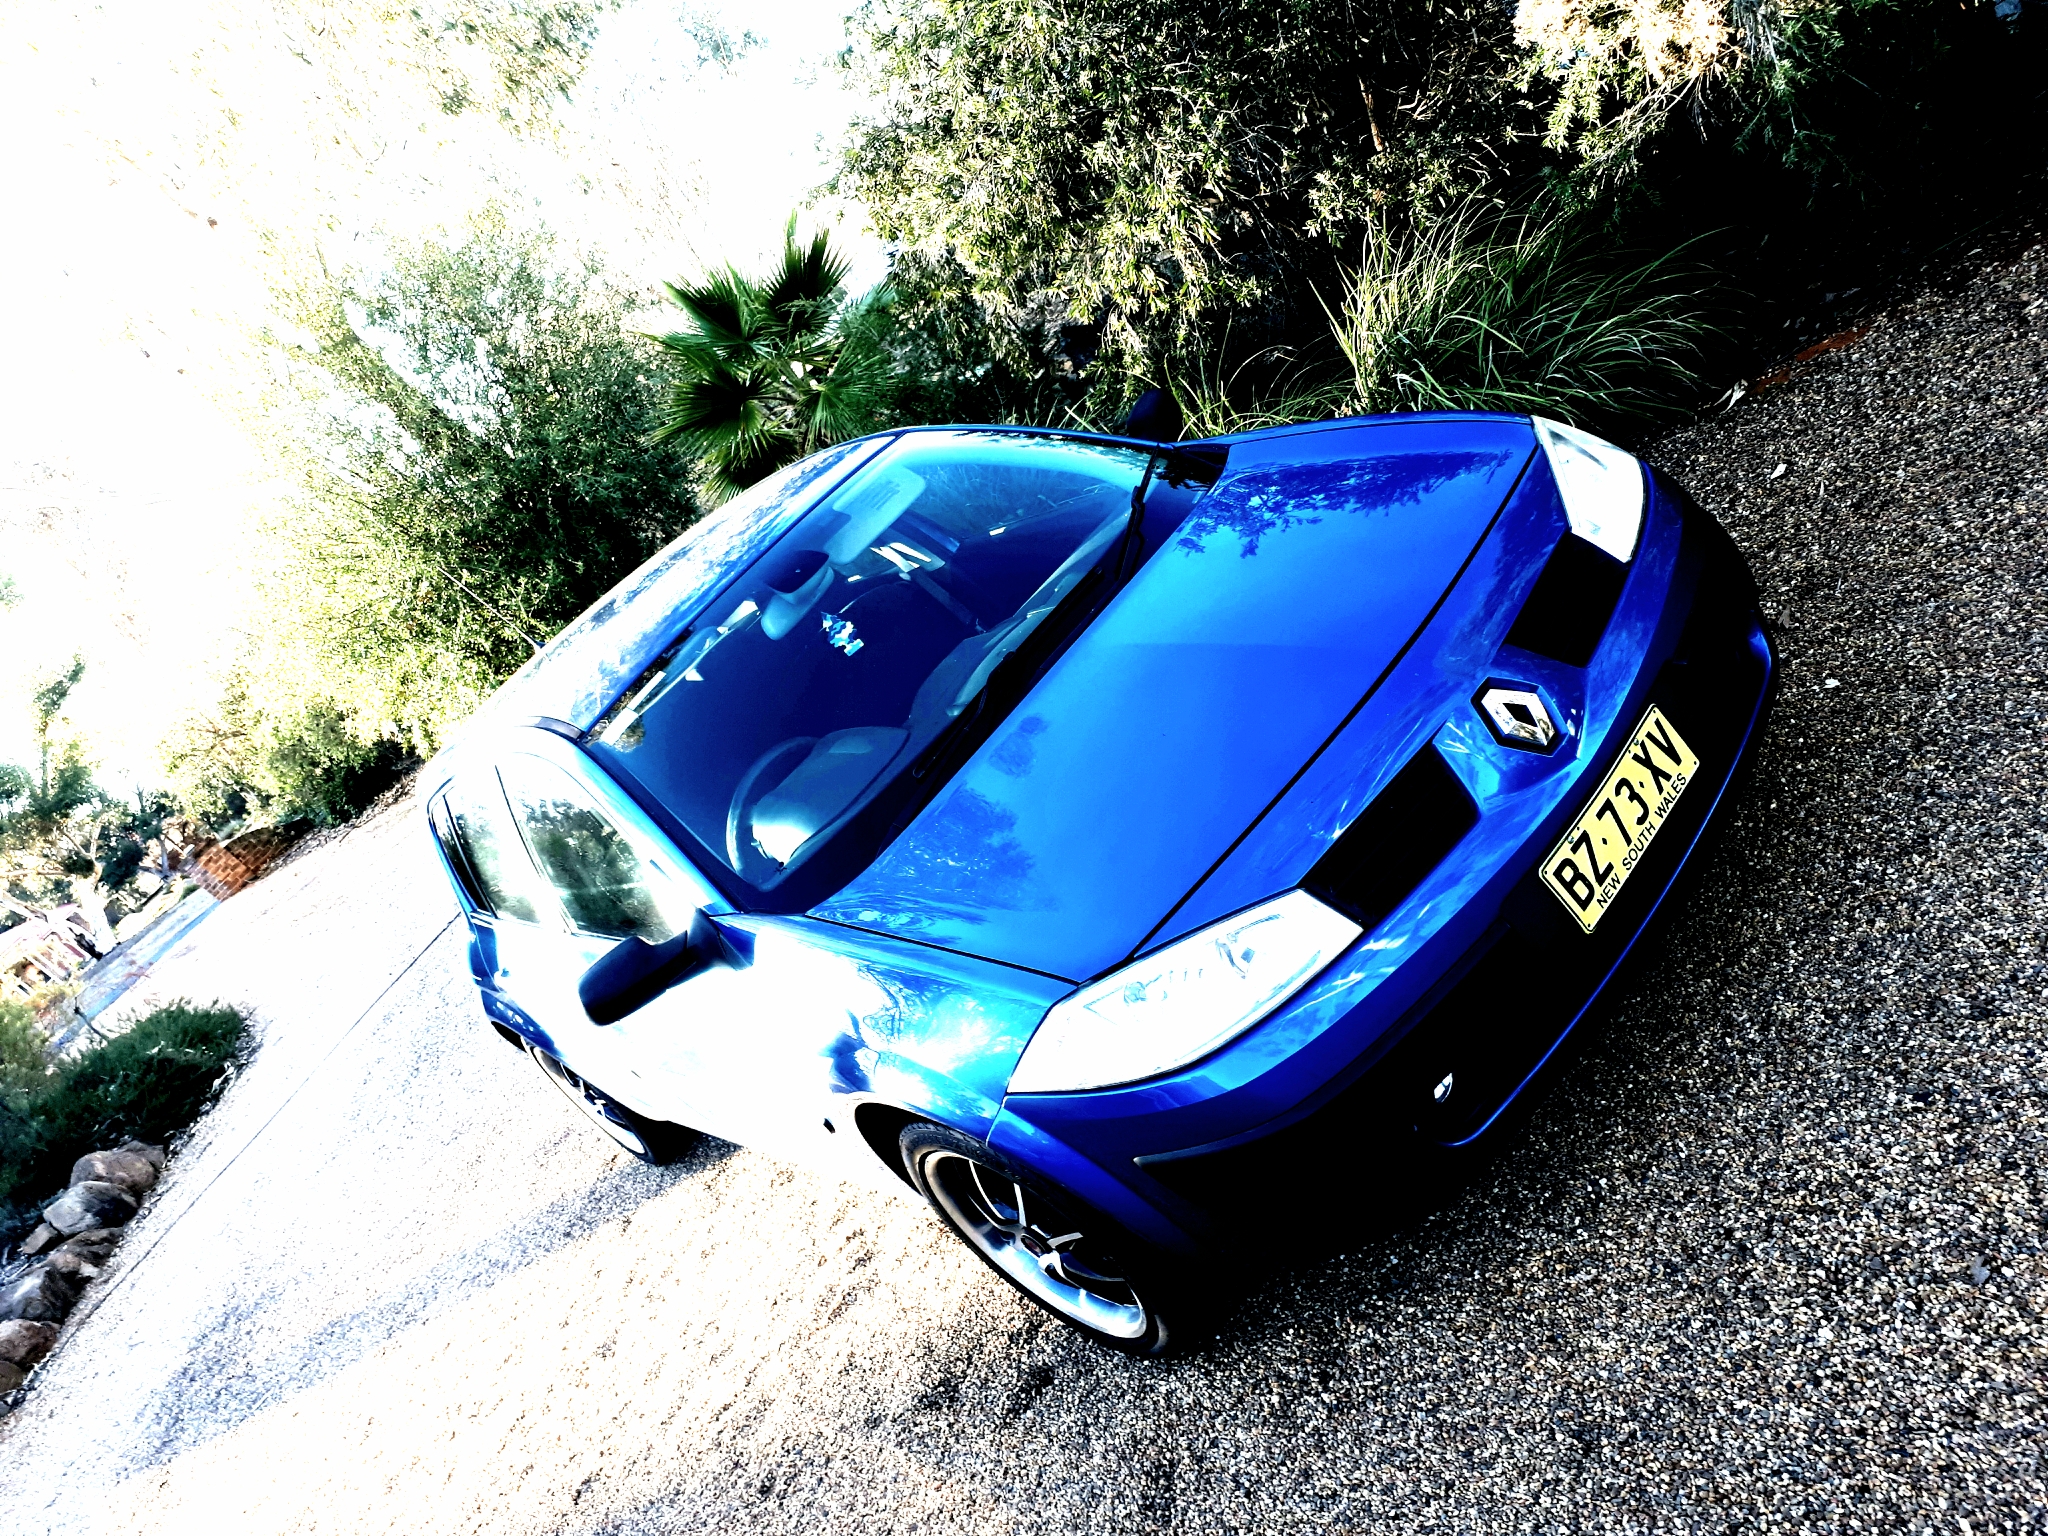
Ms Renault Megane from top of a hill

Ms Renault Megane from top of a hill

We read the Facebook trash and treasure ad with interest as it has all the elements of what we want for a Nano/Mechanical blog project. So for this blog this is where the adventure starts.

The Megane was described as having a mechanical failure but well looked after in it’s life. It was about 200kms from our place which is a further away then we would like but we decided to reach out and see what this car held for us.  After many months for what started out to be a reasonably straight forward Nano/Mechanical restoration ended up dishing out lots of surprises as you will read below, but we did get it finished.

We arranged to go and see the car to determine if it was a feasible project and if so buy the car, then go back and get the car on a car trailer using one of our other DIY project cars as the tow vehicle.

We left to go see the car and hit road works all the way delaying us about an hour but on getting there we were greeted by a massive great dane closely followed by 2 chihuahuas and 2 Shetland ponies who looked on with slight interest.
Ms Renault Megane from top of a hill
Road Works delaying our pickup arrival time

The Megane was sitting on a hill on it’s own. We took a look at the car and saw that the car had been licked clean in some places by a big tongue, possibly from a cow or that great dane. The body was in good condition with some battle scares in the usual spots but for our purposes these are acceptable.

We could not see the mechanical fault that was described so we spent about an hour looking at the basics. There were no faults in the OBC so we determined that the problem was more than likely the cam belt was broken. Super hard to see the condition of the belt on these engines without some effort. So we decided to buy the car anyway.

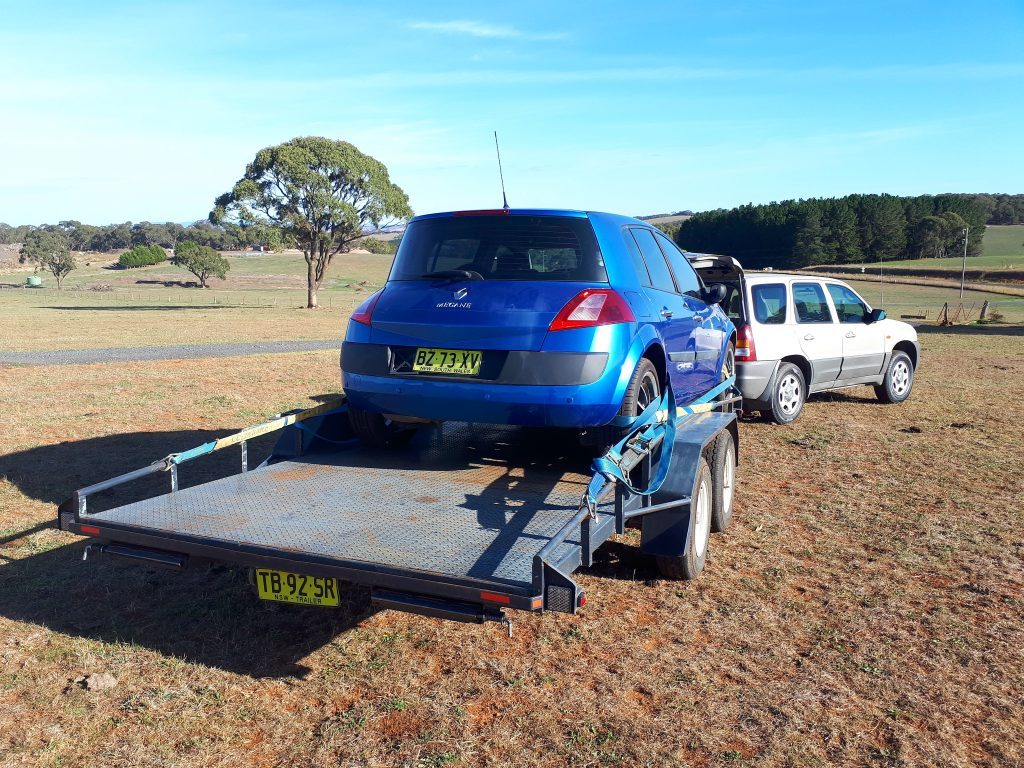
A few days later we leave pre-dawn and drive the 200kms with a car trailer using our Mazda Tribute to do the heavy hauling. Surprisingly the Tribute did the towing of the trailer very easily.
Ms Renault Megane from top of a hill
Megane on the trailer and ready for the trip back to the office

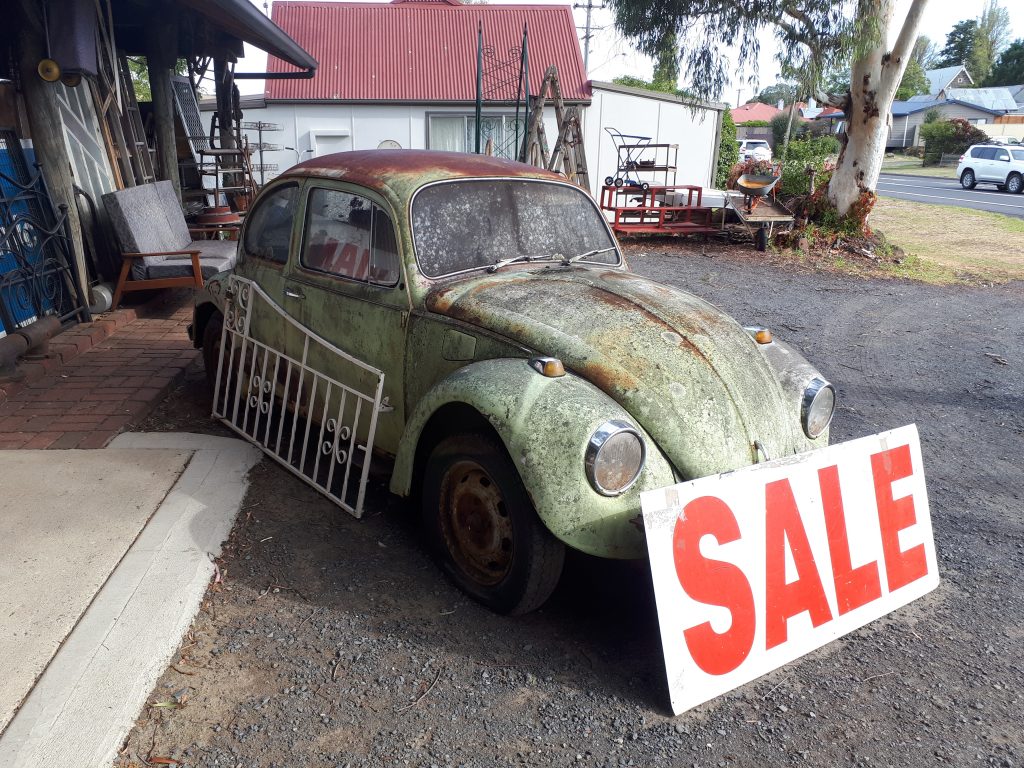
We get to the Megane, load up and head back to base.  On the way we stop to check the tie-down tensions out font of a second hand wares shop that had a lychee covered VW beetle for sale out front. The owner came out to find out more about Ms Megane’s issues and fate. During the conversation he made an offer that was well above what we paid for but we gracefully declined his offer and got on our way.
Ms Renault Megane from top of a hill
Wonder if we should have a shot at restoring this?

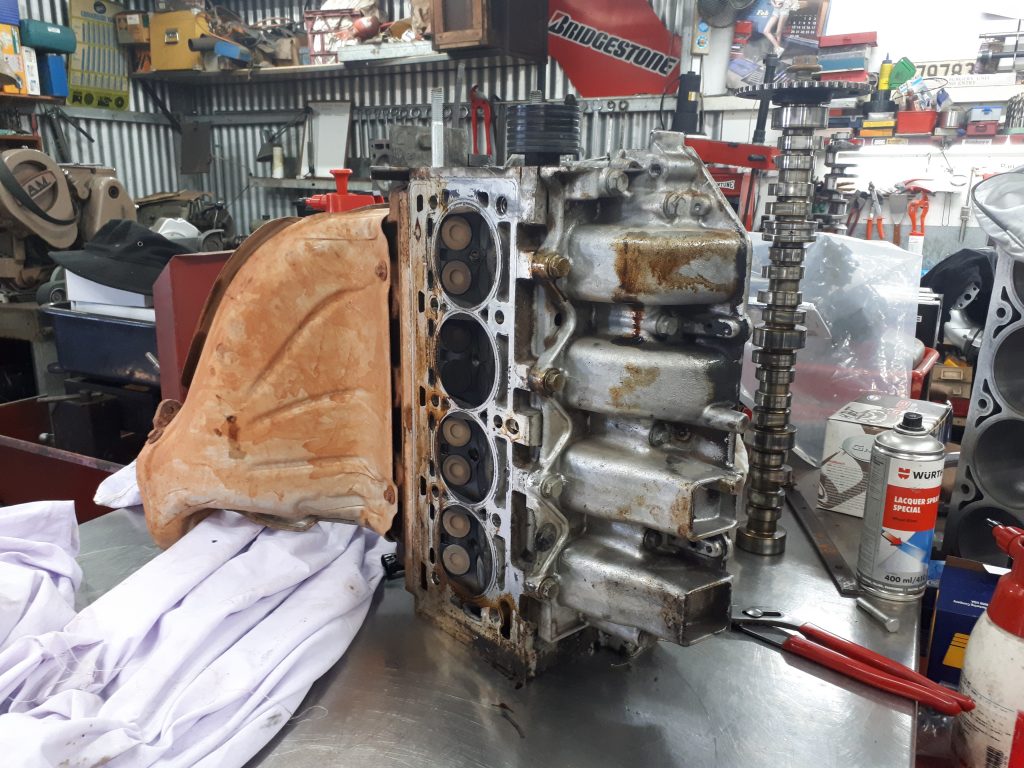
The following day we decided to have a look at the cam belt and got to work. As suspected the cam belt idler pulley bearing had failed and the belt had broken as a result. We needed to remove the head anyway to see what level of damage had been caused as this is like almost all engines of this era are interference engines so the pistons and valves occupy the same space, meaning there would be some internal engine damage.

Engine damage

A few hours later we had our answers. very minimal damage had occured to the internal engine. Very, very lucky. We sent the Head off to one of the finest Automotive engineers we know in Mr. Phil Baker to recondition the head. While that is being done we will get to work on the rest of the car.
Ms Renault Megane from top of a hill
Head being inspected for damage. Exhaust valves slightly bent

What we need to do:

  1. Wash and claybar the car with NDG Mega Gloss wash
  2. Cut and polish the paintwork and carry out paint correction
  3. Replace the passenger door regulator
  4. Remove buckle from front rim
  5. Find radio code
  6. Hyperseal the body and all other plastic parts
  7. Order trim clips
  8. Refit plastic trims that are missing screws
  9. Replace the water pump and other seals
  10. Service the injectors
  11. Order colour coded touch-up paint

Mid way phase

  1. We get to work on locating and ordering the parts we need.
  2. We start on the bodywork NDG DIY bodywork coating process.
  3. Wash and claybar the car
  4. Carry out paint correction on several areas of the car.
  5. Re-secure any body plastic parts
  6. Clean engine bay and apply NDG Instant engine gloss
  7. Recharge battery
  8. Check and change all fuses

Some weeks later,

We assembled the engine replacing the waterpump, idler, Timing belt and tension and various bolts and this got the Megane back on the road.

Ms Renault Megane from top of a hill
A great result using NDG Acid Degreaser brings the engine bay back to life

We took it for it’s first road test. 1 and 2nd gear it all sounded good then as we grab 3rd we hear a bearing growl start-up in the gearbox and this only got worse in 4th and 5th.  Dam, this is not something we needed to have happen!

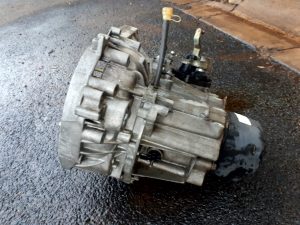
Out comes the gearbox and stripped down. Noisy bearing found and the search started for the bearing kit. No kits in Australia so a kit was ordered from the UK which arrived a week later.
Ms Renault Megane from top of a hill
Megane Gearbox on removal
Ms Renault Megane from top of a hill
Megane Gearbox cleaned with NDG Automotive Acid degreaser

With the Gearbox rebuilt and installed into the car we get to detailing the car and Hyperseal the body and plastics and fitting the new passenger front window regulator.

Ms Renault Megane from top of a hill
Gearbox stripped down and bearings replaced

All done.

Plan is to drive the car for a couple of weeks and then put it onto the open market to sell. But, it turned out so dam nice ans so much fun to drive  it is tempting to keep it!!!.
Ms Renault Megane from top of a hill
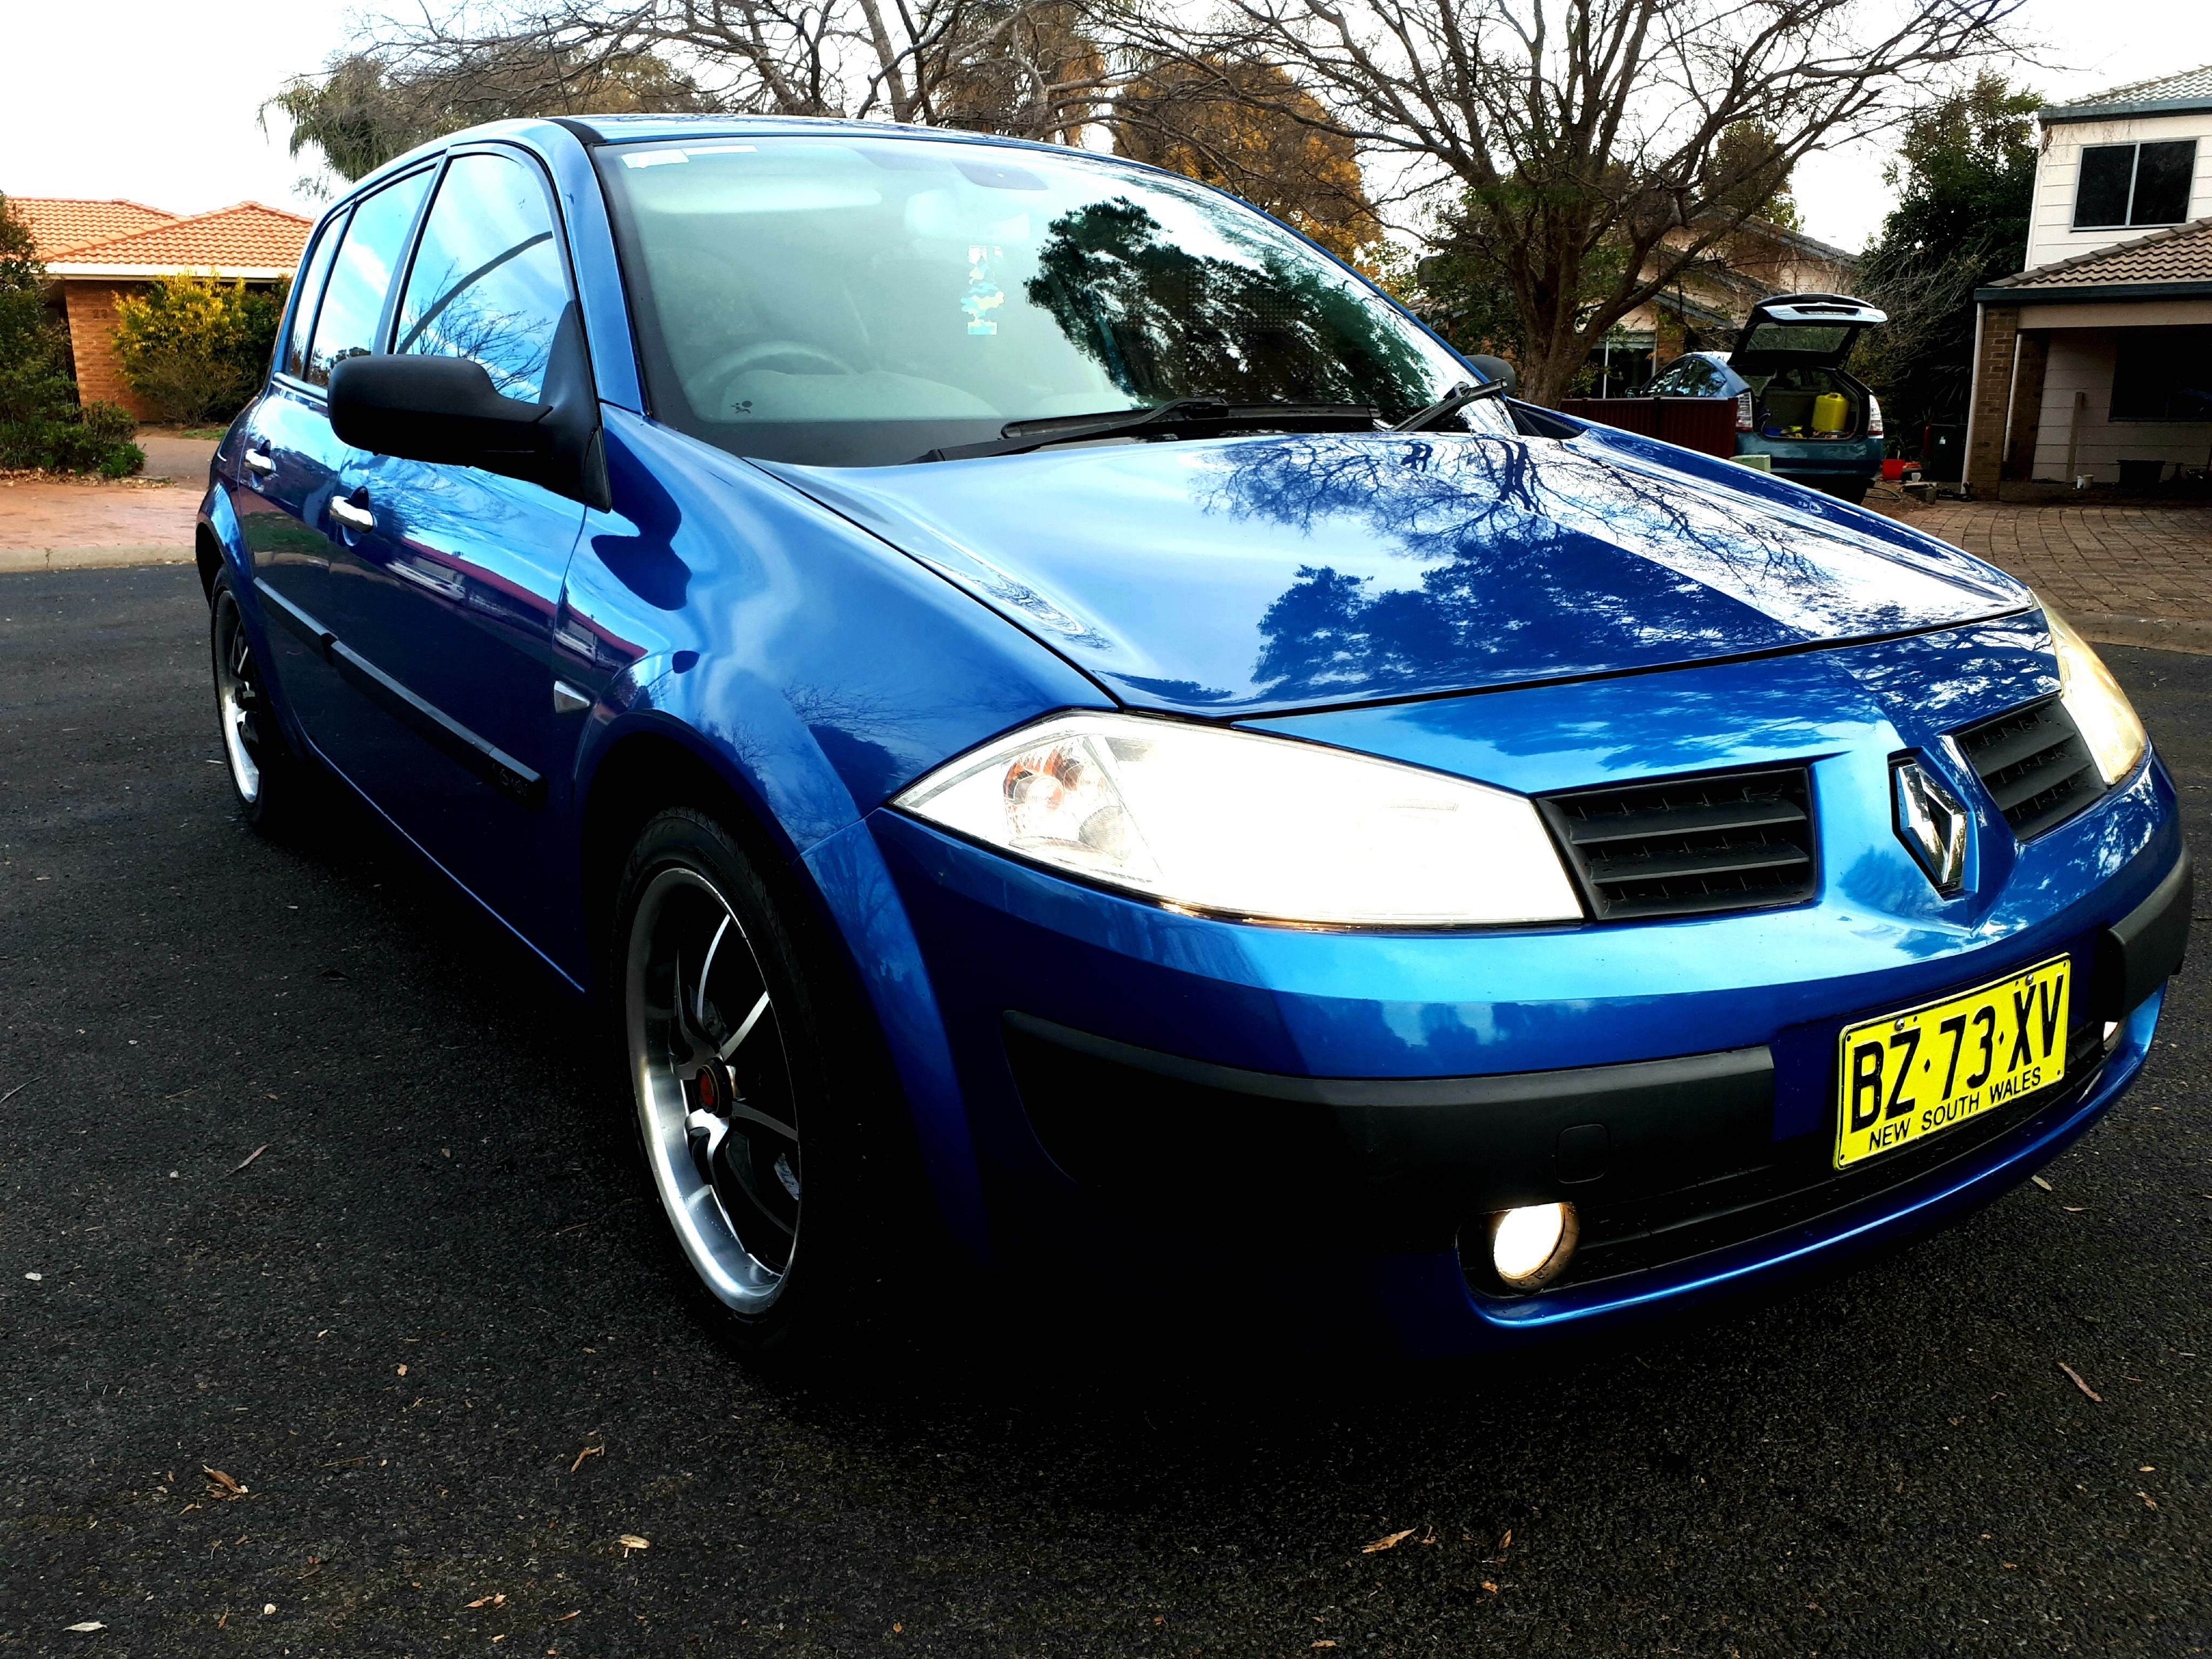
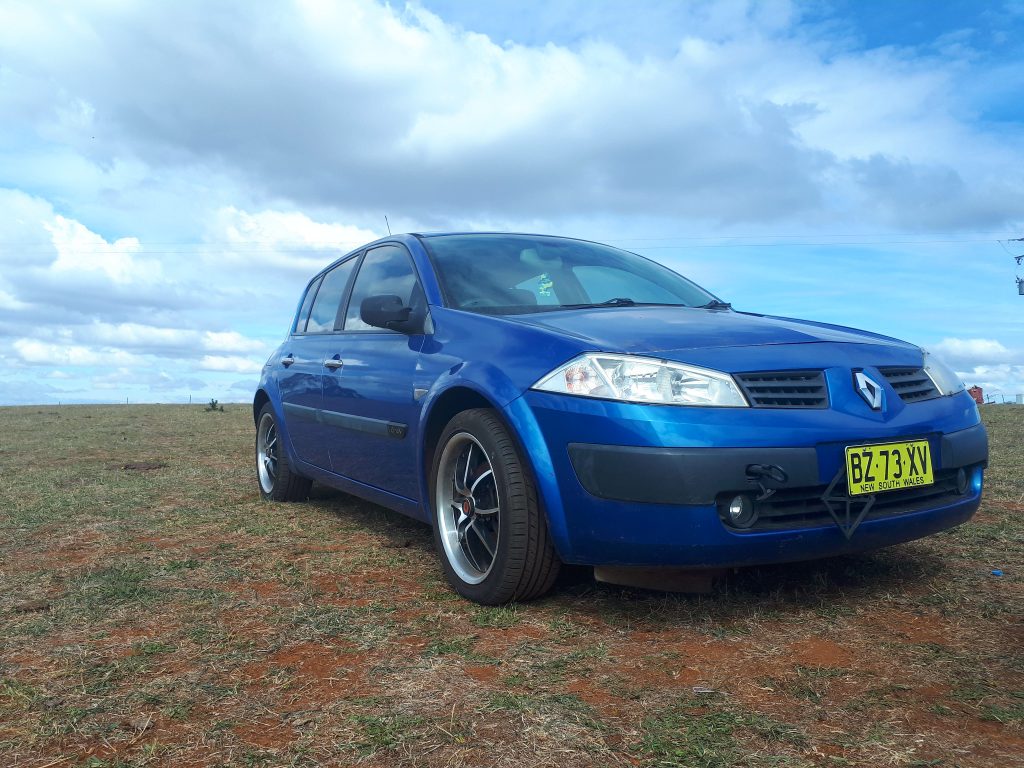
Megane at the end of 4 months rebuild.
Ms Renault Megane from top of a hill
Ready to hit the road

An Update to the Megane.

It is certainly a head turner and people want to know what it is, Sounds strange as they are common but not so in rural Australia, they are around but tend to blend in as most are standard looking commuters.

The car was delivered to it’s new owner Narelle in Sept 18 and, she loved the car the moment she laid eyes on it.

Ms Renault Megane from top of a hill
It seems like they were eade for each other


Copyright ©2016 Nano DG Singapore Pte. Ltd. All Rights Reserved
Taking it to the skies

Taking it to the skies

I will be taking it to the skies was the comment made by a well known Gyrocopter owner & pilot.

Gyrocopters are not your everyday flying machine but they have a strong international sub culture who have ozone for blood. It was August 2017 and this fellow had heard about our Products from word of mouth recommendation so he came looking for us at our secret test hideout.  we of course asked him how he managed to find us. He said we were not so hard to find.

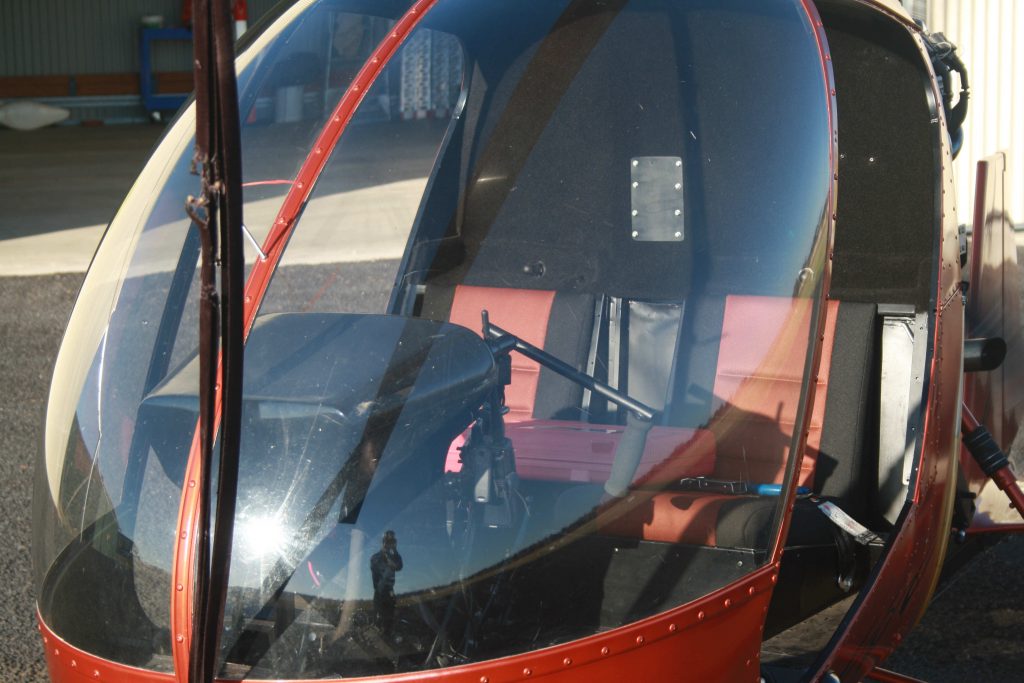
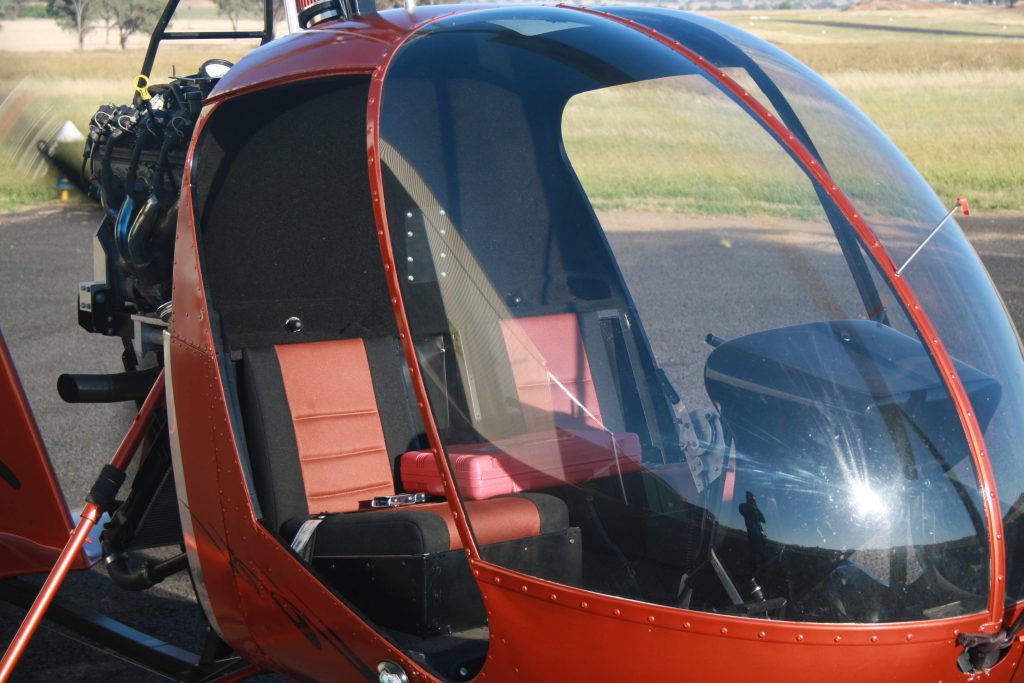
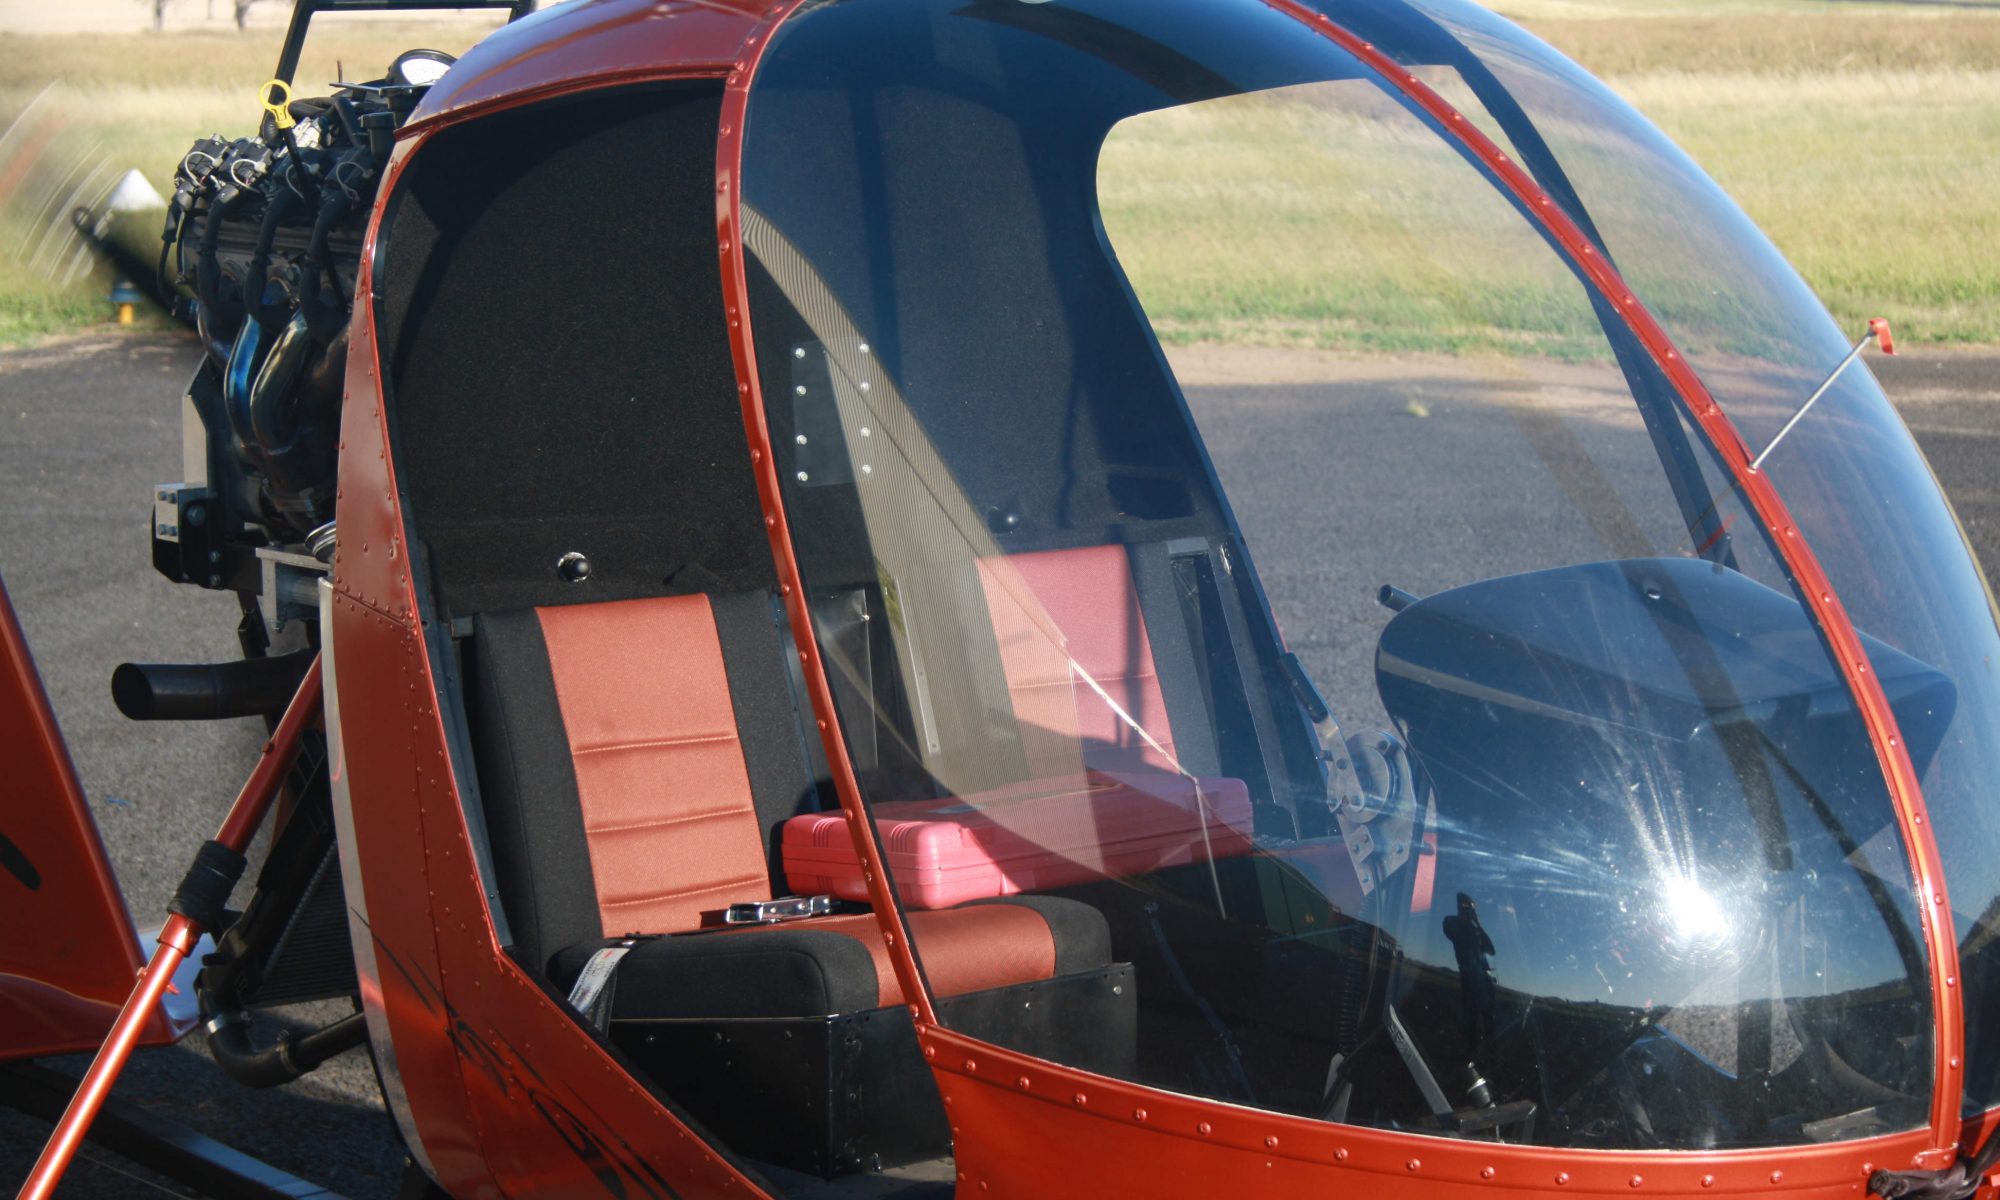
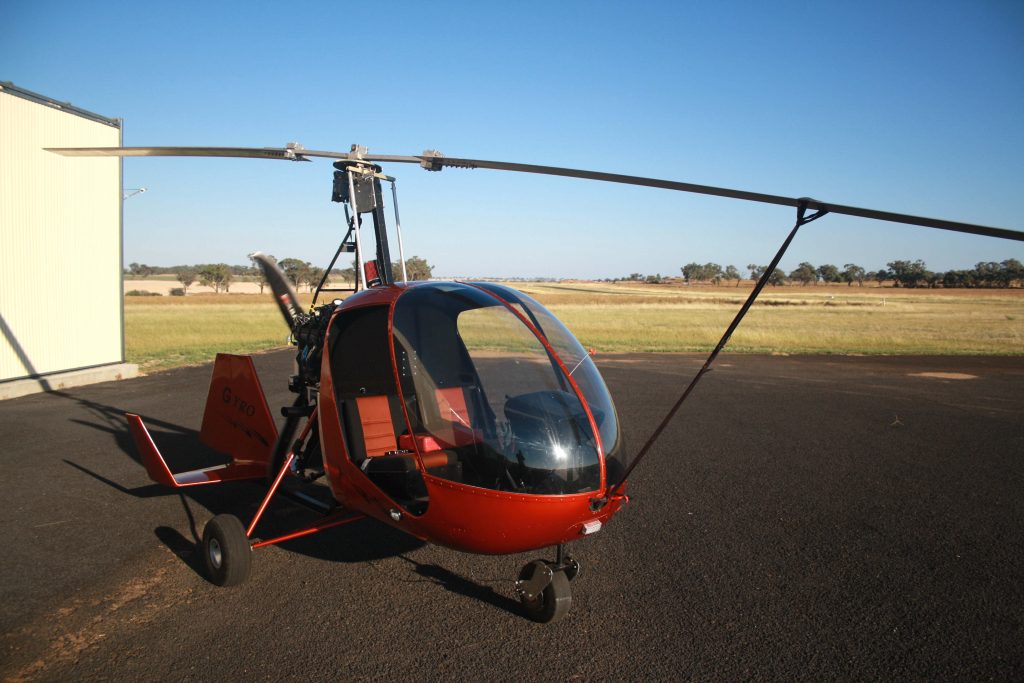
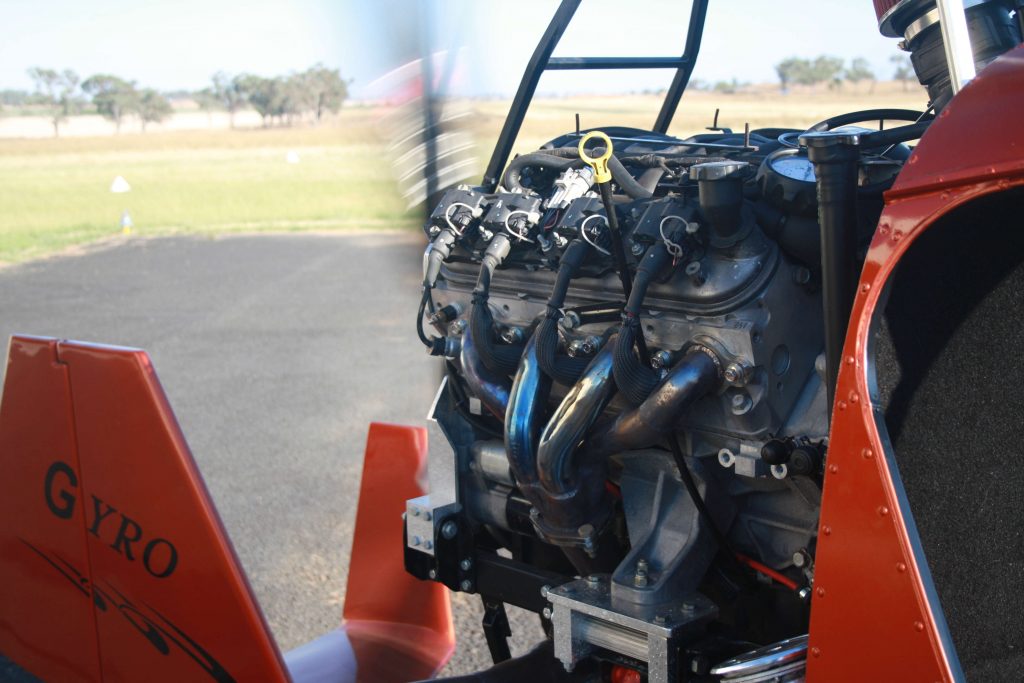
He wanted to protect his recently completed canopy version gyro which was fitted with a LS1 chevy engine and carbon fibre propulsion blade. This is the Hypercar of the Gyrocopter world with a big investment so it needed to be kept in perfect condition

So we of course said yes we will do it and planned a time to meet at the airstrip, which was a good hour drive away. On getting there we found all sorts of flying machines which was fascinating to walk around and check them out.

This blog will run for 12 months as we track the quality of the work carried out and the how the owner felt NDG coatings performed over the 12 months.

Taking it to the skies
Gyrocopter waits for us to do our work

Right,  what are we there for: To look at what products we would apply to this machine. 

The windscreen we decided on shield 120

The Blades we would use our champion product that is our special tool Hyperseal.

We set up and got started. The paintwork had recently been applied so no significant paint corrections were needed.

Just as we finished the wind started to pickup so the owner quickly got into his flying machine and took to the skies.

On returning he commented on the clarity of the visuals of the windscreen and the smooth feel to the canopy and was very happy with the whole process. So we shook hands and scheduled to return in August 2018.

Taking it to the skies
The mighty LS1

Taking it to the skies

August 2018

12 months have passed since we had seen the Gyrocopter and we headed out to the Airstrip to take a look and have a chat to the owner.

On arriving we found that there was a new, larger hanger to house the Gyro so he still had it and not felt compelled to sell it during this time

The gyro looked the same as when we had coated it. 

The owner said he was very pleased with NDG products and he recommends it to anyone he meets as to him we had ticked all his wants and needs boxes and his expectations were met.

He says that the bug/insects are much easier to clean off the windshields and that all he needs to do is wipe the whole machine with a clean cloth and it looks good as new.

Taking it to the skies
Gyro 12 months on, August 2018


Copyright ©2016 Nano DG Singapore Pte. Ltd. All Rights Reserved

Hands-on experiment DIY Style

Hands-on experiment DIY Style

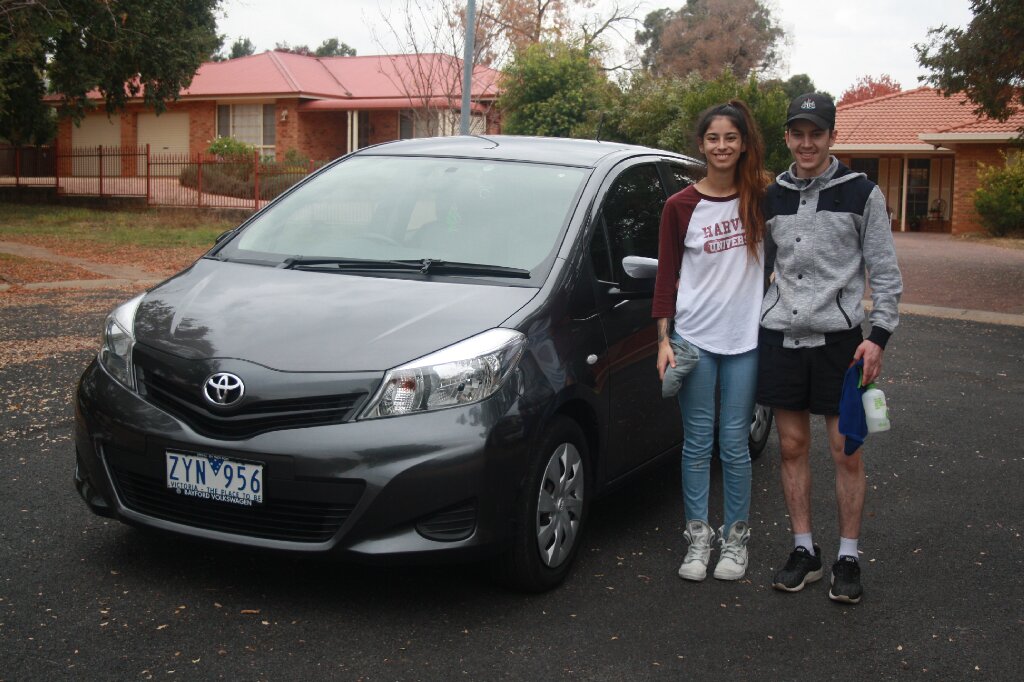
During our product development process we use focus groups and live off the street people to test our processes so we grab a young couple who were in the street and in exchange for their services gave them a bag of NDG car care goodies.

We we wanted them to do was read some very basic instructions on applying Hyperseal to their car and then go for it with him working on one side and her on the other. Our objective was to backup our claim that NDG Hyperseal is truely a DIY (Do it yourself).

It was an interesting exercise as what we were looking for was can you get the same result using your own style?


Hands-on experiment DIY Style 

So how did they go?

Besides the very difference of opinion as to the right technique and the wrong it was all pretty straight forward.  We were asked to give an opinion as to who did the best work? It could have been a diplomatic answer but we hands down said that her work was the best.

Bottom line in this experiment was that it really doesn’t matter what technique you use you will still get a great result with our Hyperseal.

NDG HYPERSEAL IS A TRUE DIY NANO COATING

You can by Hyperseal here 

Hands-on experiment DIY Style
A bit of territory encroachment
Hands-on experiment DIY Style
Who did this side we wonder, SPOT ON
Hands-on experiment DIY Style
SPOT ON!

Hands-on experiment DIY Style Hands-on experiment DIY Style


NDG Hyperseal 


Copyright ©2016 Nano DG Singapore Pte. Ltd. All Rights Reserved
NDG’s 2014 Summary

NDG's 2014 Summary

2014 has been our biggest growth period with most of that being through the launch of our NDG Self Healing coatings. Our testing and product development is going leaps and bounds and we have many new and innovative products being readied to launch in the coming 24months.

The market acceptance of our brand and products has been excellent.

Below are just some images of some of the projects we have done this year.

NDG's 2014 Summary NDG's 2014 Summary

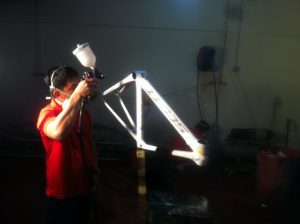
Long term bike testing, NDG's 2014 Summary NDG's 2014 Summary NDG's 2014 Summary NDG's 2014 Summary NDG's 2014 Summary NDG's 2014 Summary NDG's 2014 Summary NDG's 2014 Summary NDG's 2014 Summary NDG's 2014 Summary

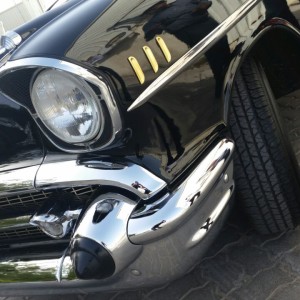
 Hyperseal, NDG's 2014 Summary

NDG's 2014 Summary NDG's 2014 Summary NDG's 2014 Summary NDG's 2014 Summary NDG's 2014 Summary NDG's 2014 Summary NDG's 2014 Summary

NDG's 2014 Summary

NDG's 2014 Summary NDG's 2014 Summary Road test across the USA, NDG's 2014 Summary NDG's 2014 Summary

NDG's 2014 Summary


Copyright Nano Development Group Inc. 2013

First cross country test USA

First cross country test USA

2013 was our first fore-ray into the Nanoscopic world and what we found was very intriguing and we wanted to know more but in order to understand what it was we needed to live with for some time and this is what we did.

One of the very early products for cars was a ceramic coating which we were unsure how to take it to market and fully explain what it did so we do what all car guys do and go on a road trip.

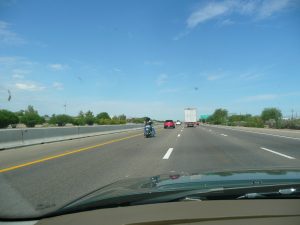
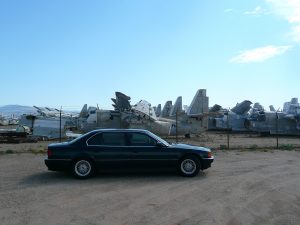
The car we used was and Oxford green 1998 BMW 740IL, perfect for what we wanted to do as that colour shows any marks, blemishes, and any soiling so we starting in Florida we coated the car with the Nano ceramic coating, nano tire shine and windscreen coating, packed up,  and headed  on a 3,200 mile drive west toward Los Angeles.

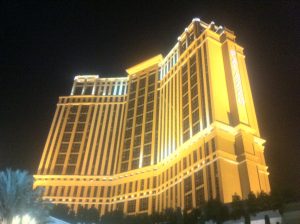
We took our time doing the crossing taking 7 days to step foot on Santa Monica pier via Las Vegas. This was the BMW’s 10th transcontinental USA crossing so we had a good feel for any changes in the way the car performed.

Here is what we found

  1. Fuel economy had improved. The car always got 26 MPG but we noticed that we got a solid 28MPG with the coating on the car
  2. The claim of not needing to wash your car again was not accurate. The car still got dirty as it normally would but it was far easier to clean
  3. The ceramic coating did give the paintwork depth and made the metalic flakes shine more
  4. The windscreen coating didn’t work as we were told, that it repelled rain but we did find that it was much easier to clean off bug splatter and that rain drop dispelled very well and the windshield wipers were much quieter
  5. The tire shine didn’t last 2 days so we count that as a non-starter.
First cross country test USA
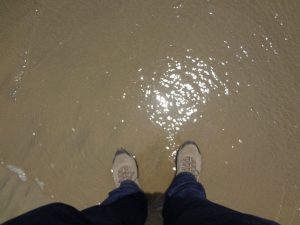
Starting point Boca Raton FL
First cross country test USA
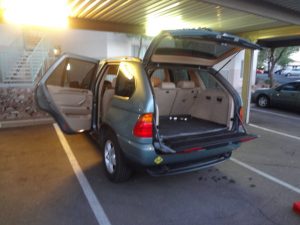
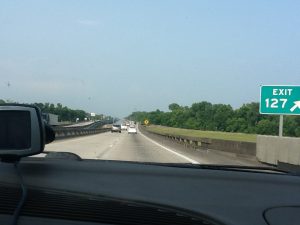
I10 Louisiana
First cross country test USA
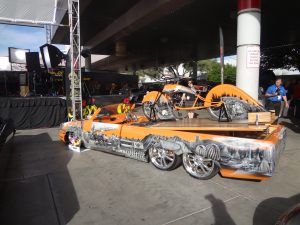
2 day visit to the SEMA show Las Vegas
First cross country test USA
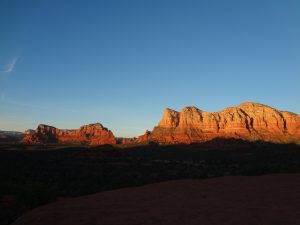
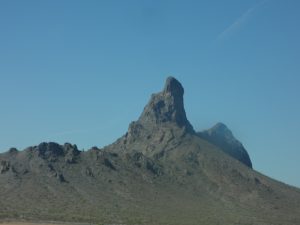
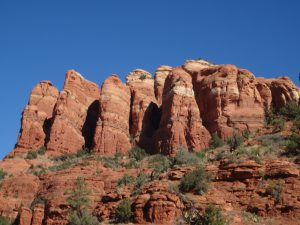
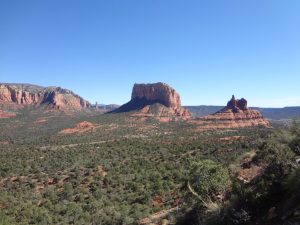
The Beauty of Sedona AZ
First cross country test USA
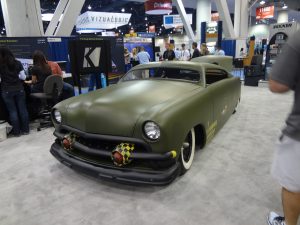
Show favourite SEMA 2013
First cross country test USA
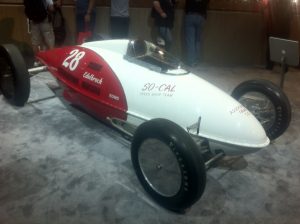
SEMA Show 2013
First cross country test USA
SEMA Show 2013
First cross country test USA
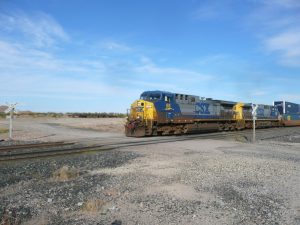
Every 6.5 minutes a train passes
First cross country test USA
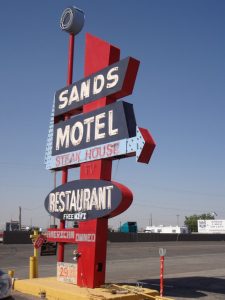
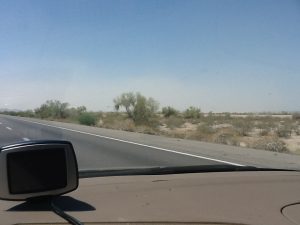
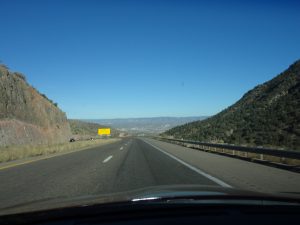
I10 New Mexico
First cross country test USA
SEMA Show 2013

First cross country test USA First cross country test USA First cross country test USA First cross country test USA First cross country test USA First cross country test USA First cross country test USA 

First cross country test USA
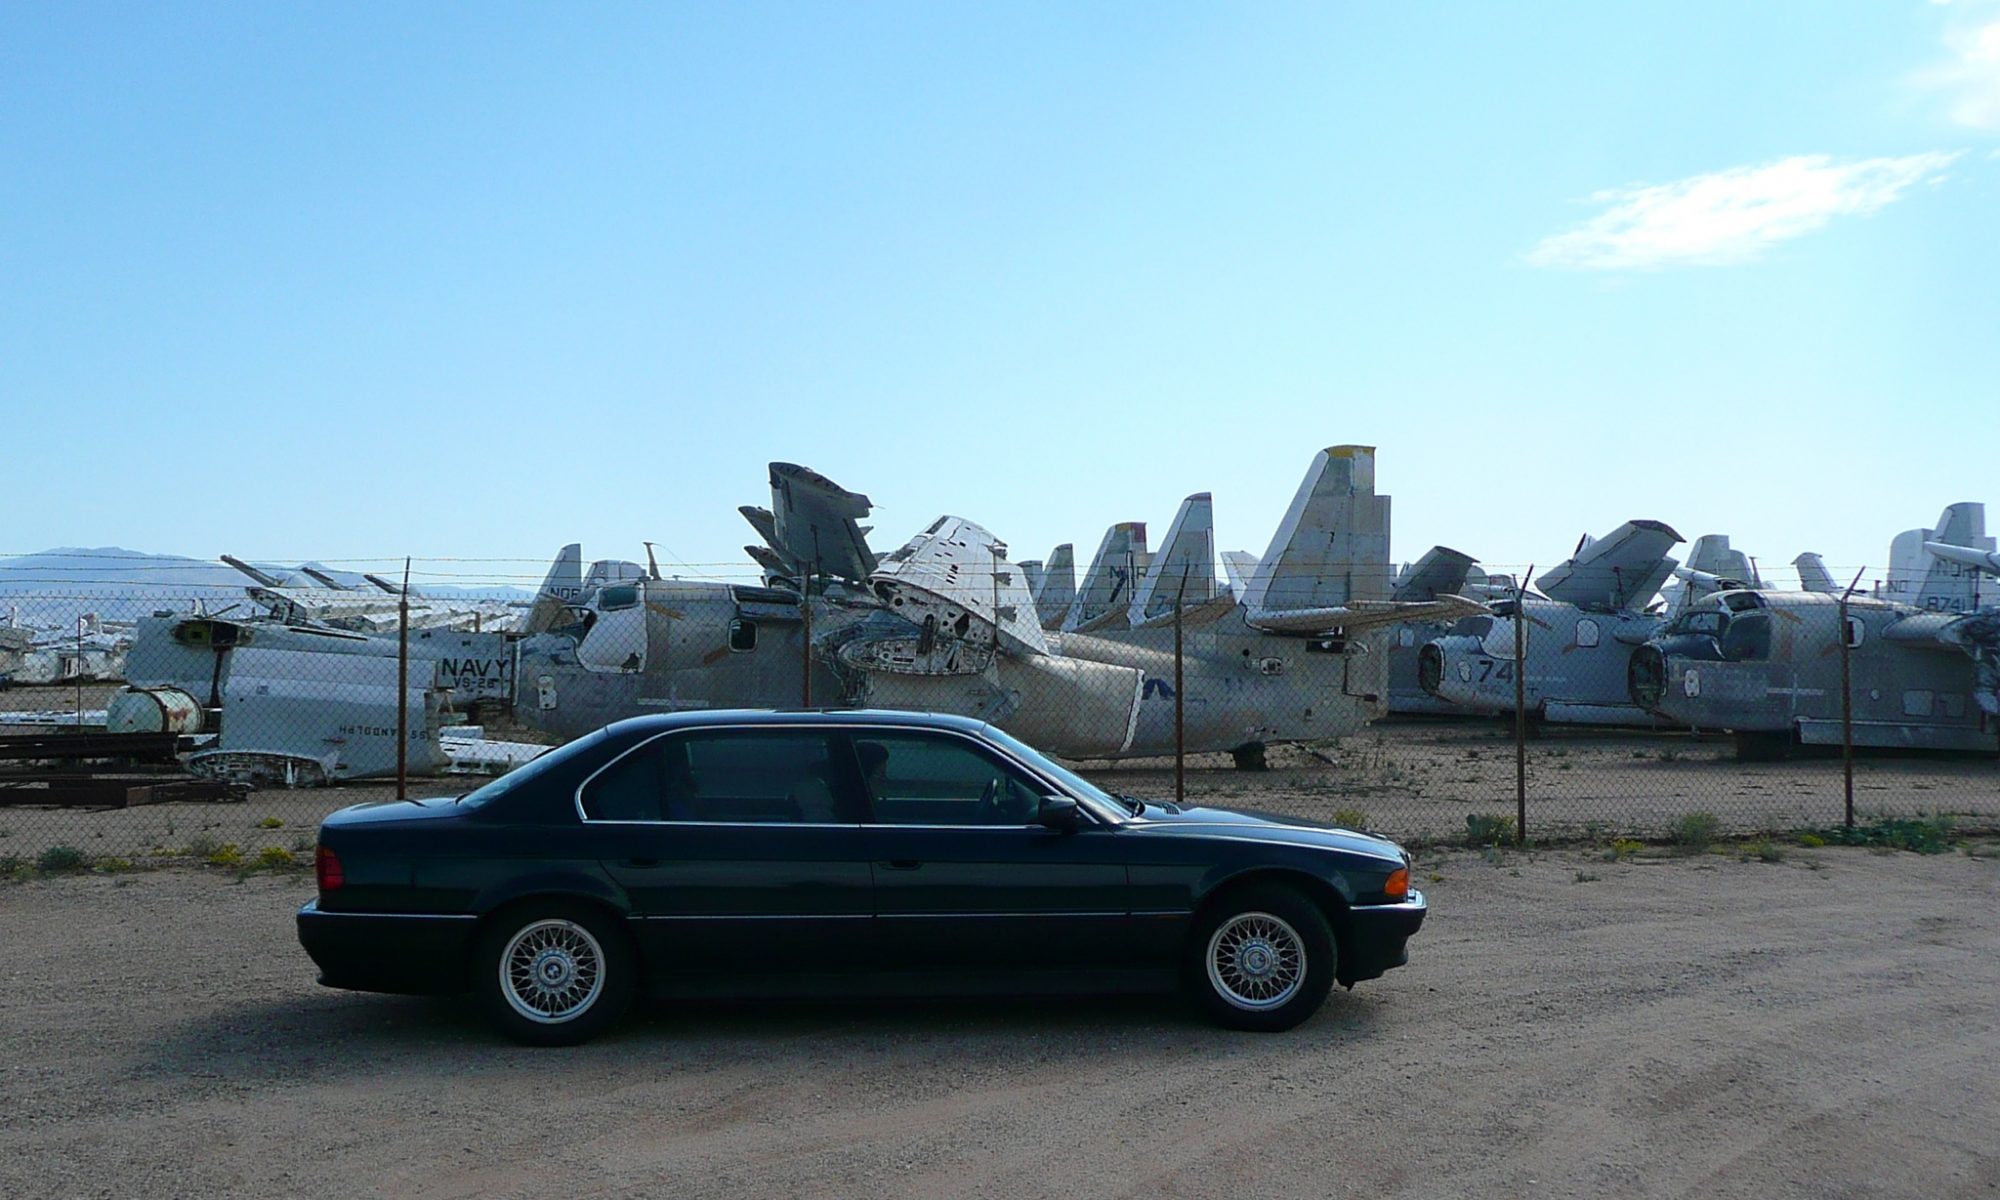
BMW @ Military Aircraft Graveyard

First cross country test USA 

After this trip we saw that the products although good they were not great. we believed that they could be made great so we formed Nano Development Group and from that the Brand NDG.

We employed a chemical engineer who specialised in Nano technologies and started on the long expensive road to product development.

We plan to expand our testing to other parts of the world and develop products that are DIY in their application rather than products that need to have specialist applicators.

Stay tuned for further blogs.

Copyright Nano Development Group Inc. 2013

NDG Self Healing explained

NDG Self Healing explained

Dubai UAE 2014 launch

We launched NDG products into Dubai in 2014 leading with our Self Healing coating for cars. What we didn’t expect was the resounding success that was ahead of us. The market responded and we were inundated with cars waiting for some NDG Self Healing.

The idea and function of the Self Healing coating is that once it is applied, not only is is super glossy it has the ability to heal itself when heat is applied to it.

Since this time we have applied the coating to many hundreds of cars and boat hulls (above the waterline).

This video shows how it works

Here are some FAQ’s

  • The coating is not a DIY product. Applicators can only apply it once they are properly trained and certified by NDG training staff.
  • NDG Self Healing is not available in all countries
  • NDG Self Healing coating will heal itself when heat is applied. It will not heal the painted surface itself
  • NDG Self Healing abilities are for light scratches and swirls that are commonly found on paintwork
  • NDG Self Healing is suitable for high end Luxury, Super and Hyper and Classic show type cars
  • Can it replace standard clear coat? It is not recommended (we do produce a clear coat alternative self healing coating but it takes particular training to apply it correctly)
  • How long does the Self Healing last? It is an intrinsic chemical formula which means that the very composition of the chemistry means that the healing ability is built into it. There is no set timeframe as to the life span of it’s ability. It is therefore important to have the coating checked annually for performance quality
  • What happens when an accident repair is required? The coating does not hinder the repair process like glass or ceramic coatings do. simply have the repair carried out and then the NDG Self Healing can be reapplied to that panel
  • Will the self healing affect a vehicles warranty? It is important to check this out in your country and vehicle importer as they have variations in rules for this in each country and this is  one of the reasons we do not sell to some countries is because of this issue. It does not just affect NDG Self Healing it is all permanent coatings of any type. We produced NDG Hyperseal for this reason as it is a polish rather than a coating. NDG Hyperseal
  • Will Self Healing change the colour and definition of my car’s paintwork? No the colour will not change, the definition may, meaning that on darker coloured cars more depth to the surface may be apparent
  • How do I become a qualified applicator? We host training courses annually. send us a request for information via our contact page for further information
NDG Self Healing explained
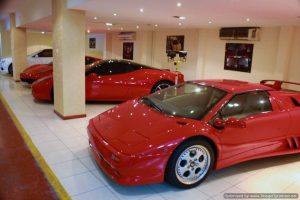
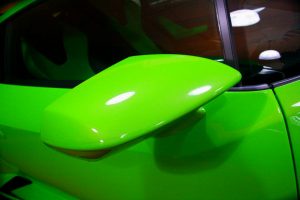
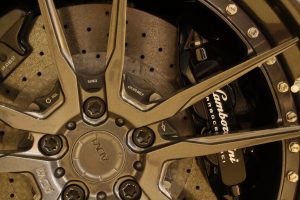
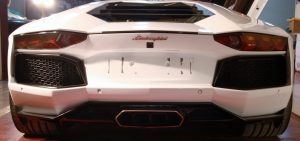
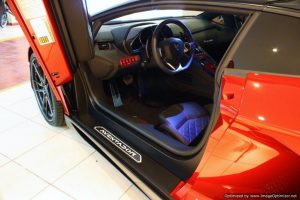
Lamborghini’s & NDG Self healing is a perfect fit
NDG Self Healing explained
An example of NDG Self Healing

Copyright ©2016 Nano DG Singapore Pte. Ltd. All Rights Reserved

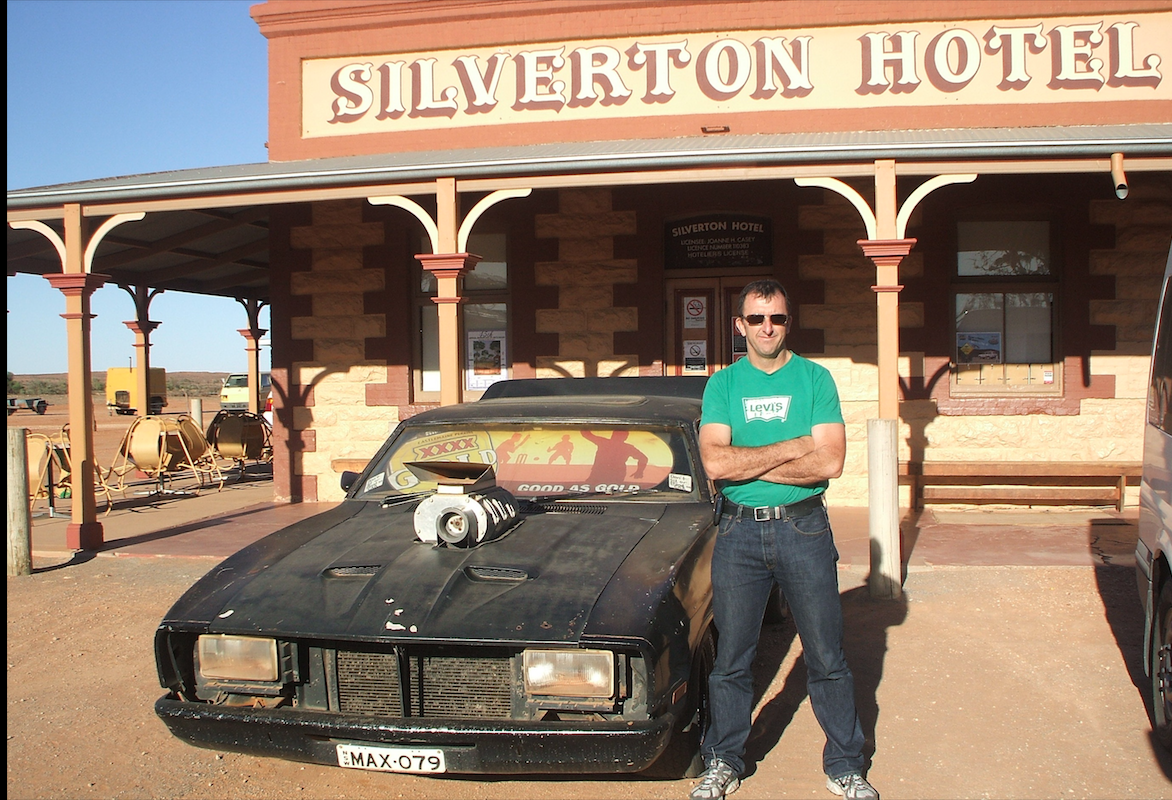
Keep an eye out for Mad Max

Keep an eye out for Mad max

Our long term test car is still at it, driving around the vast Australian landscape but not without it’s challenges.

Just last week we had the turbo Ford in the workshop to do our annual inspection after it had rear suspension failure somewhere out on a country road. It had to be recovered and brought in. The car is now at 230,000kms on the odometer which is far beyond our original 60,000km test and now well beyond the 2nd 60,000km testing and into the 3rd 60,000 test cycle.

We are super pleased with the results we are getting from our products and this car has helped us understand how far we can predict that our product will last for and how robust they really are.

We prep the car with some new experimental products and some of our existing products while the suspension is being repaired.

  1. We wash & claybar the body  with Mega Gloss Wash to have a look at the condition of the paintwork and Hyperseal. We find that the Leading edges of the car are holding up well and the Bugs are still easy to remove but the water beading has dropped off. The horizontal surfaces that are most exposed to the sun and acid rain are doing well and no halo’s or swirl marks are appearing and the acid rain fallout is easily removed without any ingress into the clearcoat.
  2. We re-coat the car with Hyperseal. We found the application to be easier than the first time we did it so reapplication after extended periods is no problem.
  3. We take a good look at the Shield 120 that was applied to the windscreen and see that there is very little pitting on the glass and no cracks or impacts to be found. This is 2 years of service for 130,000kms.
  4. We then applied Screen Shield which is a stronger product for impacts and is a permanent solution for the windscreen.
  5. We apply our Long Lasting Tyre shine to all tyres
  6. We apply some experimental products to various components

After replacing the lower coil over suspension bolt (one of the problems with coil overs is that any failure will cause the car to bottom out with no spring support).

Keep an eye out for Mad Max
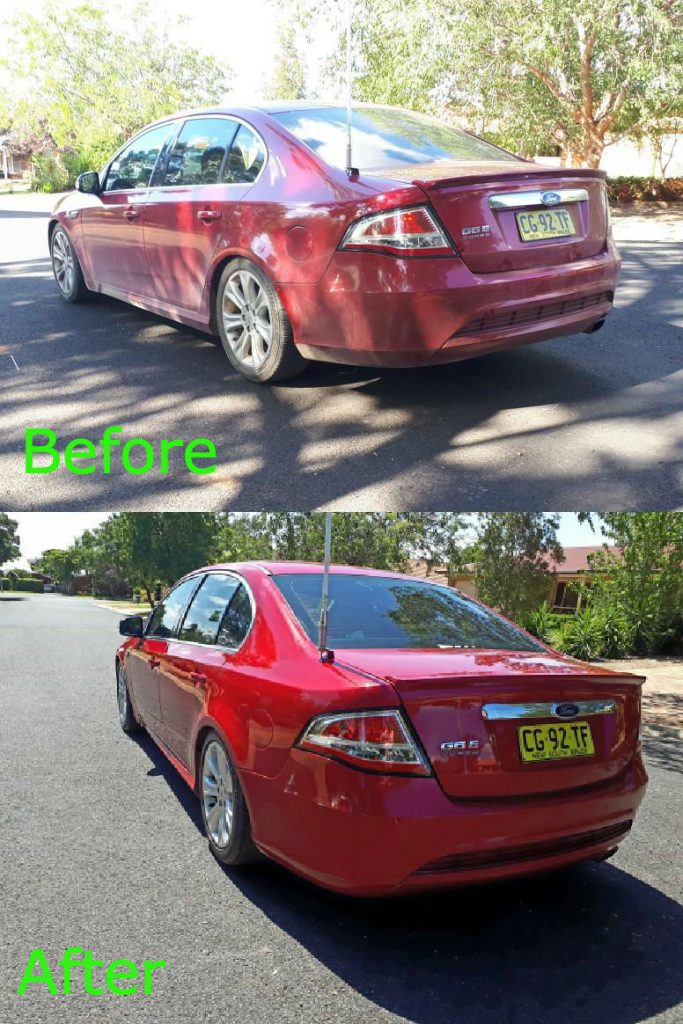
Before and after March 2018 inspection and recoating of Hyperseal
Keep and eye out for Mad max
Recovery truck loaded
Keep and eye out for Mad Max
Lower shock mount broke off. Nearly took the tyre sidewall with it.

On the road again

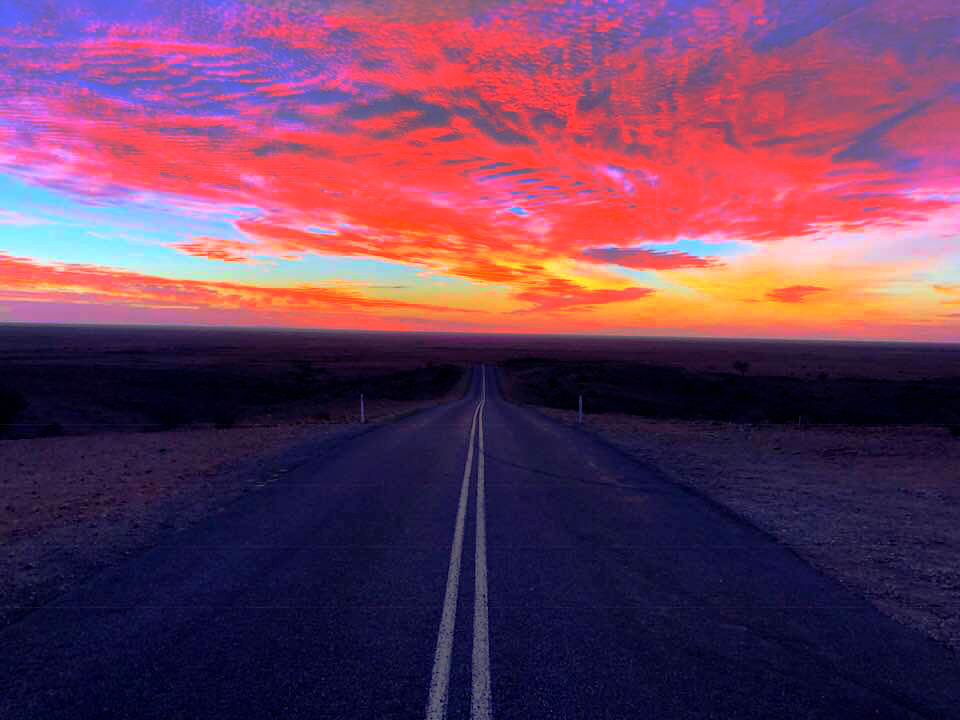
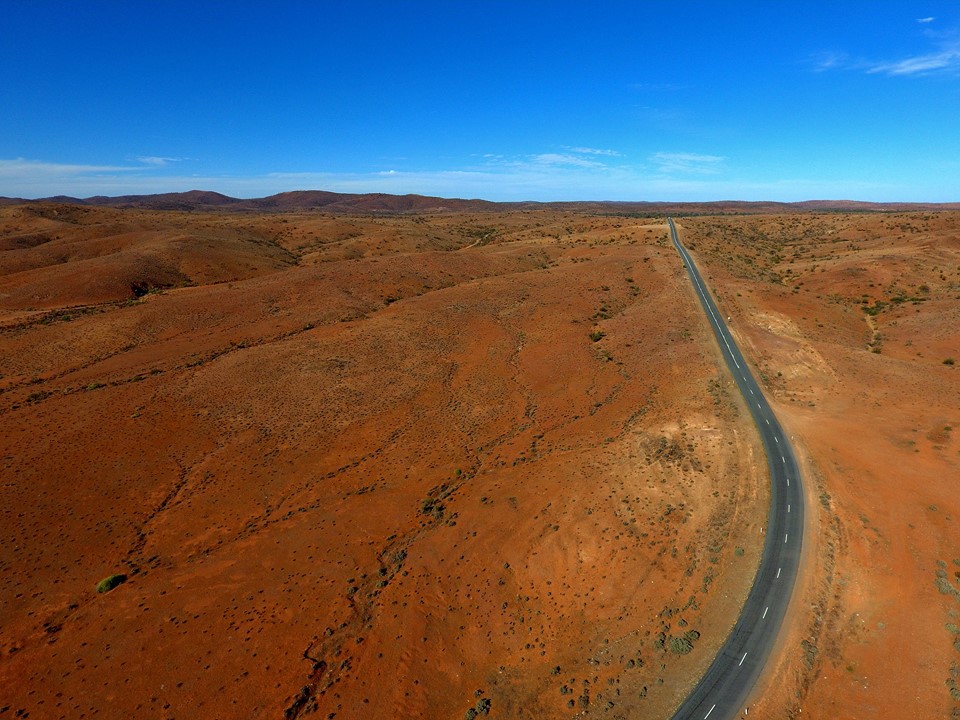
No sooner had we photographed the car and it was on the road again going west into the Australian interior desert for a very long, hard drive to Adelaide via White Cliffs and Broken Hill, MAD MAX territory.

The end of the trip findings

This trip the ford travelled over 5000kms on a variety of terrains in borderline extreme conditions. We check the condition of the coatings after the trip and we are very pleased with the results.

We will take our findings to develop some of the still secret experimental products further and finalise some of the others.

We will keep updating blogs on the test car over the next 12 months when the car will be at the end of it’s service life.

Keep an eye out for Mad Max
The very road that Mad Max 2 was filmed


Keep an eye out for Mad Max
Look closely, you can see our Ford test car
Keep an eye out for Mad Max
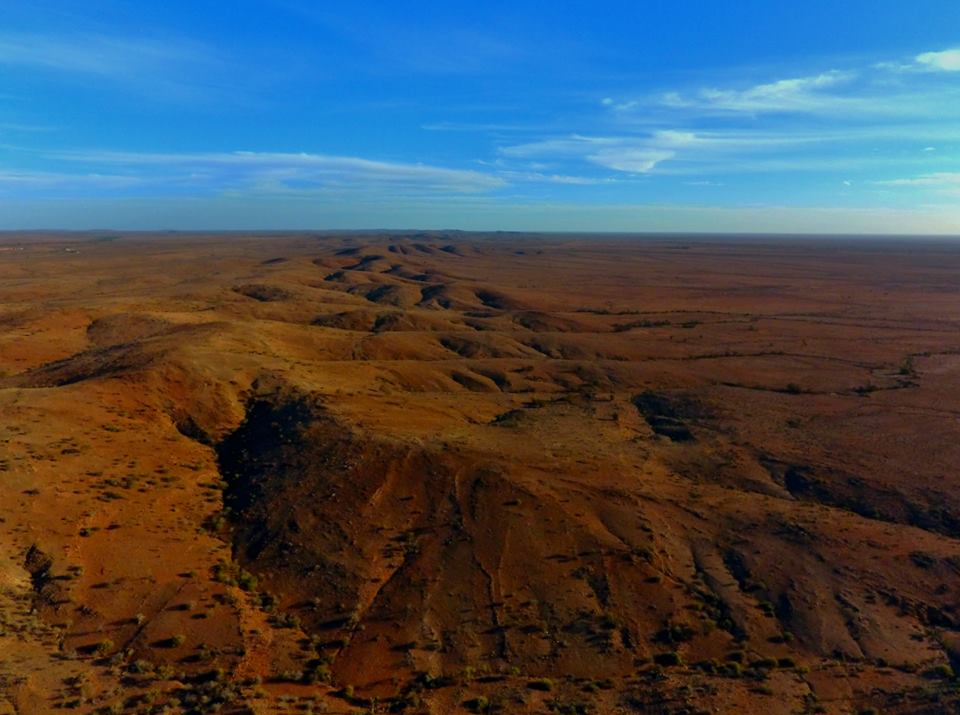
Mundi plains Western NSW Australia.
Keep an eye out for Mad Max
Looking great at Sculptures in the Desert Sunset
Keep an eye out for Mad Max
One of the long and not so winding test roads in central Australia
Typical outback test road
Keep an eye out for Mad Max
Beautiful but harsh terrain

Mid 2018

It was decided to retrofit the original coil and shock suspension system after several more suspension bolt failures that when happens the car is immobilised. Along with this we started looking around for a replacement car as the reliability of the ford was starting to become an issue.

Keep an eye out for Mad Max
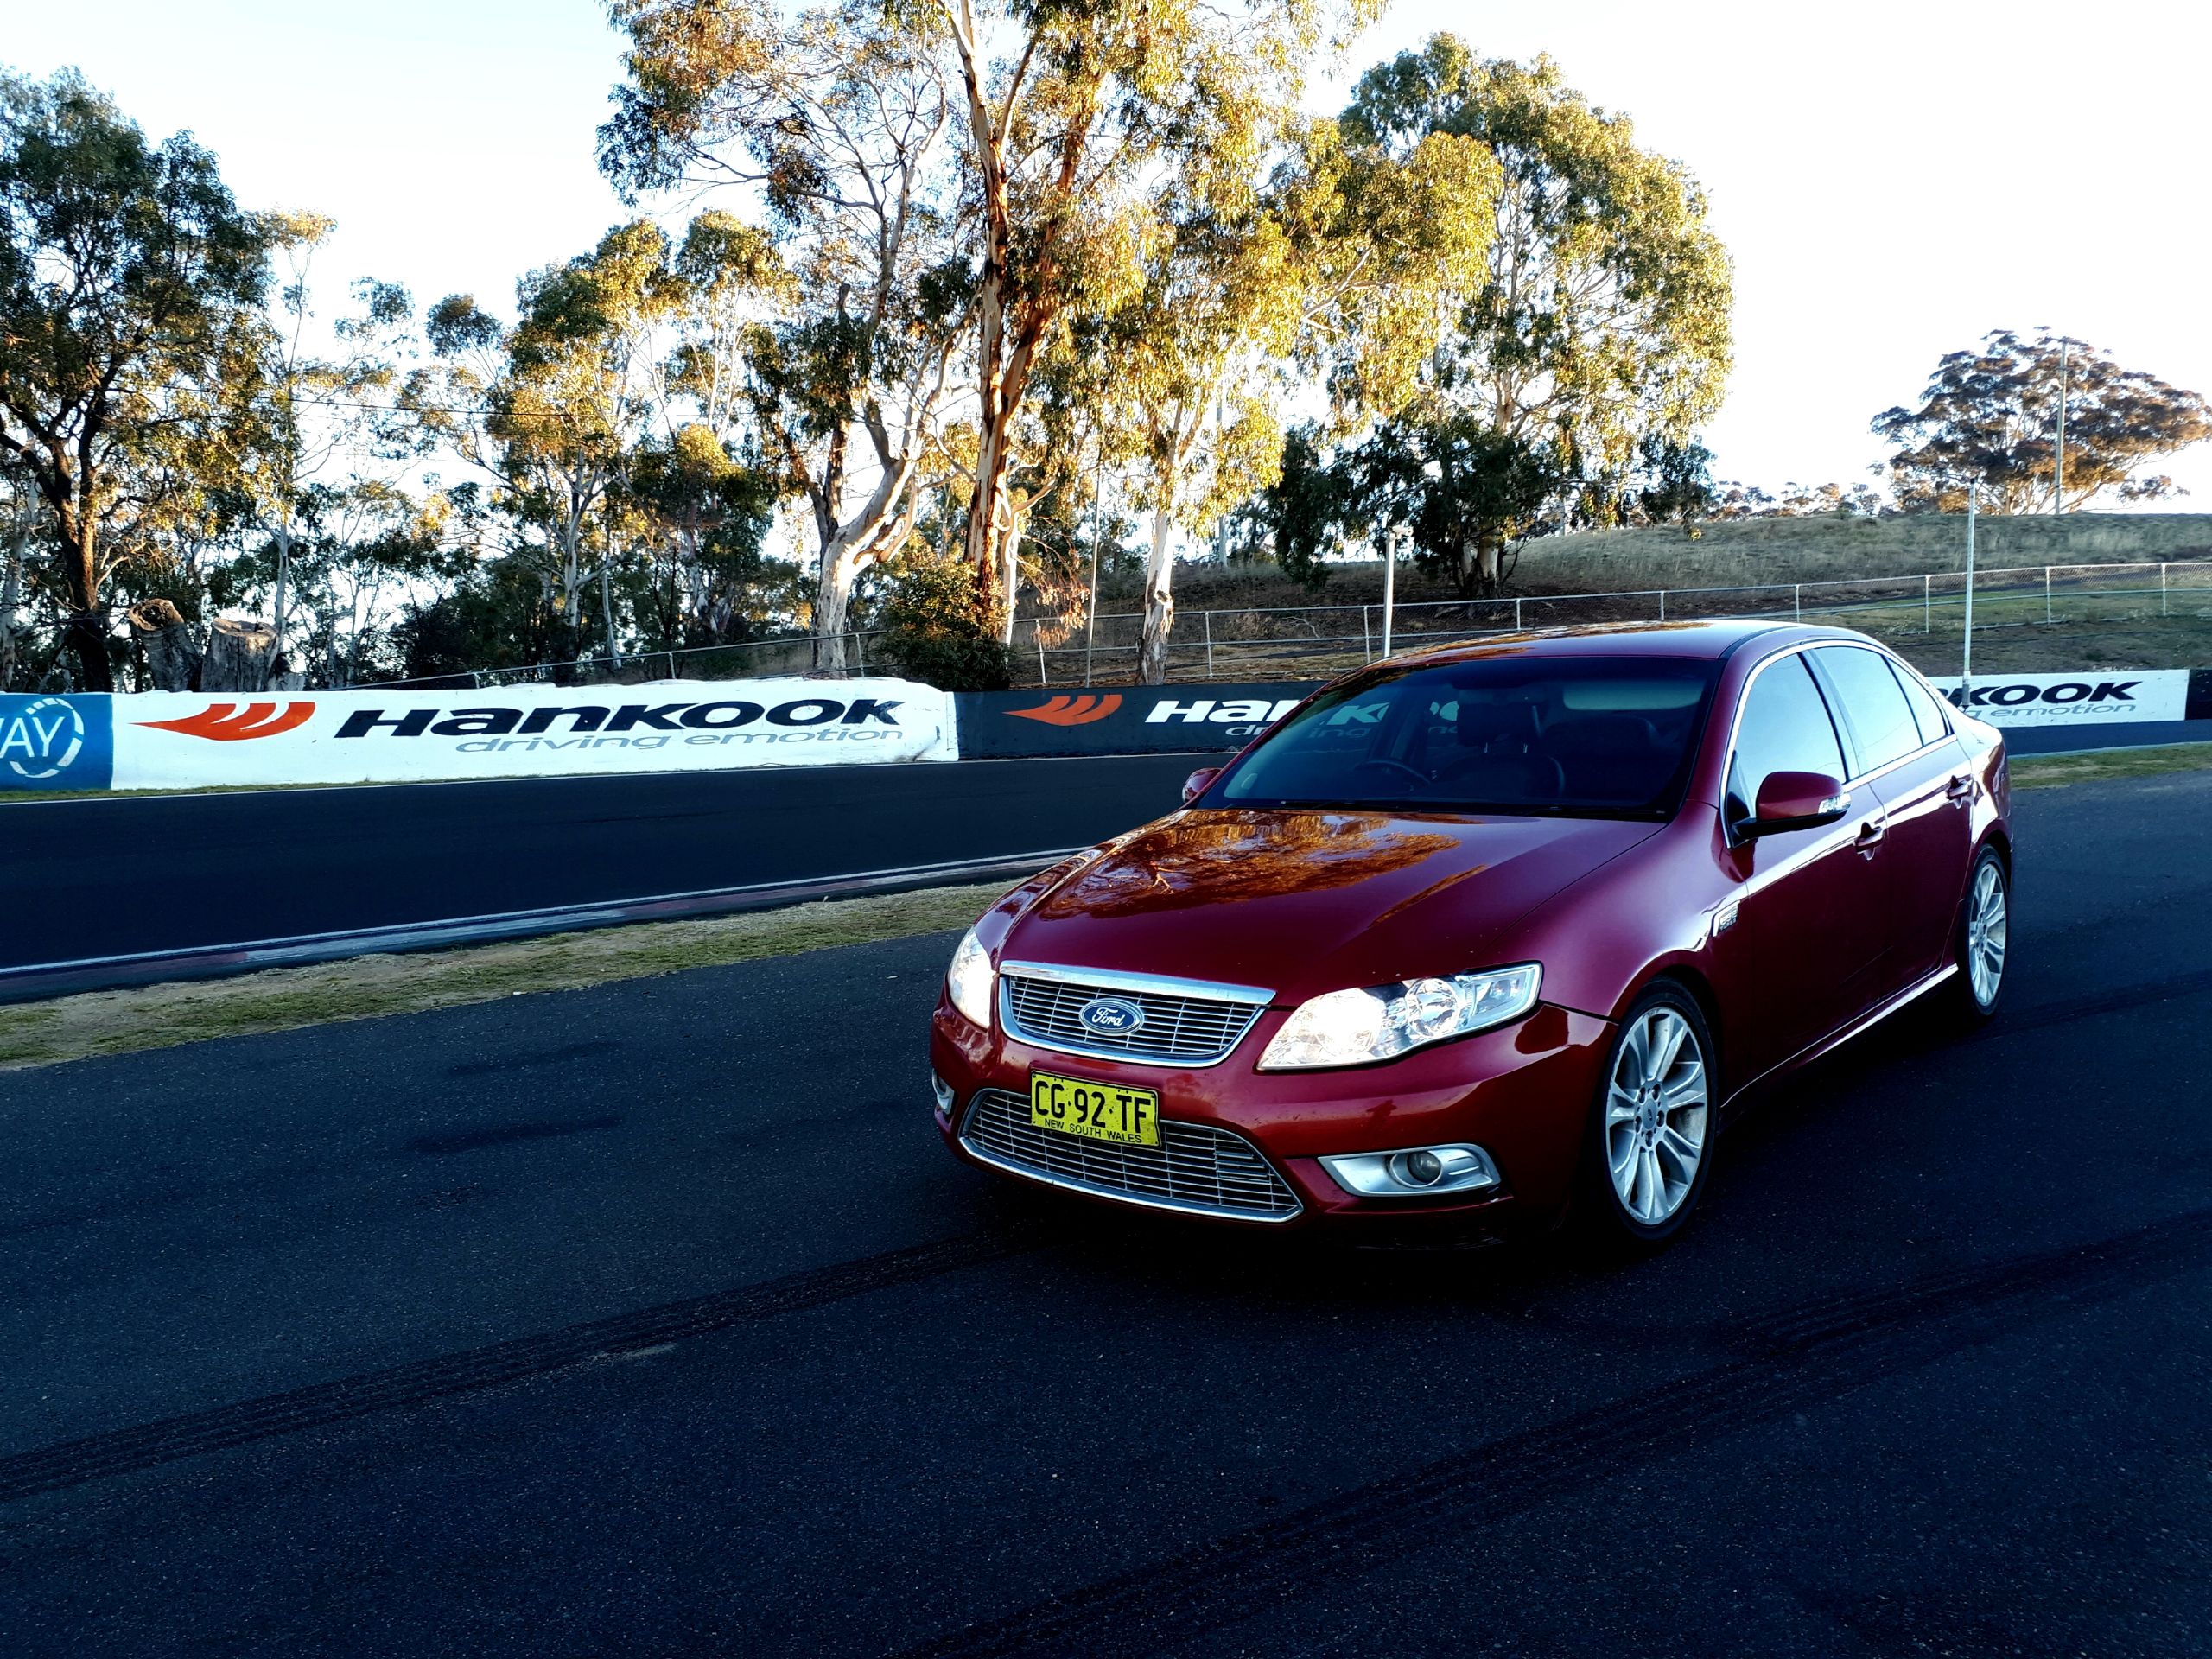
Hyperseal coating still looks great. 1 hour before the Kangaroo hit

Some time later we found a 2006 BMW 740Li with 100,000kms and matte grey vinyl wrap. See blog

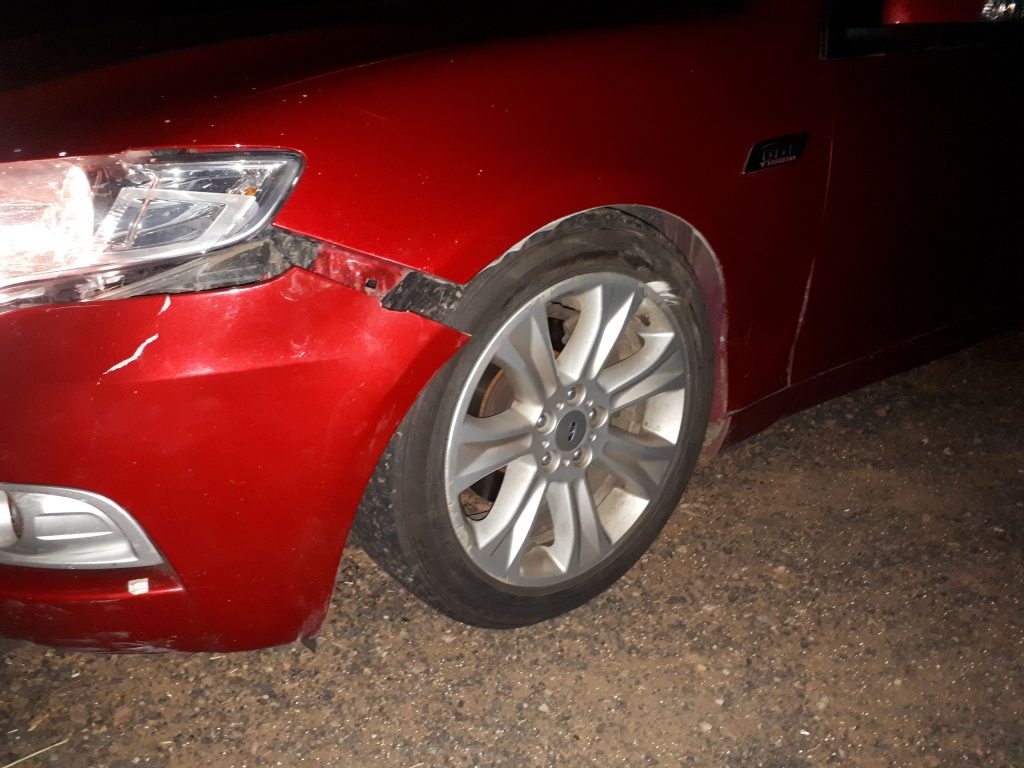
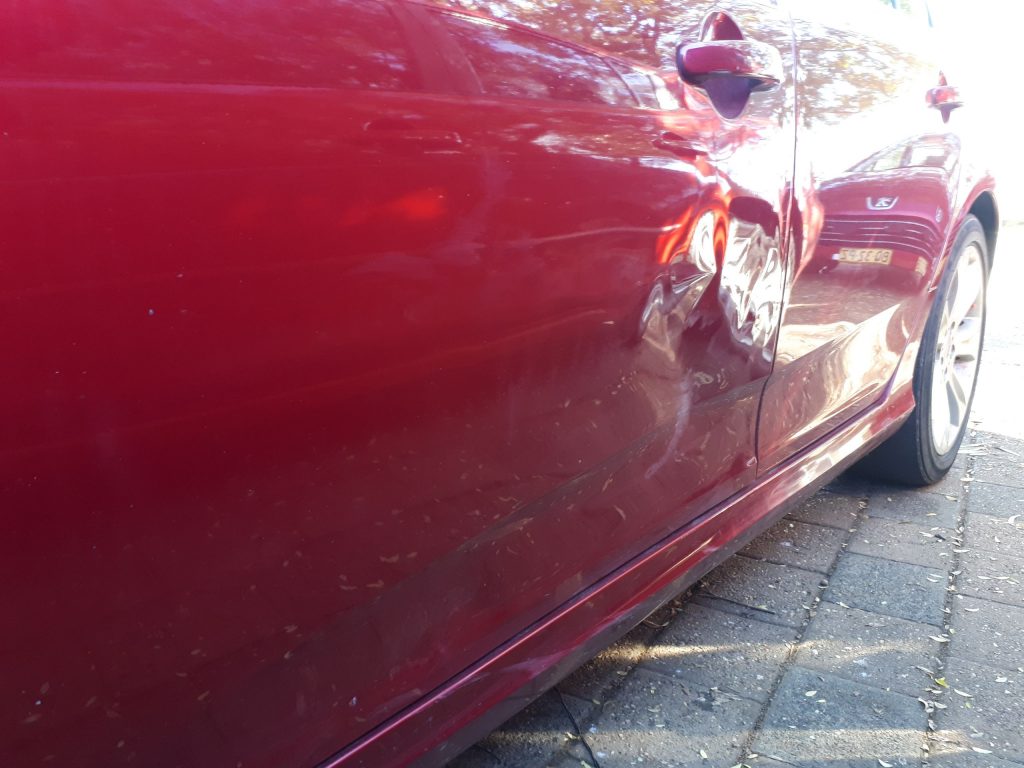
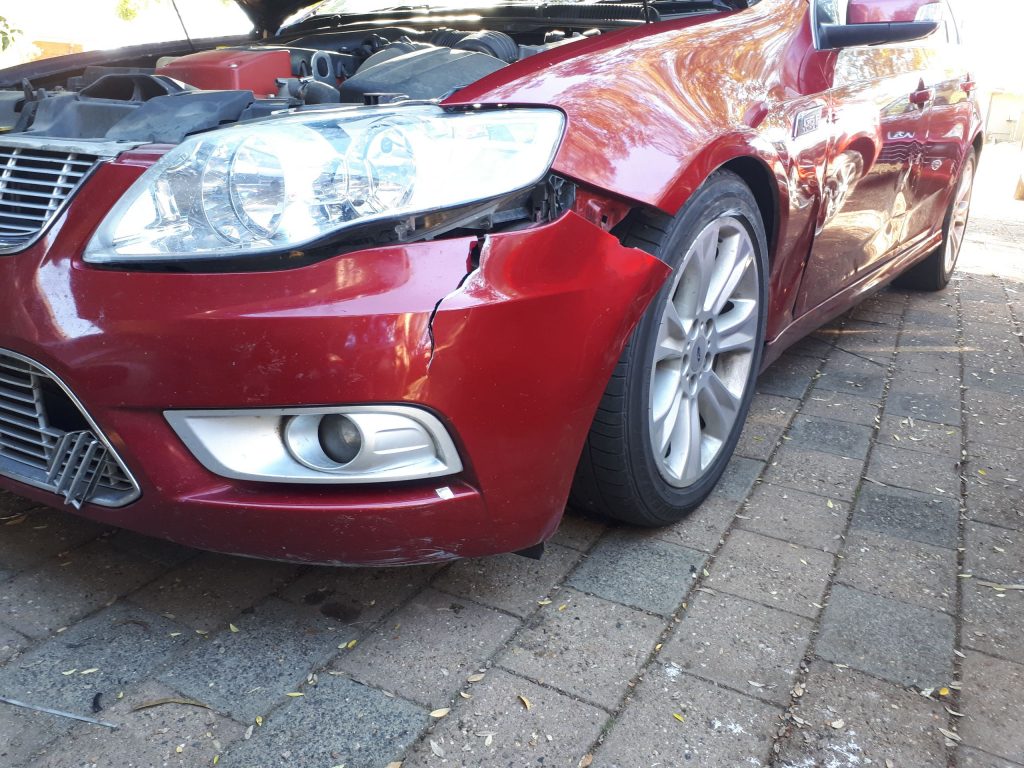
On driving back from picking up the BMW and a final drive around Mount Panorama endurance circuit a kangaroo jumped out in front of the car and caused big damage to the car..

This spells the end of the road for our long term test car.

Keep an eye out for Mad Max
Mount Panorama

Kangaroo Impact

Keep an eye out for Mad Max
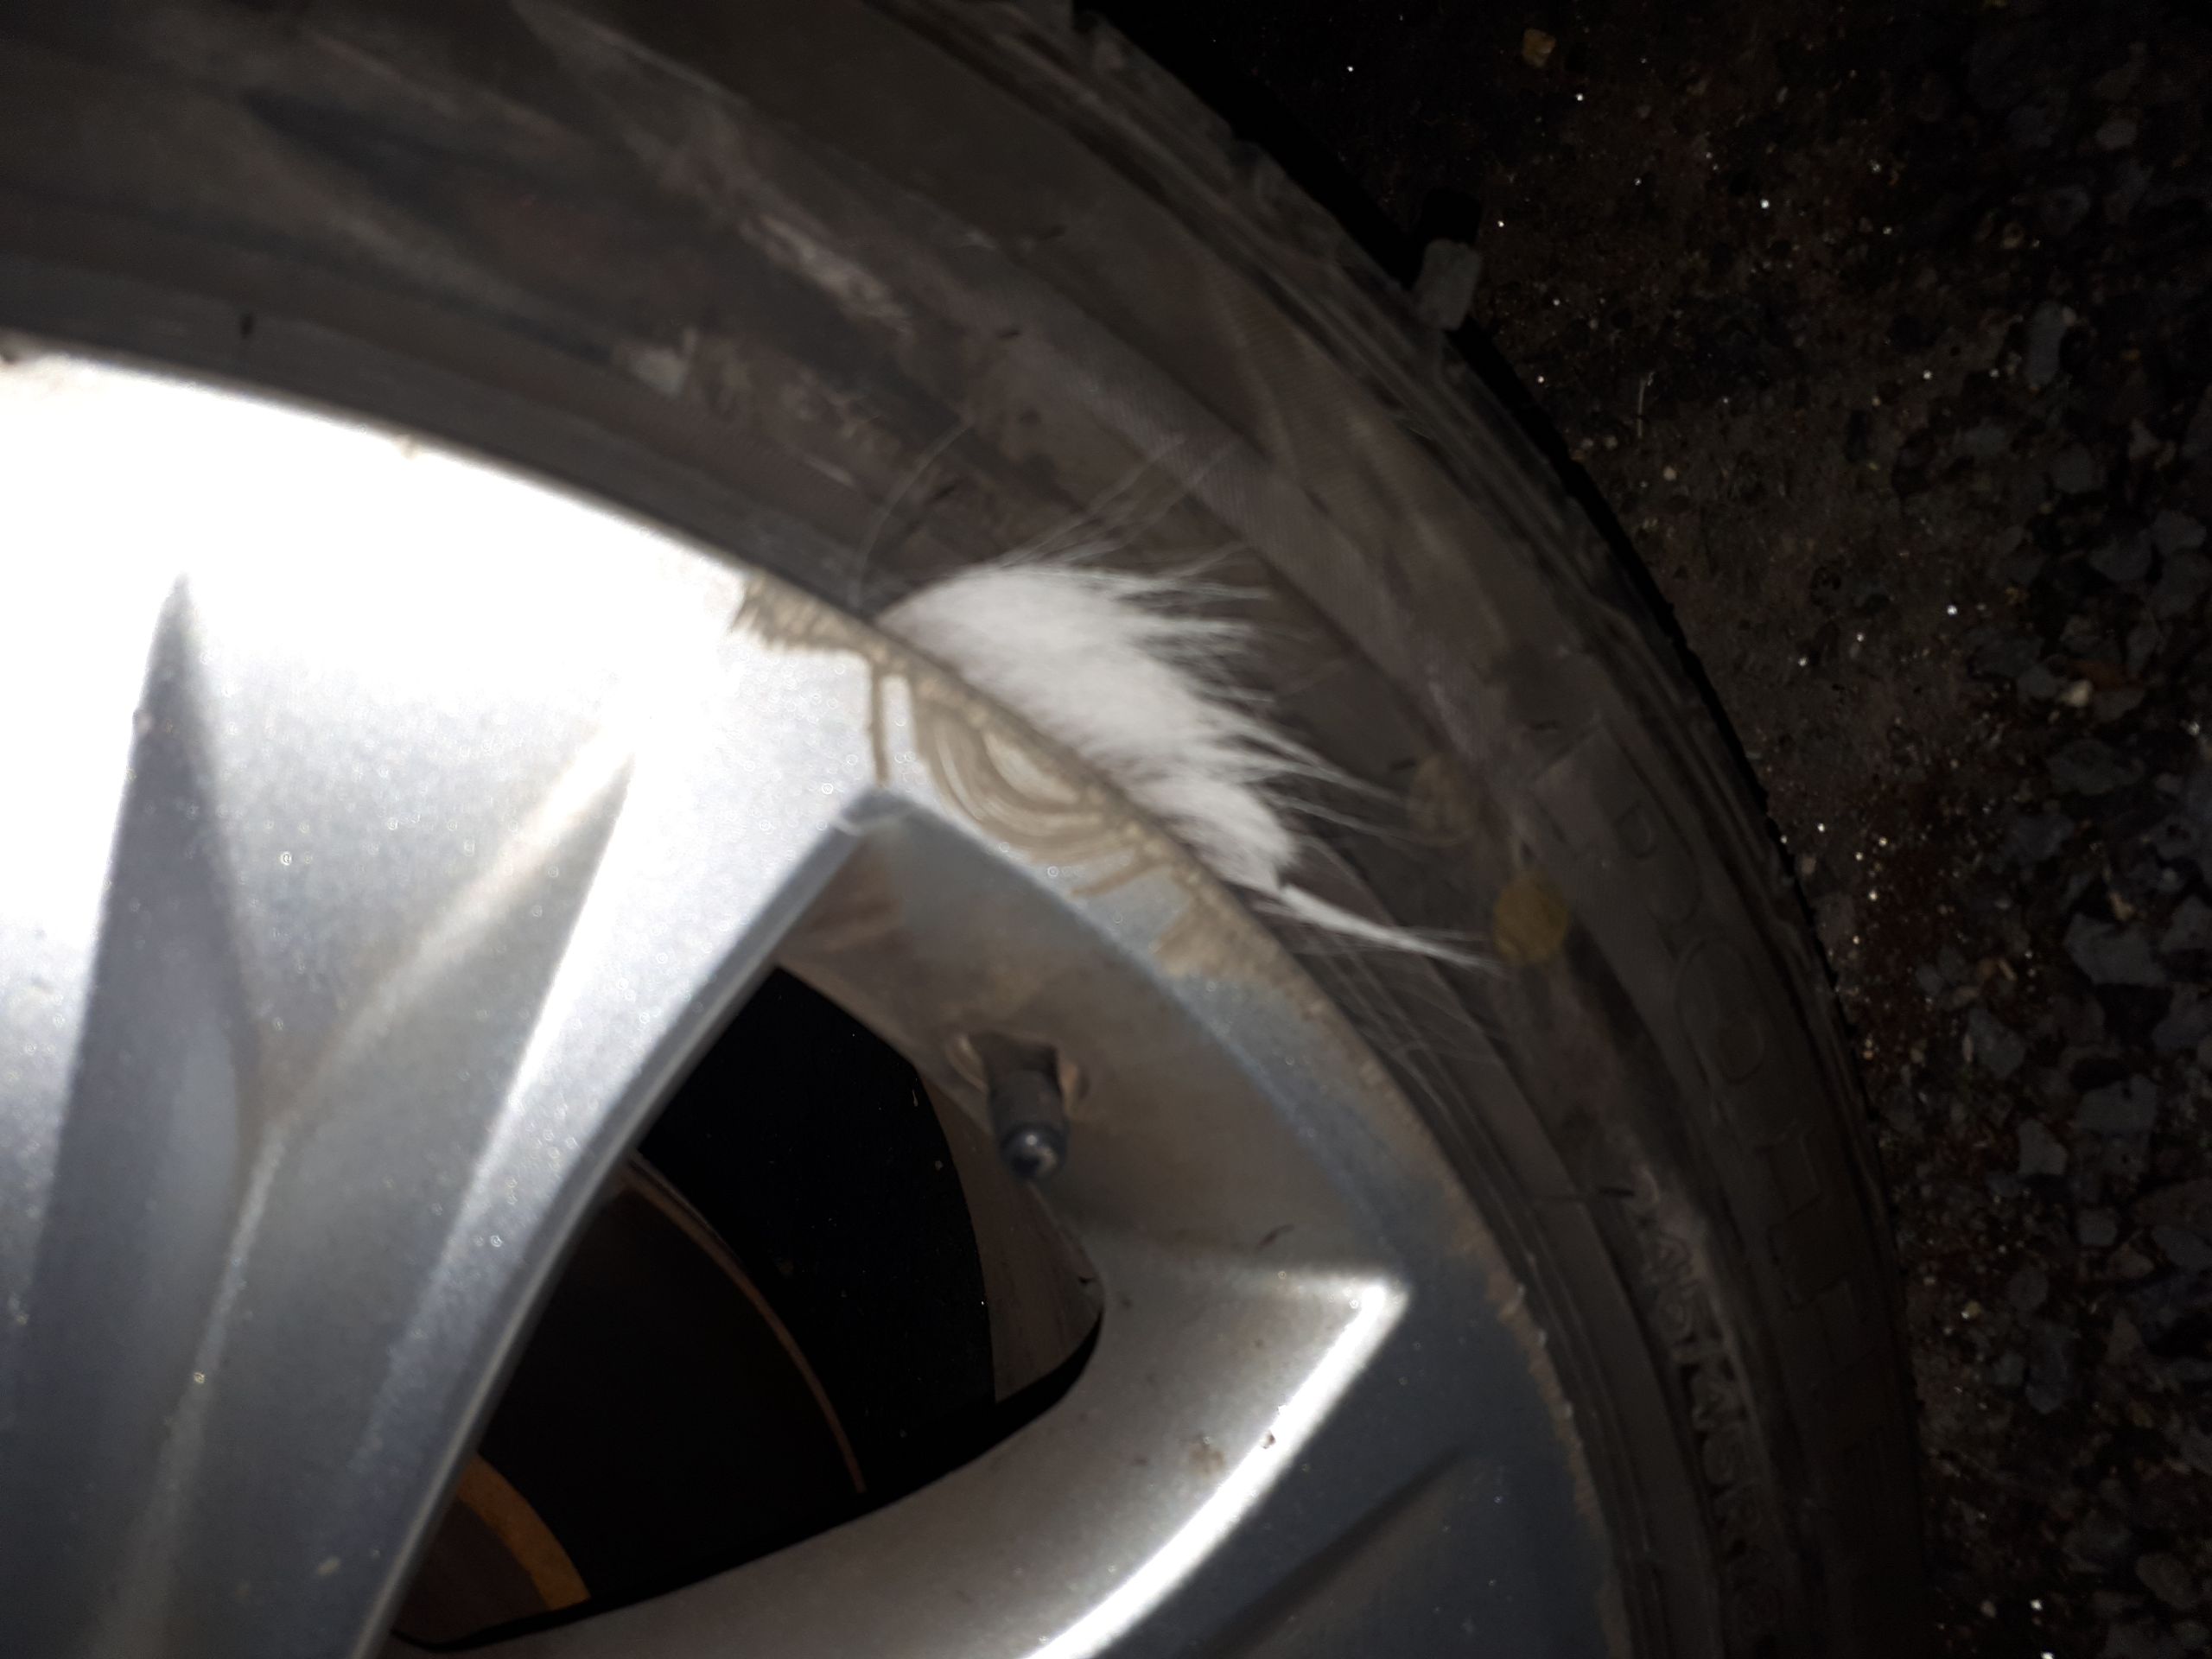
Kangaroo fur

Keep an eye out for Mad Max Keep an eye out for Mad Max Keep an eye out for Mad Max


Copyright ©2016 Nano DG Singapore Pte. Ltd. All Rights Reserved
Where is the Gotcha?

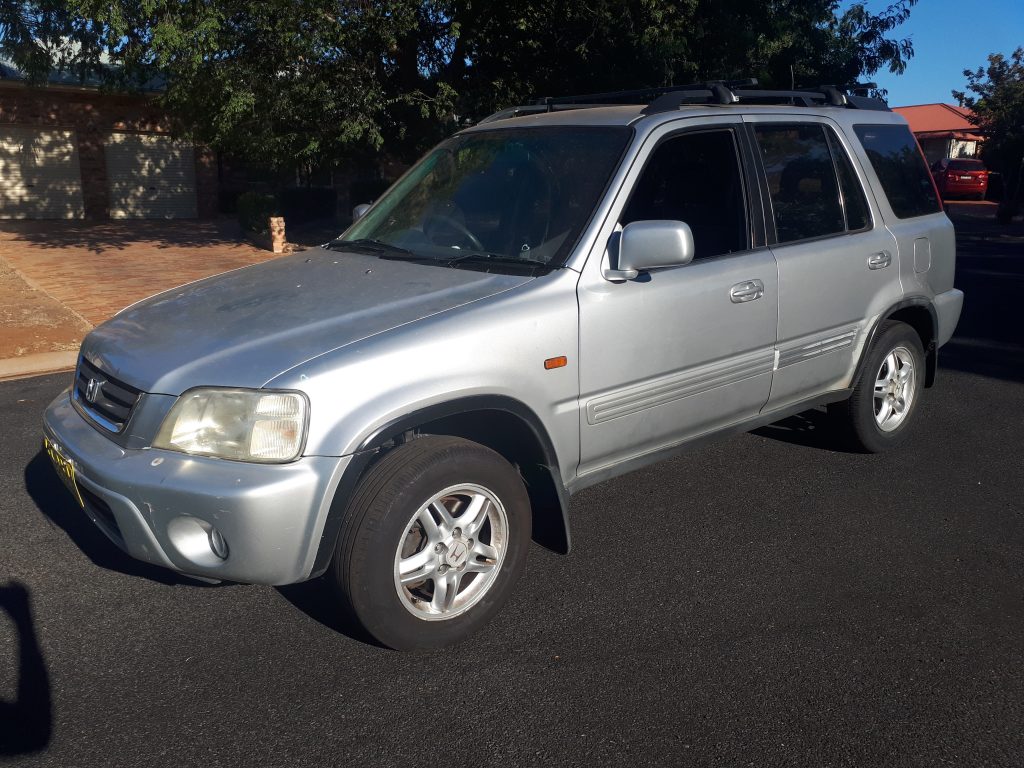
There is one way that makes us very edgy about sketchy owners selling cars. In this Blog we do just that. We buy a slightly beaten 99 model CRV from a sketchy owner with a massive dog that was lurking in their front yard, a yard we had to walk through alone to get to the front door.

We find the dog asleep on the front veranda and with just one step onto the veranda it opens it’s eyes. Gulp!

We survive that and get on with looking over the car that was out of fuel and nosed into the kerb.  We tested for worn wheel bearings which are pretty common at this age and found the RH front was badly worn and the brake disc was hitting the brake calliper, a liveable problem.

We got it to start and moved in slightly in reverse and the engine cut out, no fuel. So we give it a look over for the NDG DIY renovation process and whether this car fitted the bill, but, we could not get the feeling of there being a GOTCHA problem in this deal somewhere. We agree the price and go get some fuel. We fill the tank with enough fuel to get moving and go for a drive.

Yep, as we found the front bearing was undriveable but we drove it anyway. The car seemed fine, at first. The bearing noise was spin chilling but we only had a few kms to drive so we soldered on.

In the workshop for a first look. 

  1. We did the before photos
  2. We did notice that the car didn’t engage the park paw or detent which was a big worry and the cause needed to be found.
  3. We removed the front wheels and found that the car was infact a constant AWD and the front drive shafts were missing on the passenger side and half there on the drivers side.  We jacked up the car so all 4 wheels were off the ground and ran it in drive. Both front output shafts were turning and no abnormal noises were heard the park engage so, the GOTCHA was found, or so we thought.
  4. The headlights were not working on low beam.
  5. An after market stereo was fitted or badly fitted
  6. Interior fan not working
  7. A number of fused missing from the interior fuse box
  8. The body and interior were a little rough but we feel it will look great when we are done.

Parts to order

  1. Front Drive shafts and seals (We feel this is concealing a much bigger problem)
  2. RH Front wheel bearing
  3. Headlight bulbs
  4. Mini Blade fuses

While we are waiting on the parts we get to it and start the transformation process with NDG

Let’s get started on the DIY job!

  1. Mega Gloss wash
  2. NDG Claybar and lubricant process with some paint correction
  3. Cut and polish the paint work
  4. Hyperseal coating
  5. Long life Tyre shine
  6. NDG’s 3 minute headlight restoration
  7. Odour eleminator ( we will use “New Car” fragrance)
  8. NDG 600C Matte Black engine paint
  9. Long life Engine Lacquer

Before and after shots

Where is the Gotcha?
NDG Engine Lacquer & 600C Engine paint in action

Where is the Gotcha?

Where is the Gotcha?

Where is the Gotcha?
NDG Bio Crystal Magic super cleaner

Where is the Gotcha?


Mechanicals

We got stuck into this as we were burning time

  1. Installed new front wheel bearings
  2. Installed the new front drive shafts
  3. Removed the blower fan regulator and replaced the main capacitor
  4. Replaced several damaged fuses
  5. We noticed the valve cover was leaking oil so removed, cleaned and resealed

Now we find the real GOTCHA!

After installing the new drive shafts we decided to test the drivetrain and prepared the car for a test drive. On selecting reverse we hear a massive banging coming out of the transmission and the same for selecting drive. This sound is terminal.

The Sketchy owner got us good!

After searching around we locate a low milage transmission and get it on transport while we remove the transmission from the car.

We really didn’t want to go this deep in repairs in this car but we had accounted for some catastrophic issue into our buying price, luckily!

Where is the Gotcha?
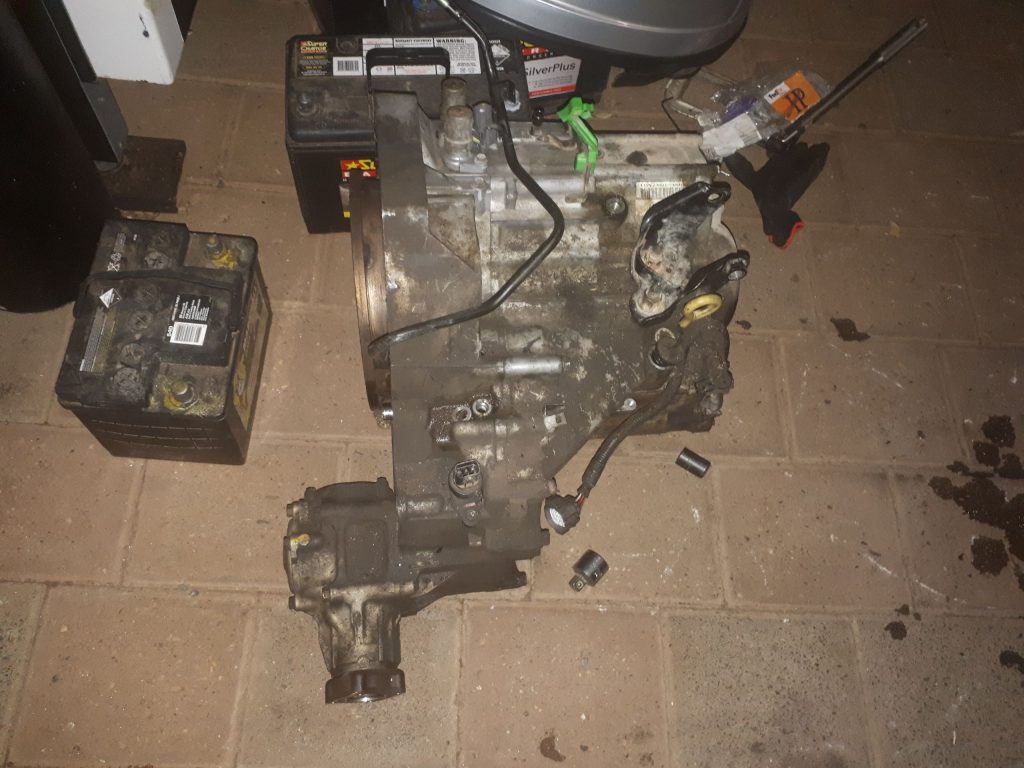
Damaged transmission
Where is the Gotcha?
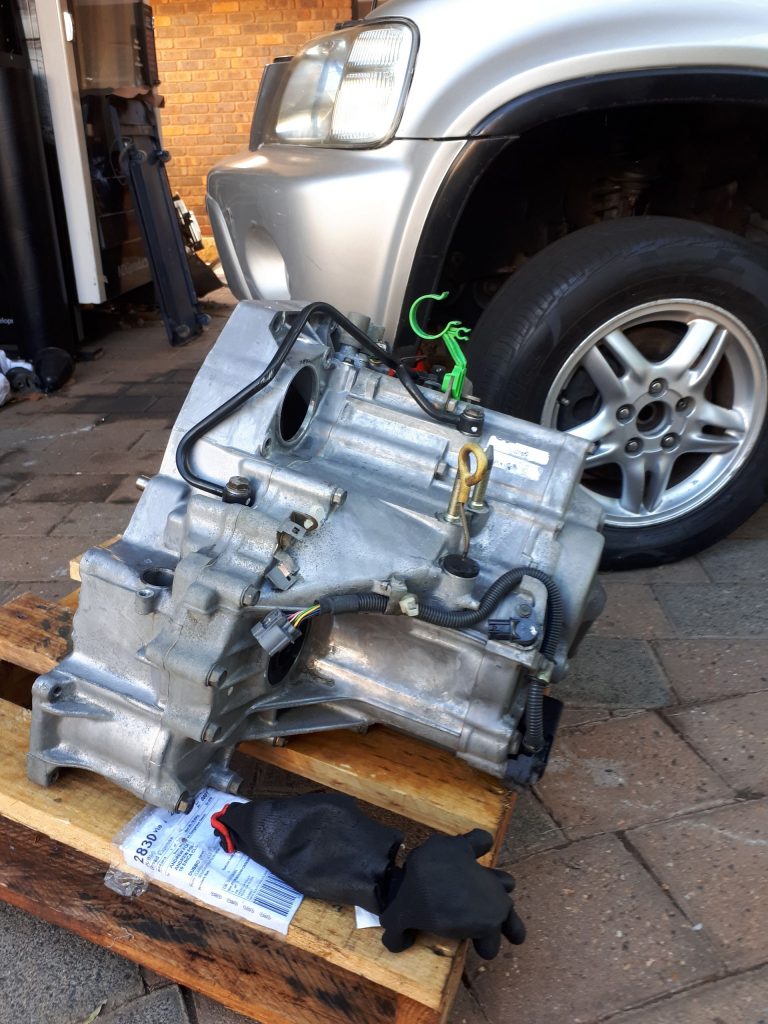
Low Milage replacement transmission

Post transmission

On receiving the replacement transmission we decided to clean it with our NDG Acidic Degreaser which restores Aluminium to look like new. (on Writing this blog we had not launched NDG Degreaser. Launch date January 2019)

After the transplant we get to go for a decent drive. Wow this is a good car and could be our company run around car.

We advertise the car with half a mind that if it doesn’t sell we will in fact keep the car.  A week into advertising it we receive a message from a Swedish fellow who wants to see the car. He buys it on the spot and loads up his traveling companion and heads to the middle of Australia for an around Australia working holiday which in a one shot drive is 16,500kms.

Bon Voyage guys!  

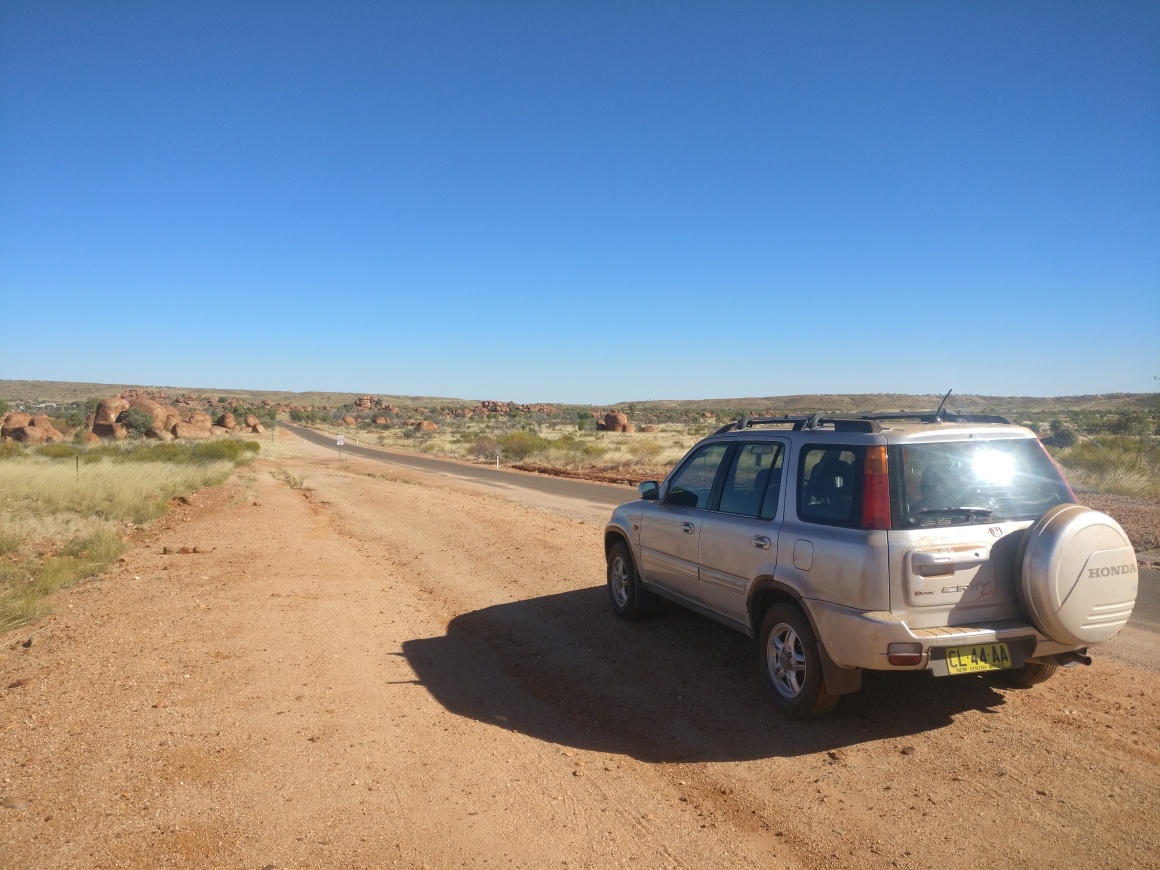
Some months later we receive an image of their trip.

Where is the Gotcha?
Honda somewhere remote Australia

Copyright ©2016 Nano DG Singapore Pte. Ltd. All Rights Reserved
Infrastructure Solar Panels and NDG Solar Flare

We have developed several Solar panel coatings under our name Solar Flare that have different characteristics for different locations and applications. To get to this stage took a lot of testing and validation in various parts of the world.

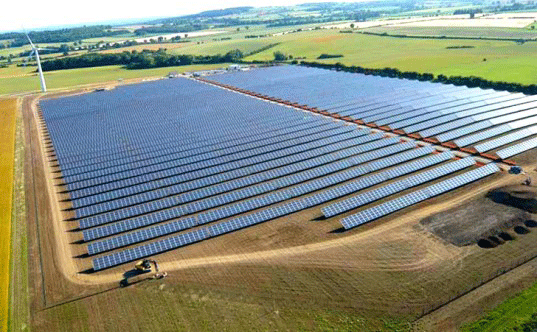
We tested on infrastructure large array solar farm panels to ensure correct tune levels and not void the panel manufacturers warranty

Large Array Solar farms

We tested on domestic solar panels for performance over the 4 different seasons and environments

Domestic Panel with NDG Solar Flare applied. Great colouration and clarity

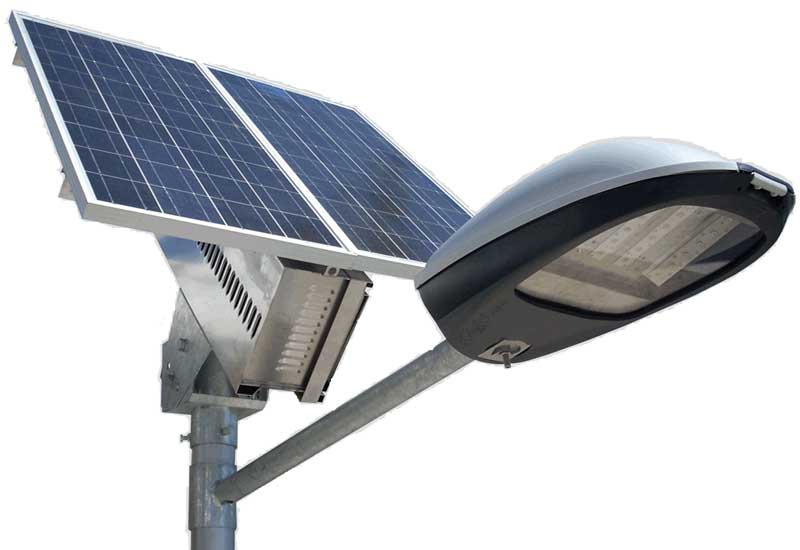
We tested on solar panels for government and city infrastructure structures over 2 years.

Long term testing in extreme environments on LED Solar street lights

What we have now is a solid range of solar panel coatings that are tuned to do specific jobs.

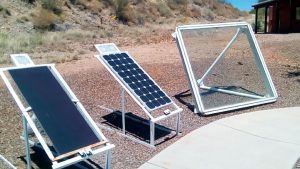
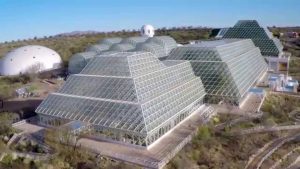
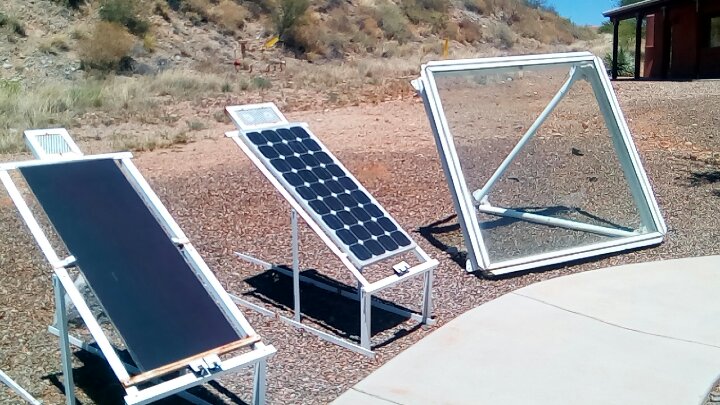
Long Term Solar testing Biosphere 2 Arizona USA
Long term testing Biosphere 2 Arizona

We are very proud of our range of NDG Solar Flare products.

We are committed to developing the range of Solar Flare products further in step with the Solar and Renewable energy industries so please contact us for developmental request.

Solar Flare products can be bought here. or send us a message for further information.

Copyright ©2017 Nano DG Singapore Pte. Ltd. All Rights Reserved
This function has been disabled for NDG PRODUCTS.