10 Years under a tree

10 Years under a tree

10 Years under a tree

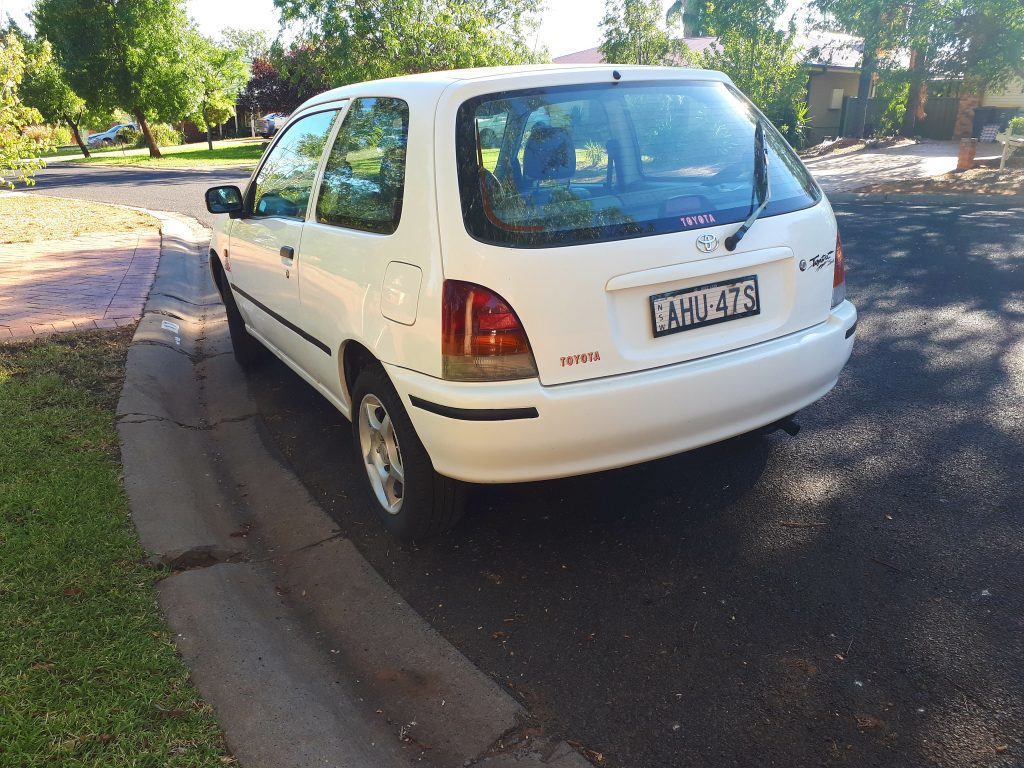
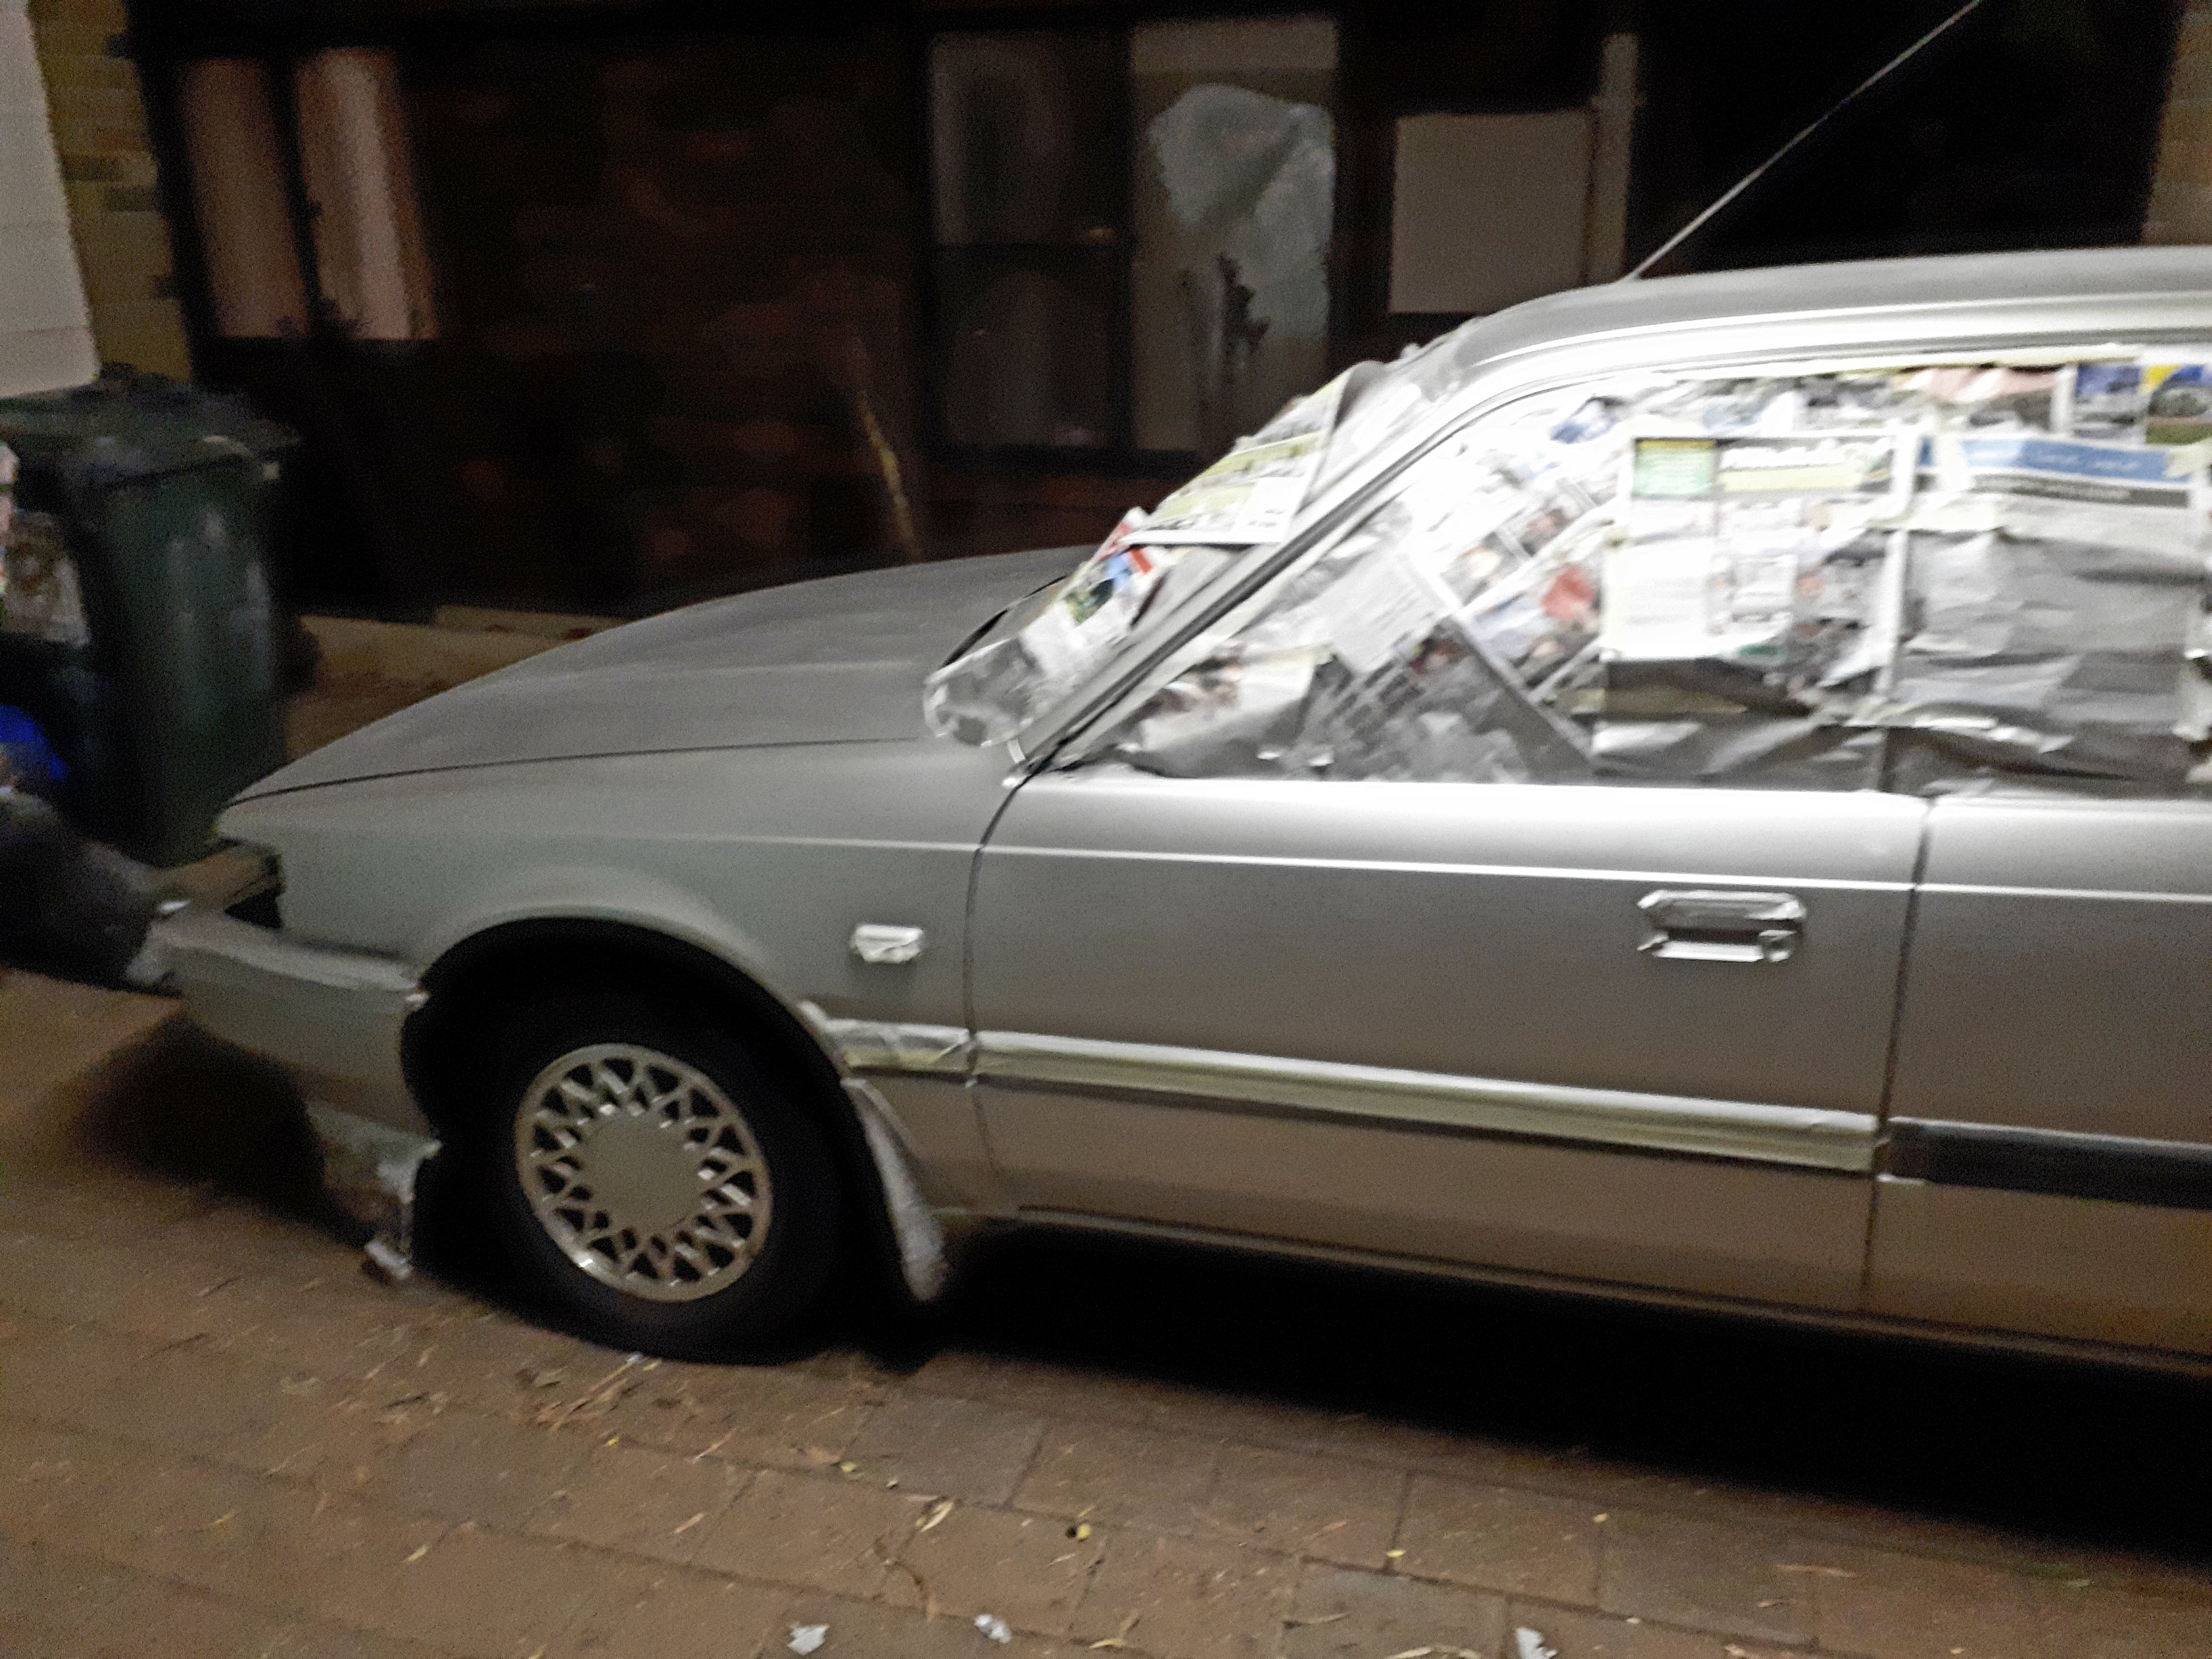
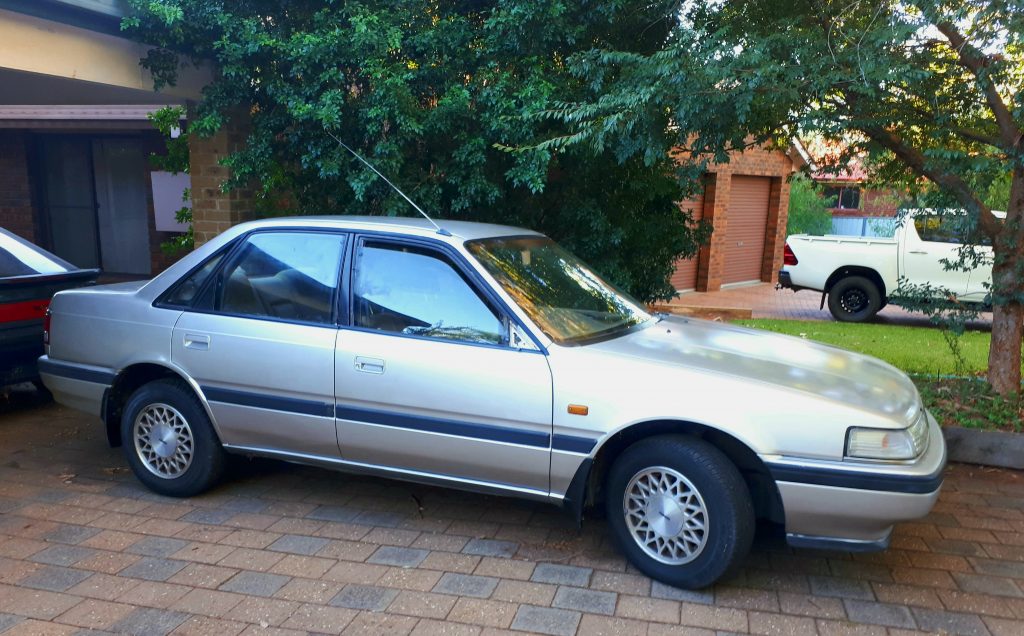
Just when we thought we were going hard with the Mighty Starlet sitting in a front yard for 9 years we go one step further here with this 91 model Mazda 626 which sat in a front yard under a tree for 10 years.

The car came from a deceased estate and was inherited by one of the family members who had no interest in Mazdas.

We came across this car on a drive around and cold called the owner about what they wanted to do with the car. They were very happy to have someone take interest. We came to an agreement and started to photo log the car in situation.
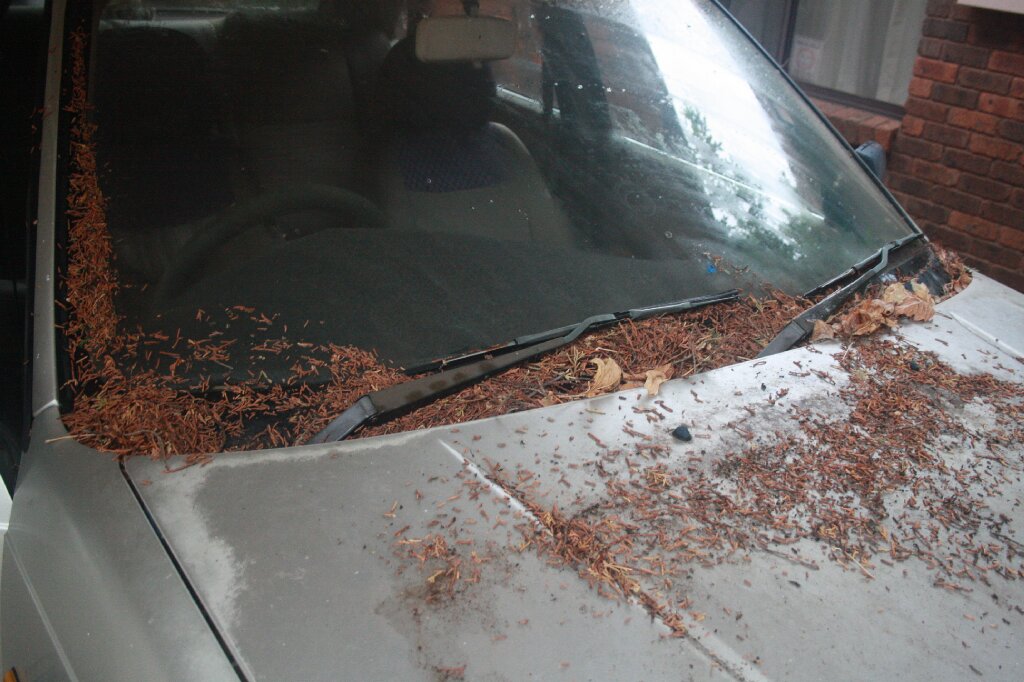
What we found.

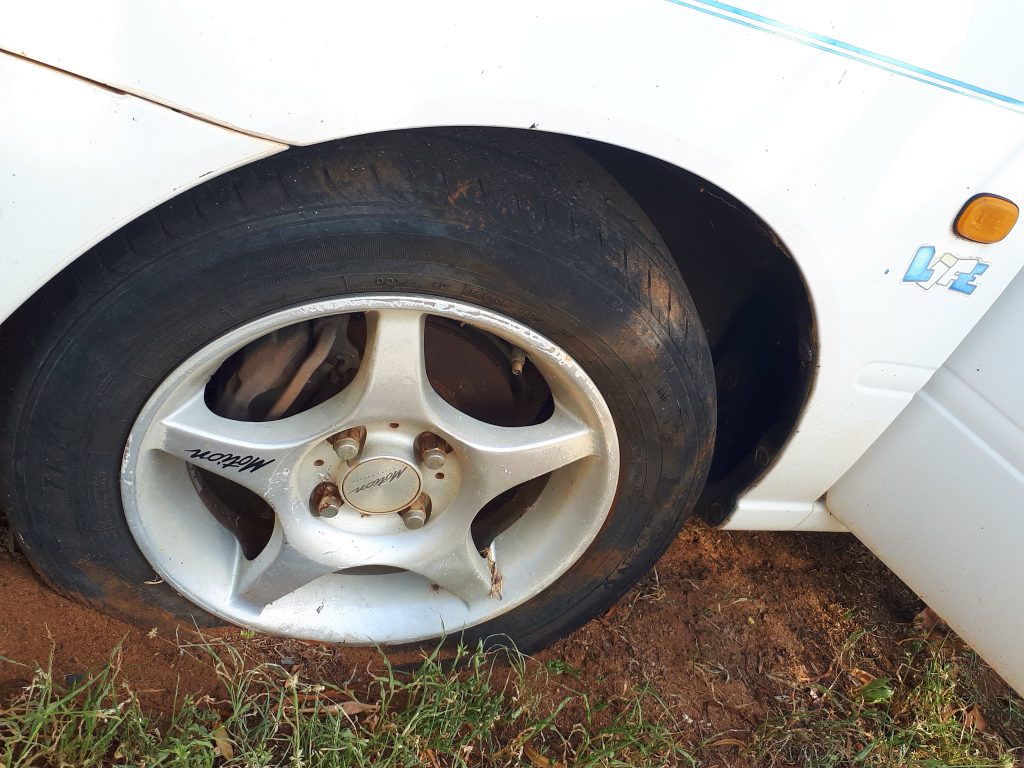
The car was sitting on small lino type tiles to stop flat-spotting. (good thinking on whoever parked the car)

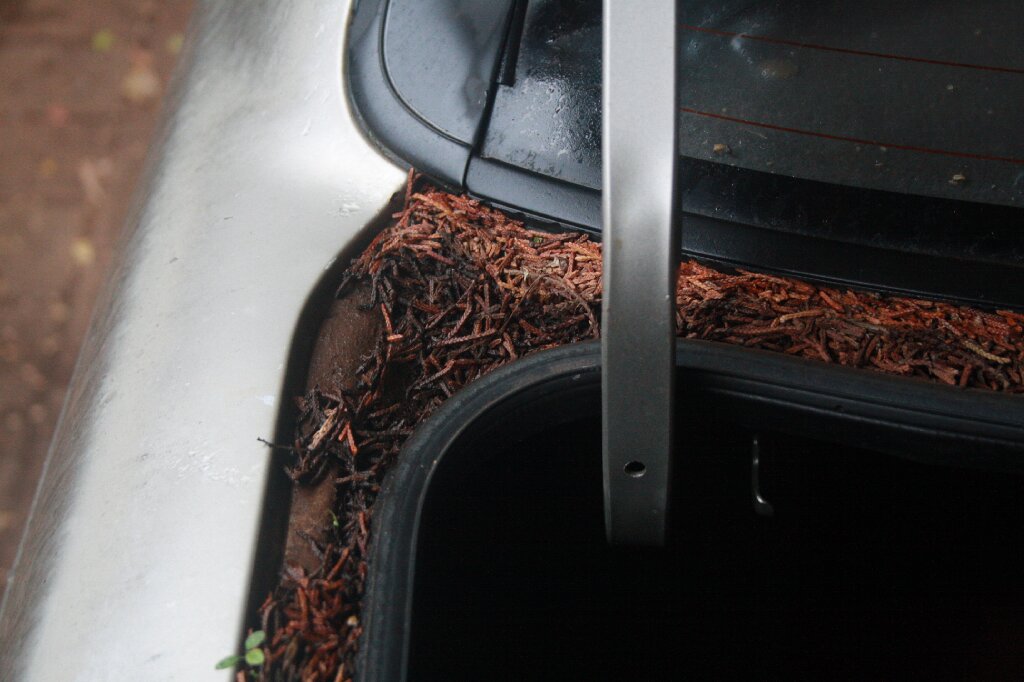
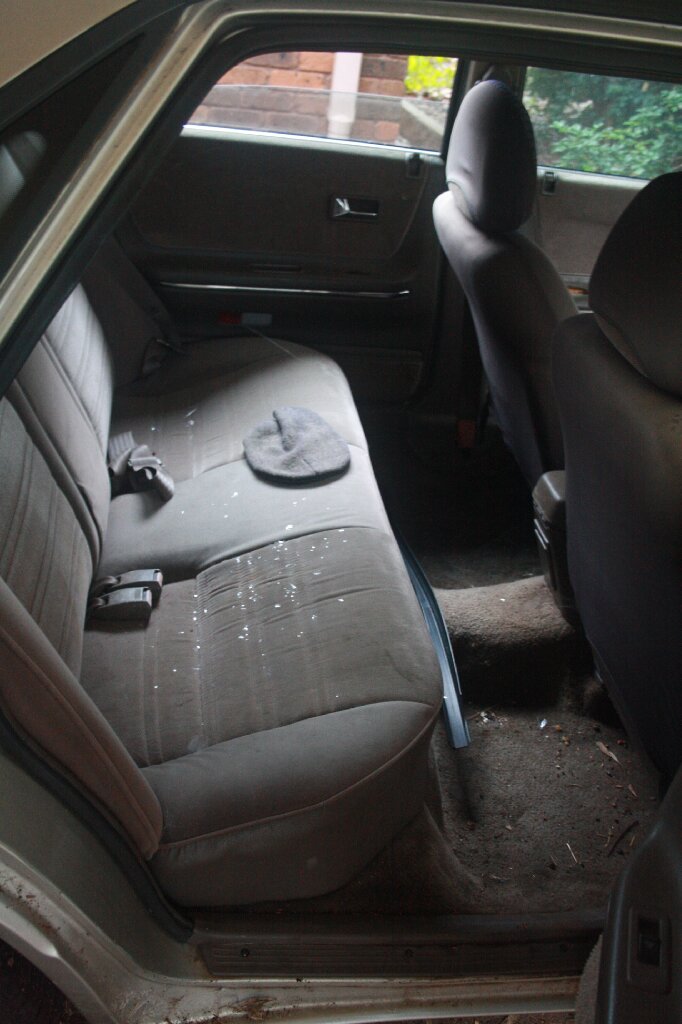
The grass creepers had grown the entire length of the underside of the car

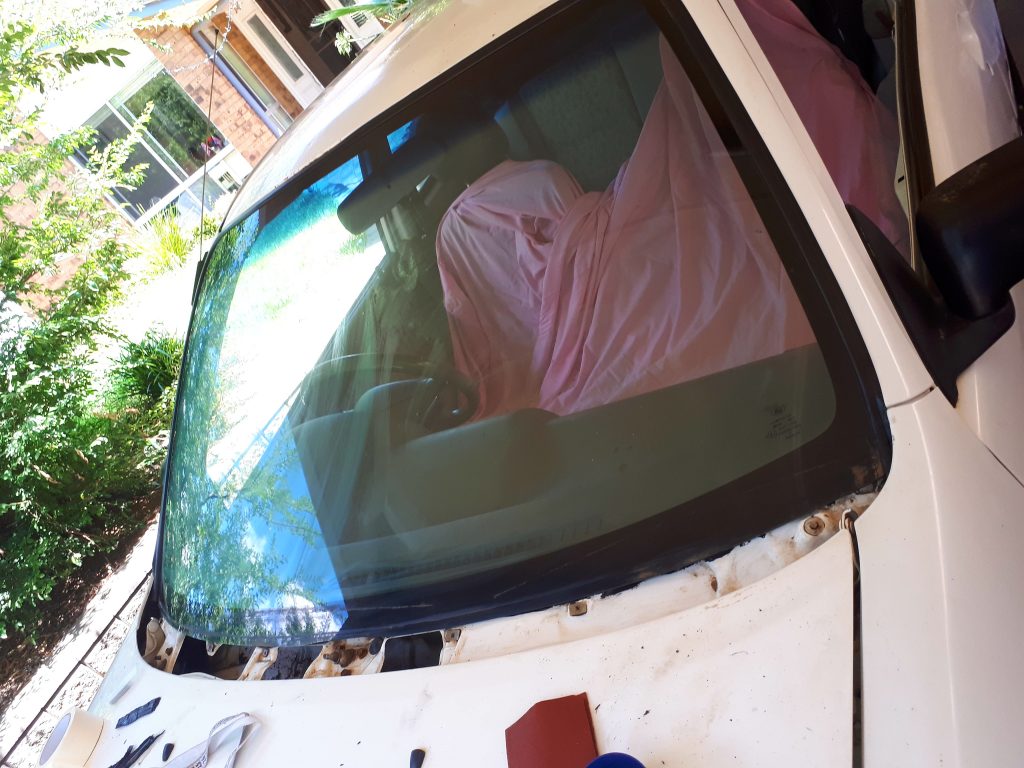
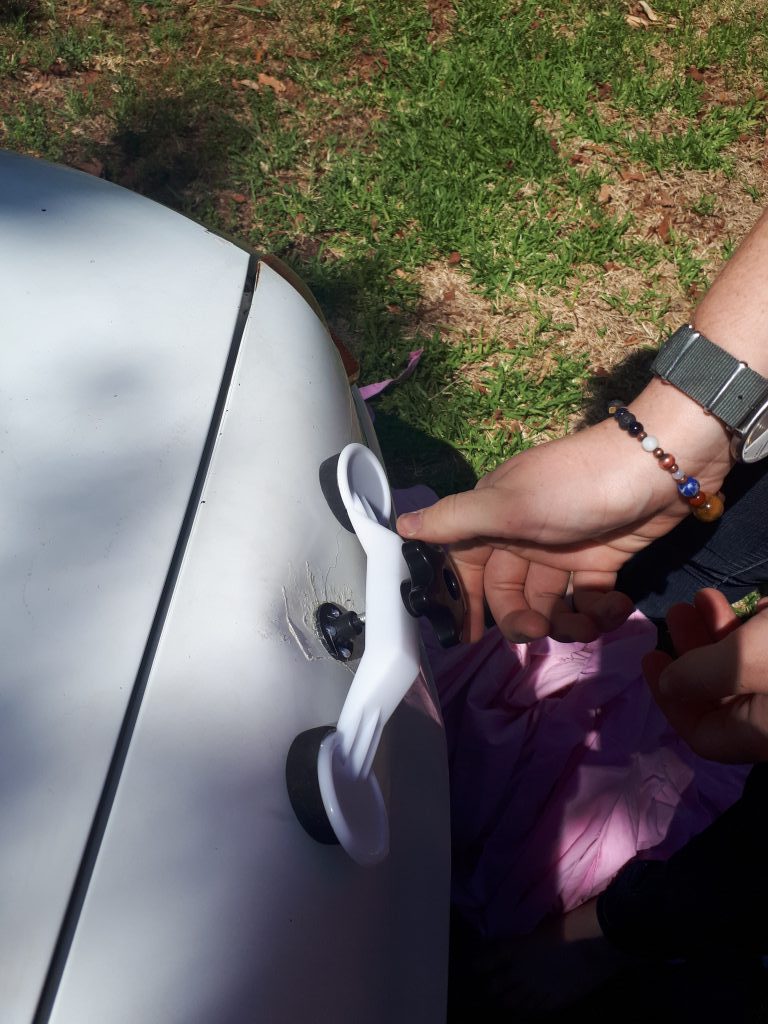
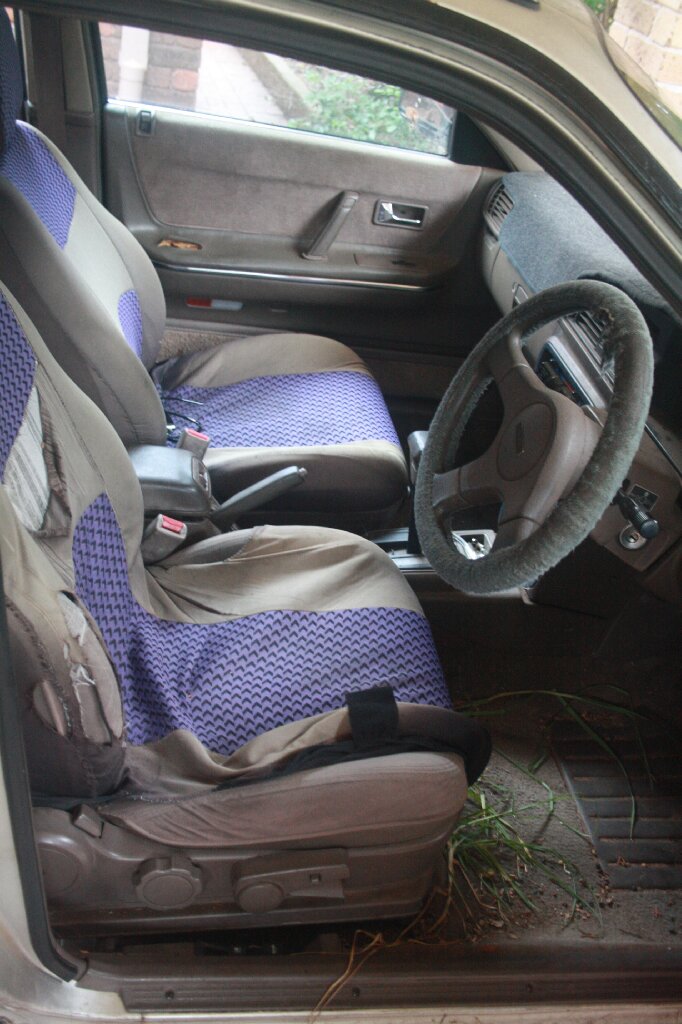
Passenger window was down

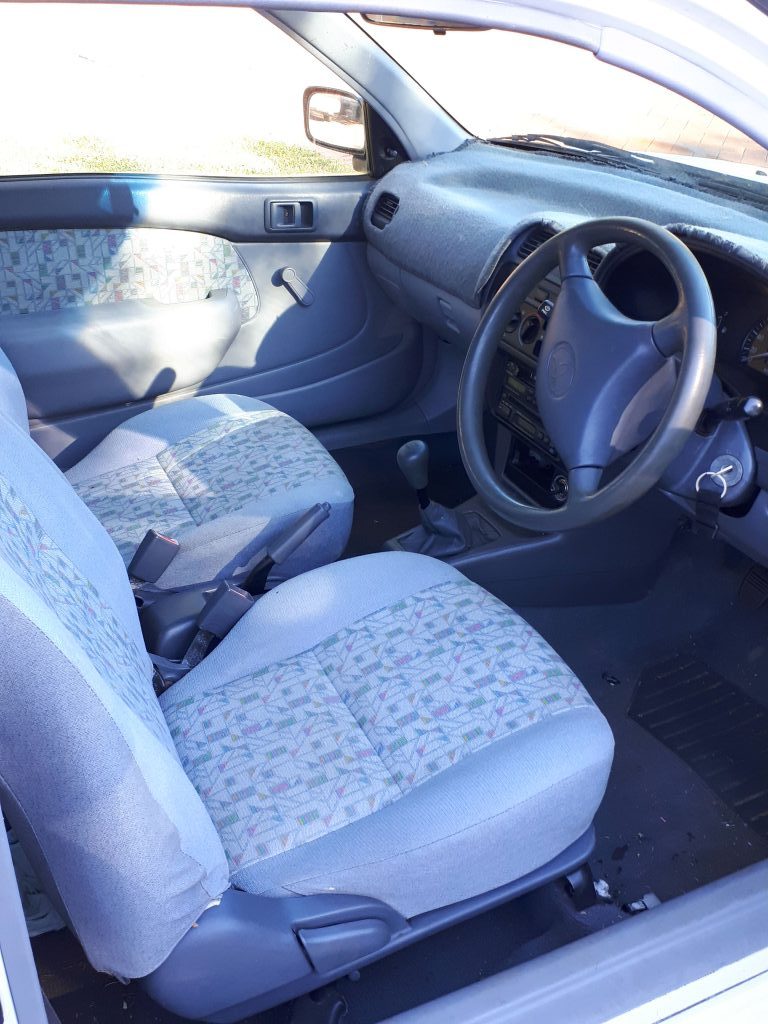
Steering wheel had a hole in grip

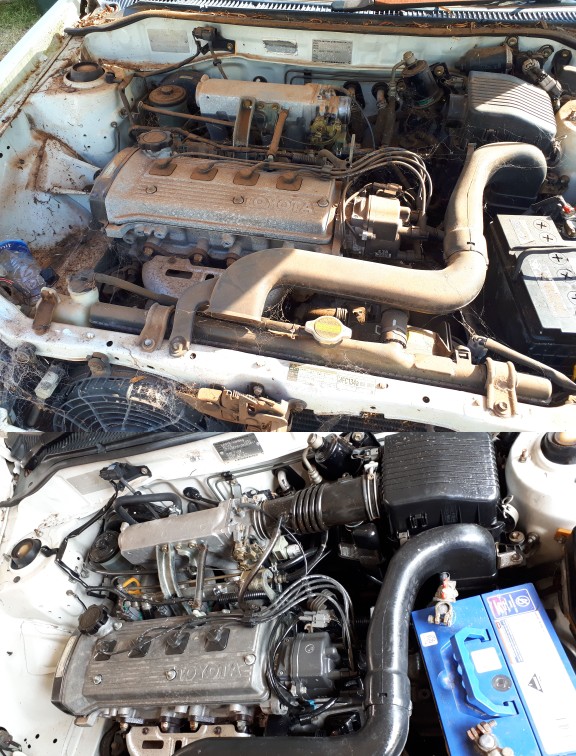
The car was serviced before it was parked

Clear coat was gone off the horizontal surfaces.

10 Years under a tree

Parts needed

  1. Master window switch
  2. Right taillight
  3. Filters
  4. Drive belts
  5. Rear muffler
  6. Paint
  7. Steering wheel cover

    Starting the car

    1. We diluted the stale fuel by adding some fresh fuel into the tank
    2. Connected the Jumper leads
    3. Cranked with the coil lead earthed to get oil pressure then reconnected the coil lead and attempted to start the engine.
    4. The engine took a while to come to life and once again “Start Ya Bastard” was used to get a pulse which worked and the engine came to life
    5. The brake pedal was close to the floor so the rear brakes were the only ones working.
    6. We drove the car under it’s own power from under the tree for the first time in the 10 years.
    7. We towed the car to our driveway workshop to get into the NDG DIY process.

    Step one

    1. Removed all the grass from inside and under the car
    2. Pressure cleaned the car
    3. Wash the car in Mega Gloss wash & Claybar to take a look at the condition of the car.
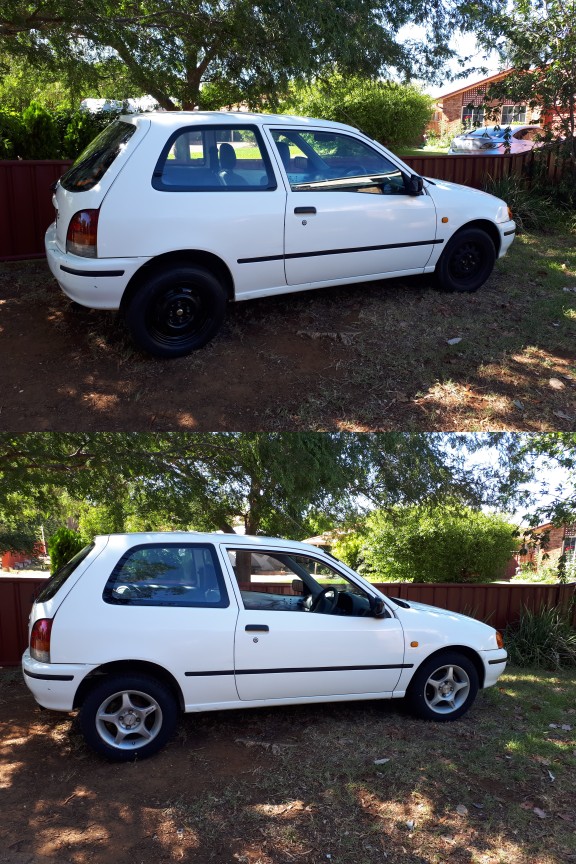
    Before work shots

    Mazda 626 as it sat for 10 years

    10 Years under a tree

    10 Years under a tree

    Years of Pine tree nettles build-up
    10 Years under a tree
    Broken glass, but not too bad
    10 Years under a tree
    Grass made it into the interior of the car through a torn door seal
    10 Years under a tree
    Plenty of build-up around the engine bay

    10 Years under a tree 

    Midway shots

    10 Years under a tree
    Getting ready for some new clearcoat

    10 Years under a tree

    10 Years under a tree


    10 Years under a tree
    Removing someones creative wiring additions

    Clear Coat on and ready for the Hyperseal finish

    10 Years under a tree
    Hmm, someone missed getting that dent out.

    10 Years under a tree

    Finishing touches.

    1. Replaced the master window switch
    2. Refitted the passenger window regulator to the door mounts
    3. Replaced muffler and drive belts
    4. Changed oil and filter
    5. Reapplied clearcoat
    6. Installed a stitch on leather steering wheel cover

    Applied NDG products

    1. Odour Neutraliser
    2. Instant detailer
    3. Shield 120
    4. Hyperseal
    5. Mega Gloss wash
    6. Clay bar and NDG Lubricant
    7. Long life tyre shine
    8. Bio Crystal Magic
    9. Instant Gloss Engine lacquer
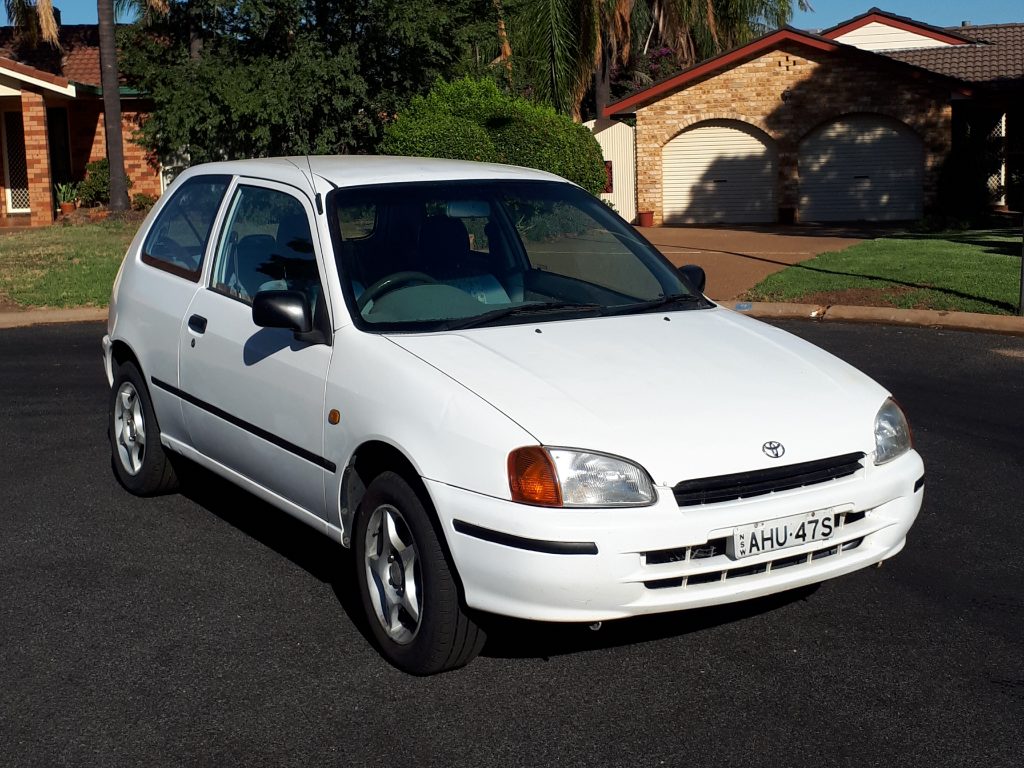
    After Shots


    10 Years under a tree10 Years under a tree


    10 Years under a tree
    NDG Instant Gloss Engine Lacquer

    10 Years under a tree,Instant Gloss Engine Lacquer

    The Happy New Owner.

    We call that this was a major success.

    Taking what was an abandoned car from out of the grip of nature and bring it back to showroom condition in a matter of a week is sensational.  The car really did look showroom condition. With NDG Automotive products you can get these results using simple DIY techniques. This is what makes our products stand out, and our prices are well positioned to make a driveway reco. feasible..

    10 Years under a tree

    We look forward to receiving images of your project car soon.

    Copyright ©2018 Nano DG Singapore Pte. Ltd. All Rights Reserved


    9 Years in the baking Sun

    The Mighty Toyota Starlet

    9 Years in the baking Sun.

    Here, we go deep. Deeper than we have ever taken our products before, just to see what we can achieve using just normal DIY tools and techniques just to prove that our NDG Automotive products are truly DIY products and that great results can be achieved, at home, in your driveway.

    This project was a huge success with the car looking close to showroom condition in every way. NDG Automotive Specialty surface coatings are true DIY superhero’s. 

    Starlet as it sat for 9 years
    Starlet engine as found

    The Project

    We found this 1997 Toyota Starlet sitting in a front yard where it had sat for 9 long years in the Harsh Australian climate. What happened before it arrived in the front yard it’s owner cannot recall so it’s history is lost to the mist of time.

    So after negotiating removing the car and completing the relevant paperwork we asked for the keys. We were handed a big bag of keys and told that the keys were in that bag. 30 minutes and 87 keys later we had no luck finding the car keys or the wheel locks.  We then broke into the car and removed the door lock to get the key code and crossed our fingers that this was not a chip enabled key system and got a key cut at the local locksmith.

    Next day we went back to the car armed with “Start ya Bastard” spray and a spare battery to see if we could start the engine, so we were lucky with the key. (see video of this process).

    We got the car to start after a bit of clutch encouragement using Start ya Bastard but something was wrong with the fuel system.

    Fuel sender unit crystallised

    We removed the fuel sender and pump from the tank and found it completely crystallised. So we know that the engine runs and the clutch is operational so we left this for the moment.

    We removed the wheels and fitted another temporary set and  moved to the car to our driveway where the DIY process of restoration would begin.

    Starlet first wash with temp wheels.

    So far so good.

    We went to the local wreckers in search of a donor car and we found one so we were in luck.

    9 Years in the baking Sun
    Donor car

    We took off the mechanicals we needed and the windscreen and go to work on our project. So far we spent $200 on the parts we needed. All the tyres were buried in the dirt and dry rotted.

    Wheels buried in the ground
    Trying to inflate to get on tow trailer

    First thing we needed to do was to get the car running so we cleaned the inside of the fuel tank  with the donor fuel sender, fuel pump unit, fuel filter and some fresh fuel,  and got the engine to fie up straight away.  So we took it for a short drive to check out whether it drove ok or not.

    Outside of a noisy front wheel bearing we were solid as it drove great once we got the brake discs to burn the surface rust off the brake discs. Back to the wreckers to get the wheel bearing and brake discs.

    Wheel bearing and Brake discs and pads replacement

    Next steps

    1. To start the DIY process while the new tyres were being fitted. as
    2. Wash and claybar the body using NDG Mega Gloss Wash and NDG Claybar lubricant and remove the pin strips off the body.
    3. Remove a couple of dents
    4. We got our resident artist to produce son JDM Toyota stickers to cover the baked in stickers and to make the car look a little more appealing.
    5. Replaced the windscreen
    New windscreen fitted DIY style
    Dent removal


    90’s Pin stripes removed
    JDM Decals ready to install

    JDM Decals installed

    We then we cleaned out the interior using:

    1. NDG Nil Odour
    2. NDG Instant Detailer
    3. NDG Bio Crystal Magic
    4. NDG IPA
    5. Applied Shield 120 to the windscreen

    The results made the abandoned wreck look completely showroom new.

    The abandoned wreck look before we started

    Interior before 1, a wreck
    9 Years in the baking Sun
    Interior before 2, a wreck

    Showroom New results!

    Interior finished 1
    Interior finished with a genuine radio

    We needed to re-trim some of the side panels where the vinyl was lifting.

    Fitted a genuine radio system and sorted out some hack job wiring that someone had done in the past.

    Down to the final touches.

    We then carried out the NDG Hyperseal process in true DIY fashion driveway style which brought back the original shine to the paintwork and added the new decals and serviced the AC system.

    The car passed roadworthiness  inspection so the project comes to an end.

    This Toyota Starlet turned out to be a really nice car.

    A GREAT SUCCESS.


    Image used in the Advertisement


    The end result was we advertised the car on the local car mart website and it sold within the first week to the first buyer.

    New owner of the Starlet

    Before and after shots

    9 Years in the baking Sun

    9 Years in the baking Sun
    Before & After in the original position

    9 Years in the baking Sun

    Close to finished


    Copyright ©2018 Nano DG Singapore Pte. Ltd. All Rights Reserved


    This function has been disabled for NDG PRODUCTS.