Ms Renault Megane from top of a hill

Ms Renault Megane from top of a hill

We read the Facebook trash and treasure ad with interest as it has all the elements of what we want for a Nano/Mechanical blog project. So for this blog this is where the adventure starts.

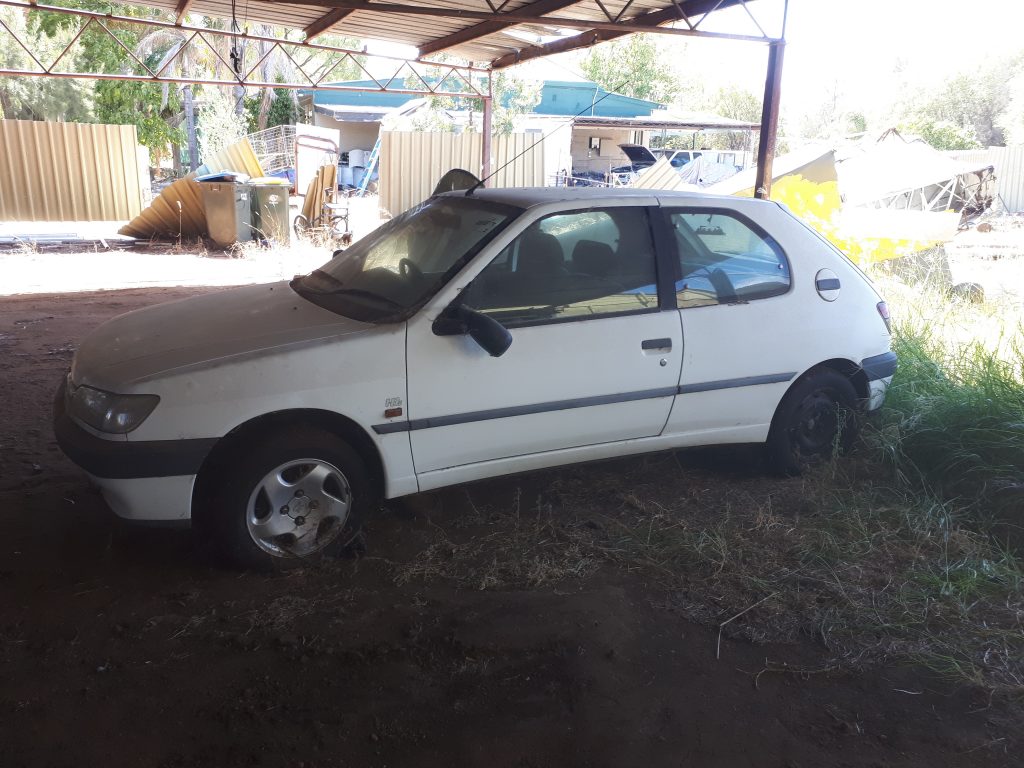
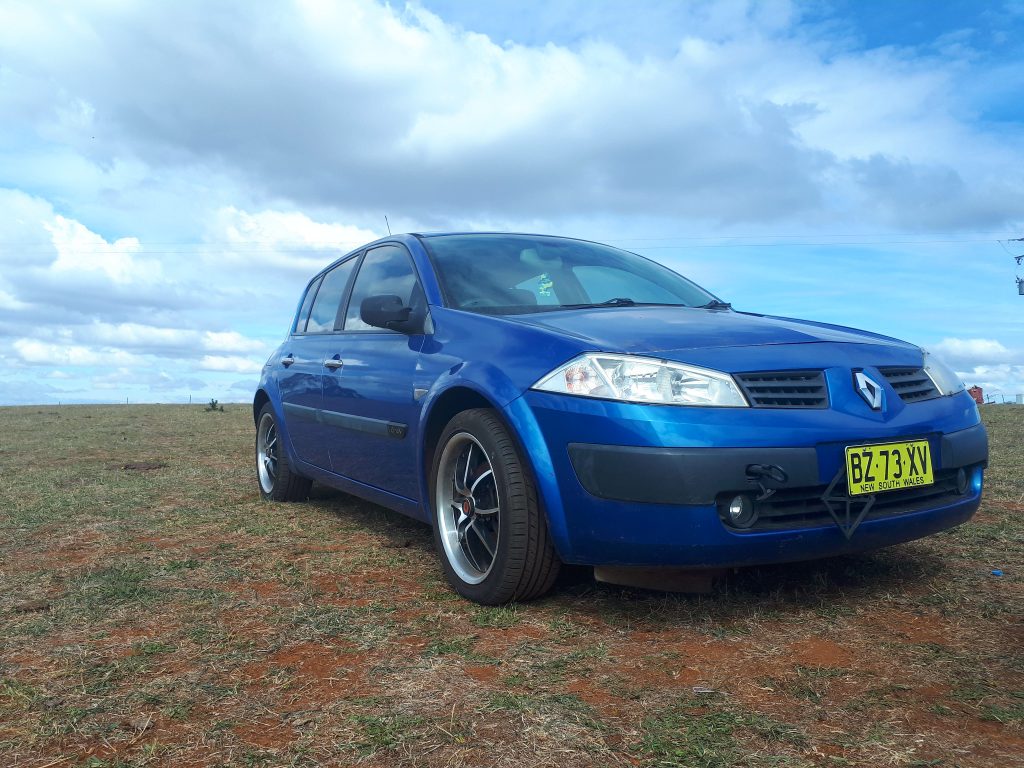
The Megane was described as having a mechanical failure but well looked after in it’s life. It was about 200kms from our place which is a further away then we would like but we decided to reach out and see what this car held for us.  After many months for what started out to be a reasonably straight forward Nano/Mechanical restoration ended up dishing out lots of surprises as you will read below, but we did get it finished.

We arranged to go and see the car to determine if it was a feasible project and if so buy the car, then go back and get the car on a car trailer using one of our other DIY project cars as the tow vehicle.

We left to go see the car and hit road works all the way delaying us about an hour but on getting there we were greeted by a massive great dane closely followed by 2 chihuahuas and 2 Shetland ponies who looked on with slight interest.

Ms Renault Megane from top of a hill
Road Works delaying our pickup arrival time

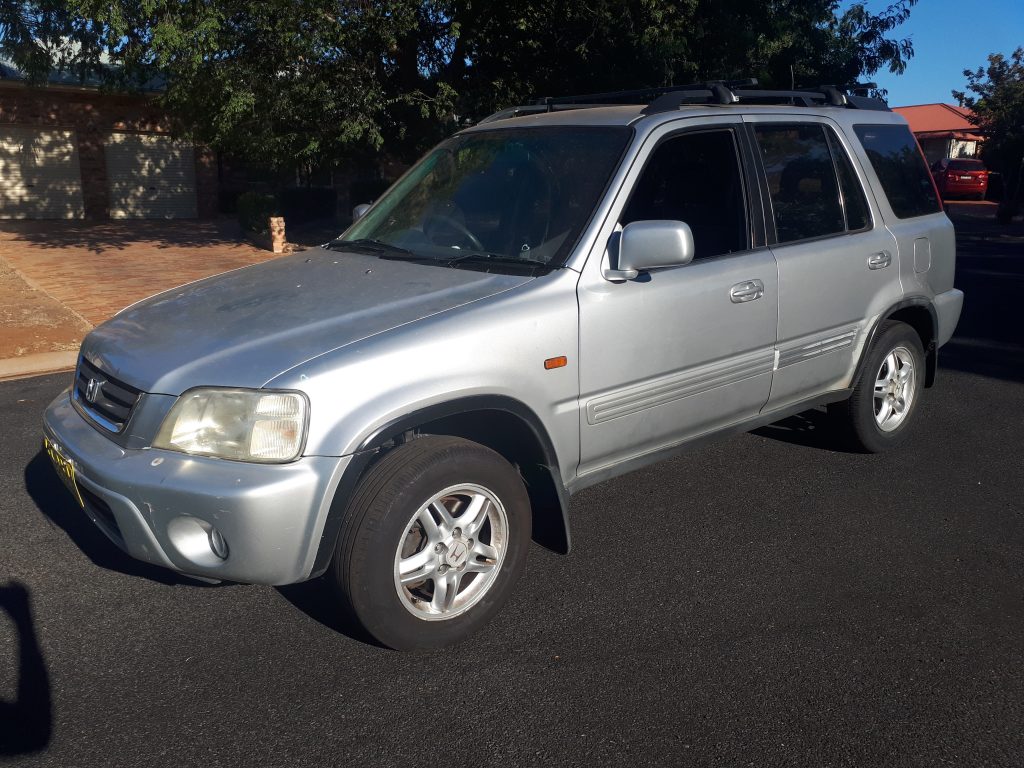
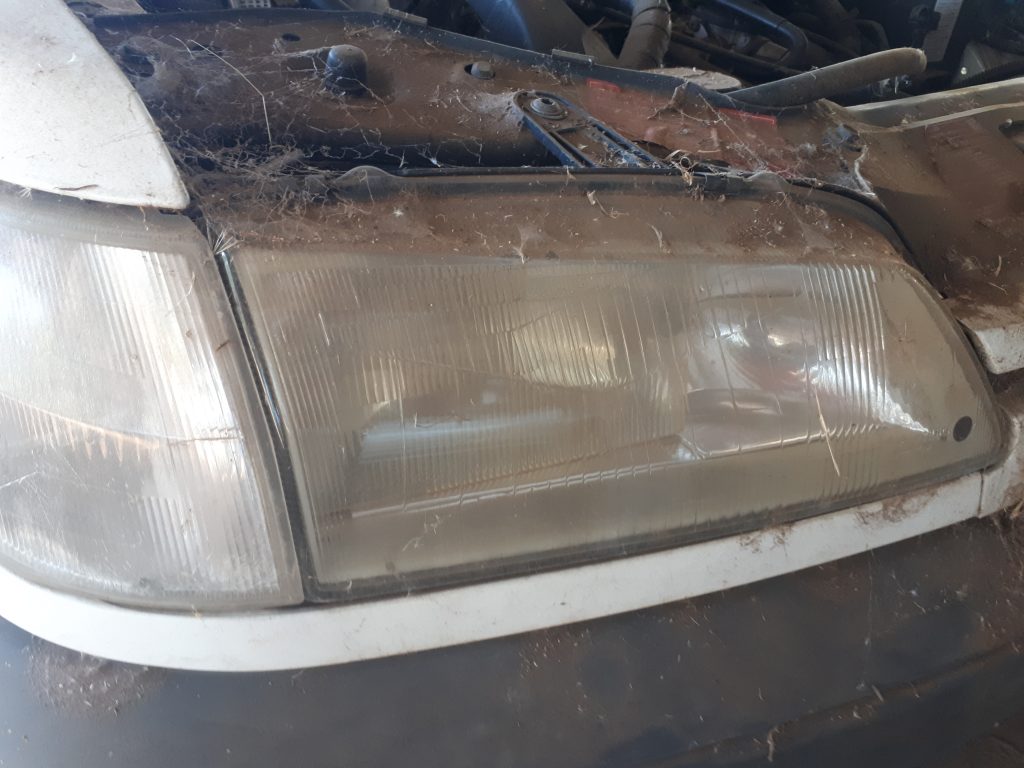
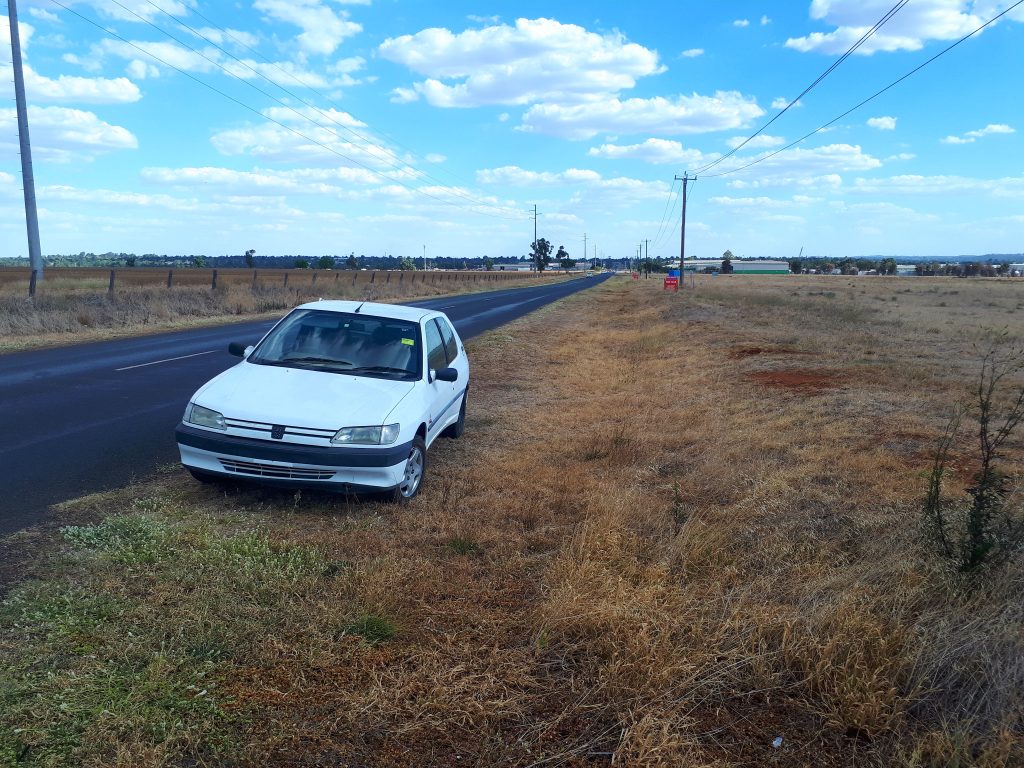
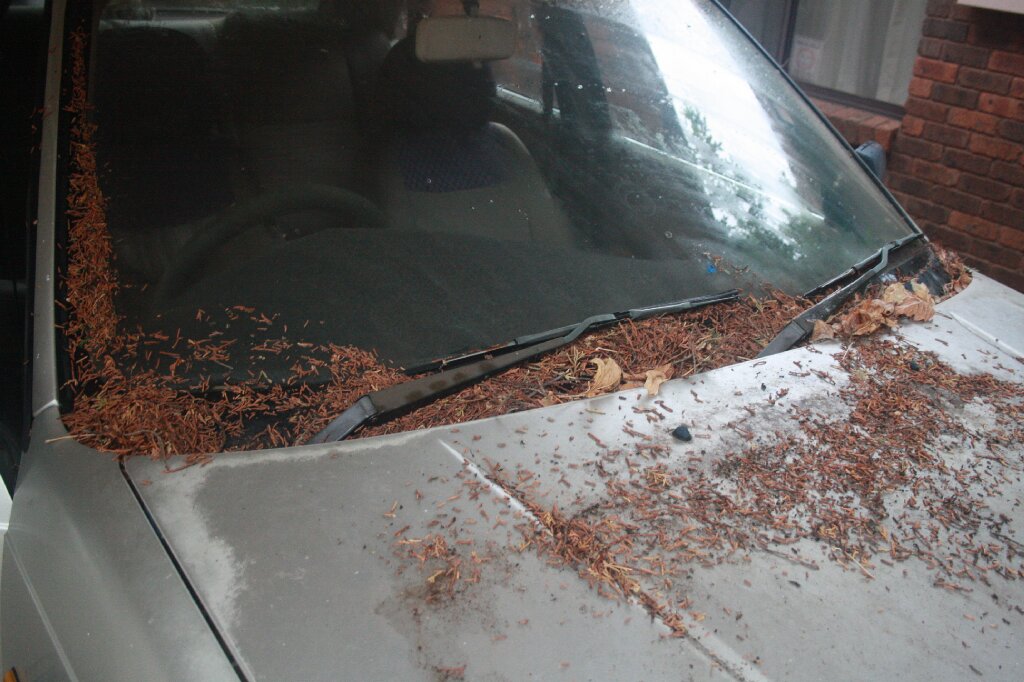
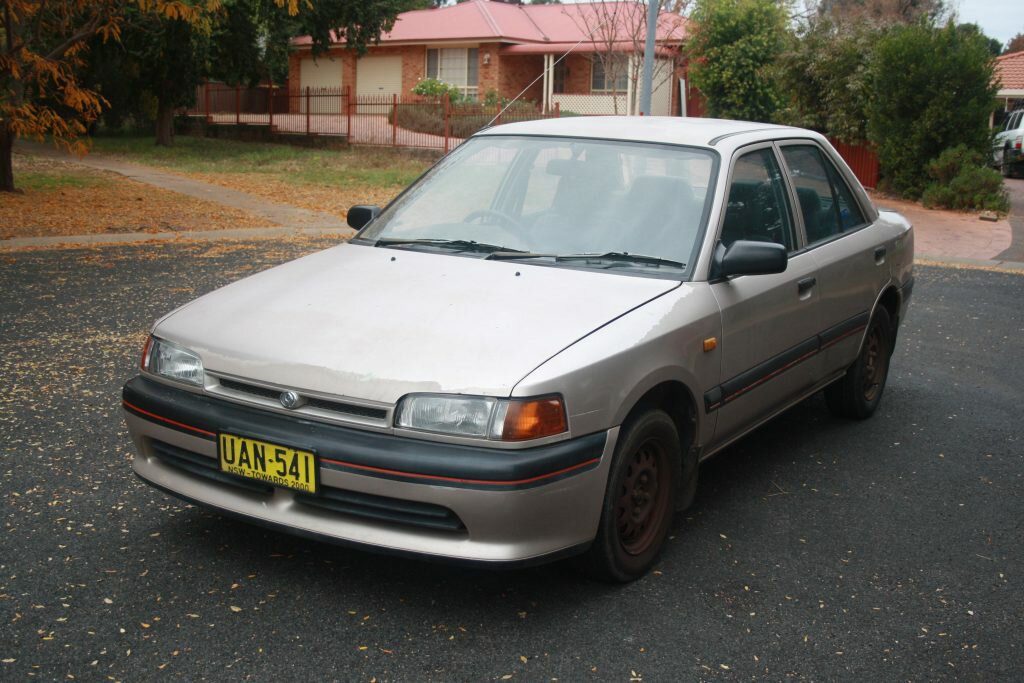
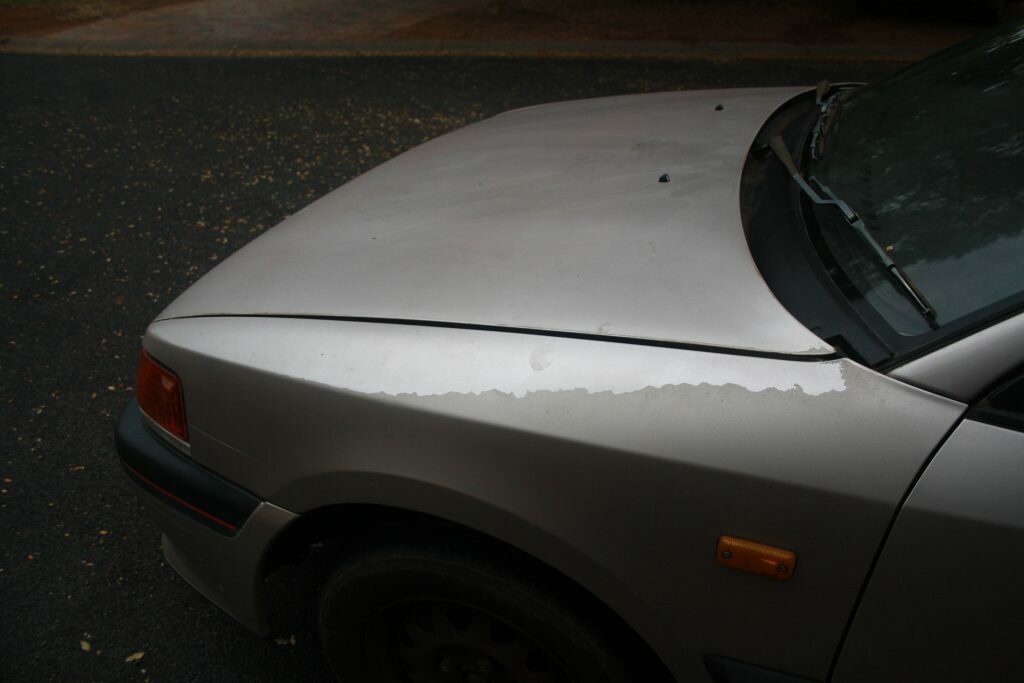
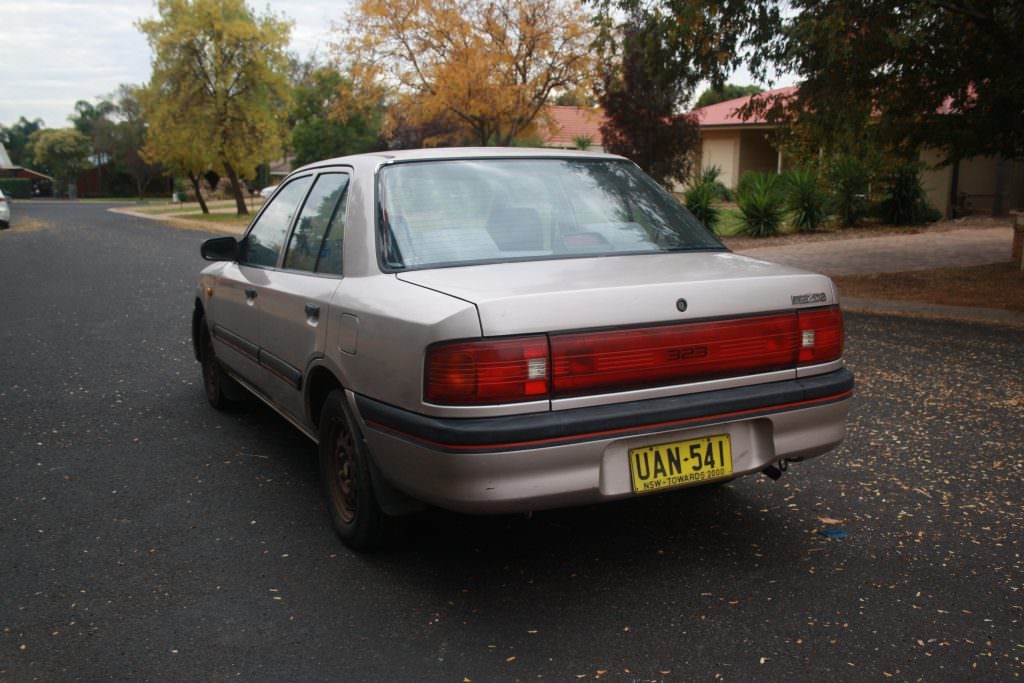
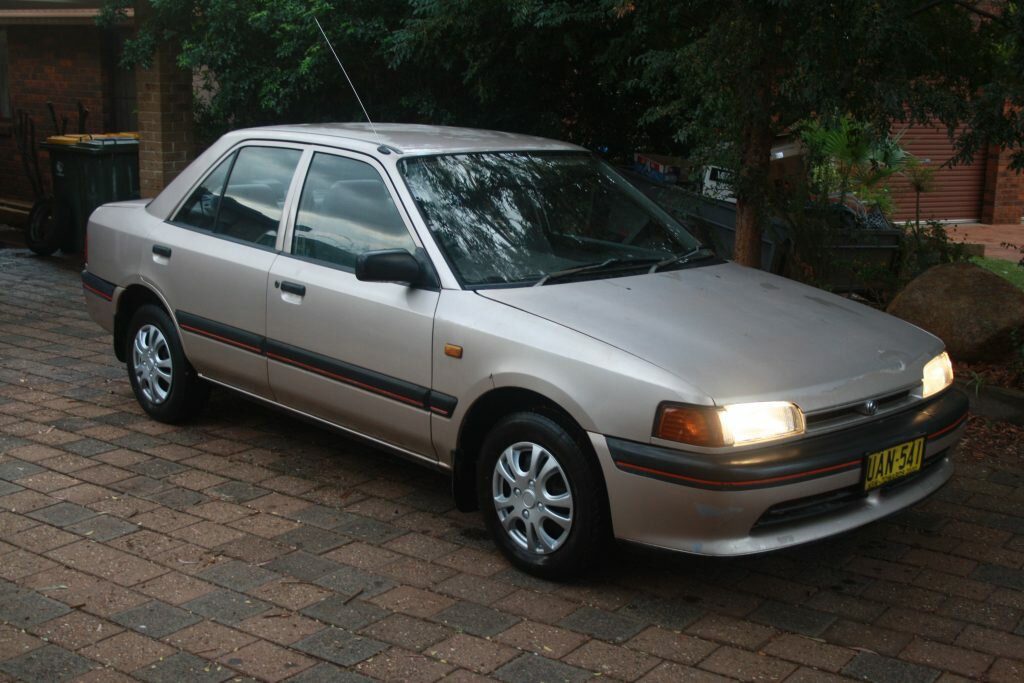
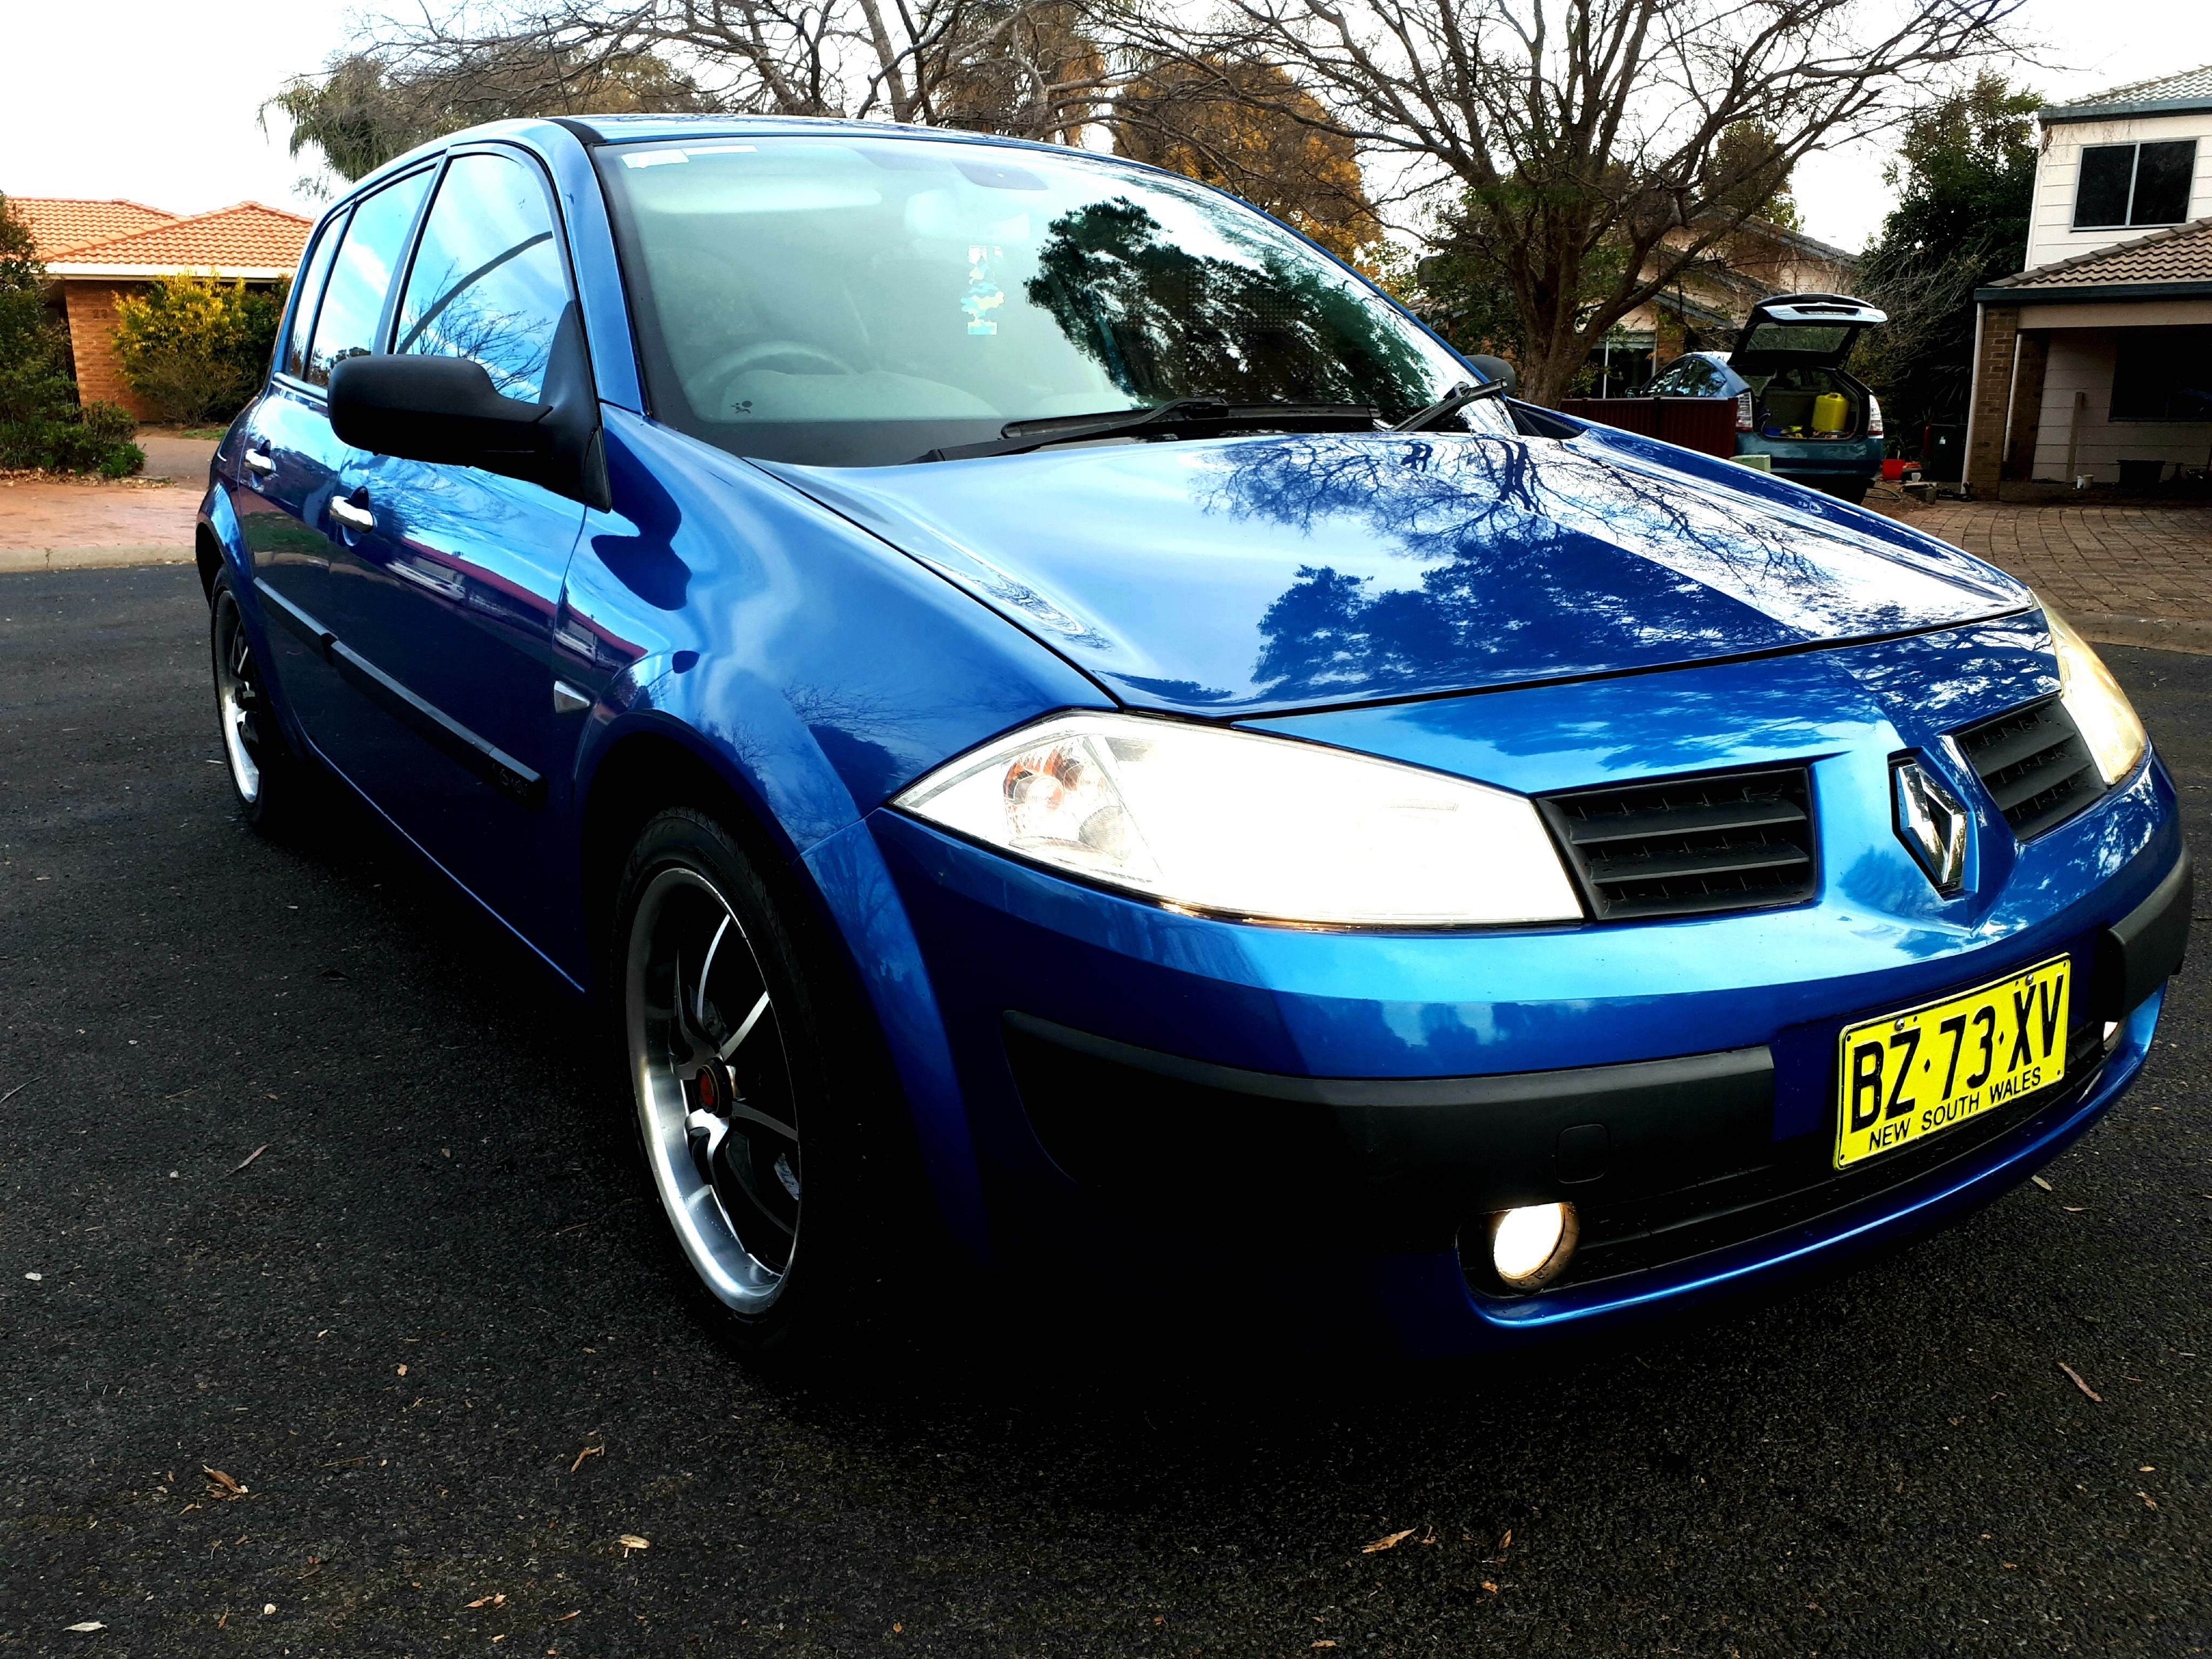
The Megane was sitting on a hill on it’s own. We took a look at the car and saw that the car had been licked clean in some places by a big tongue, possibly from a cow or that great dane. The body was in good condition with some battle scares in the usual spots but for our purposes these are acceptable.

We could not see the mechanical fault that was described so we spent about an hour looking at the basics. There were no faults in the OBC so we determined that the problem was more than likely the cam belt was broken. Super hard to see the condition of the belt on these engines without some effort. So we decided to buy the car anyway.

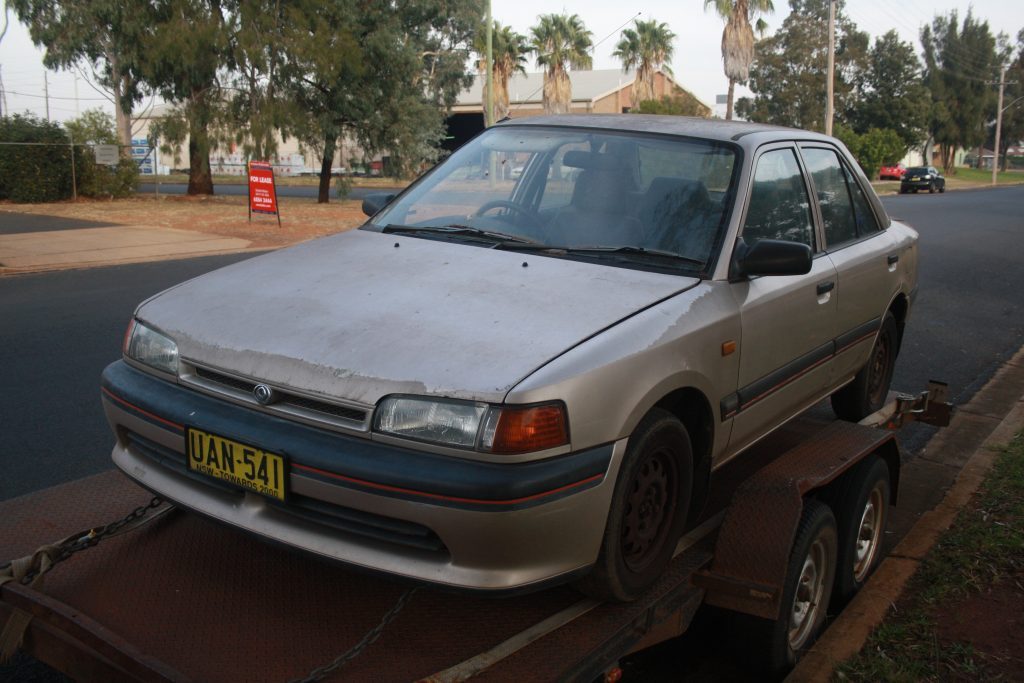
A few days later we leave pre-dawn and drive the 200kms with a car trailer using our Mazda Tribute to do the heavy hauling. Surprisingly the Tribute did the towing of the trailer very easily.

Ms Renault Megane from top of a hill
Megane on the trailer and ready for the trip back to the office

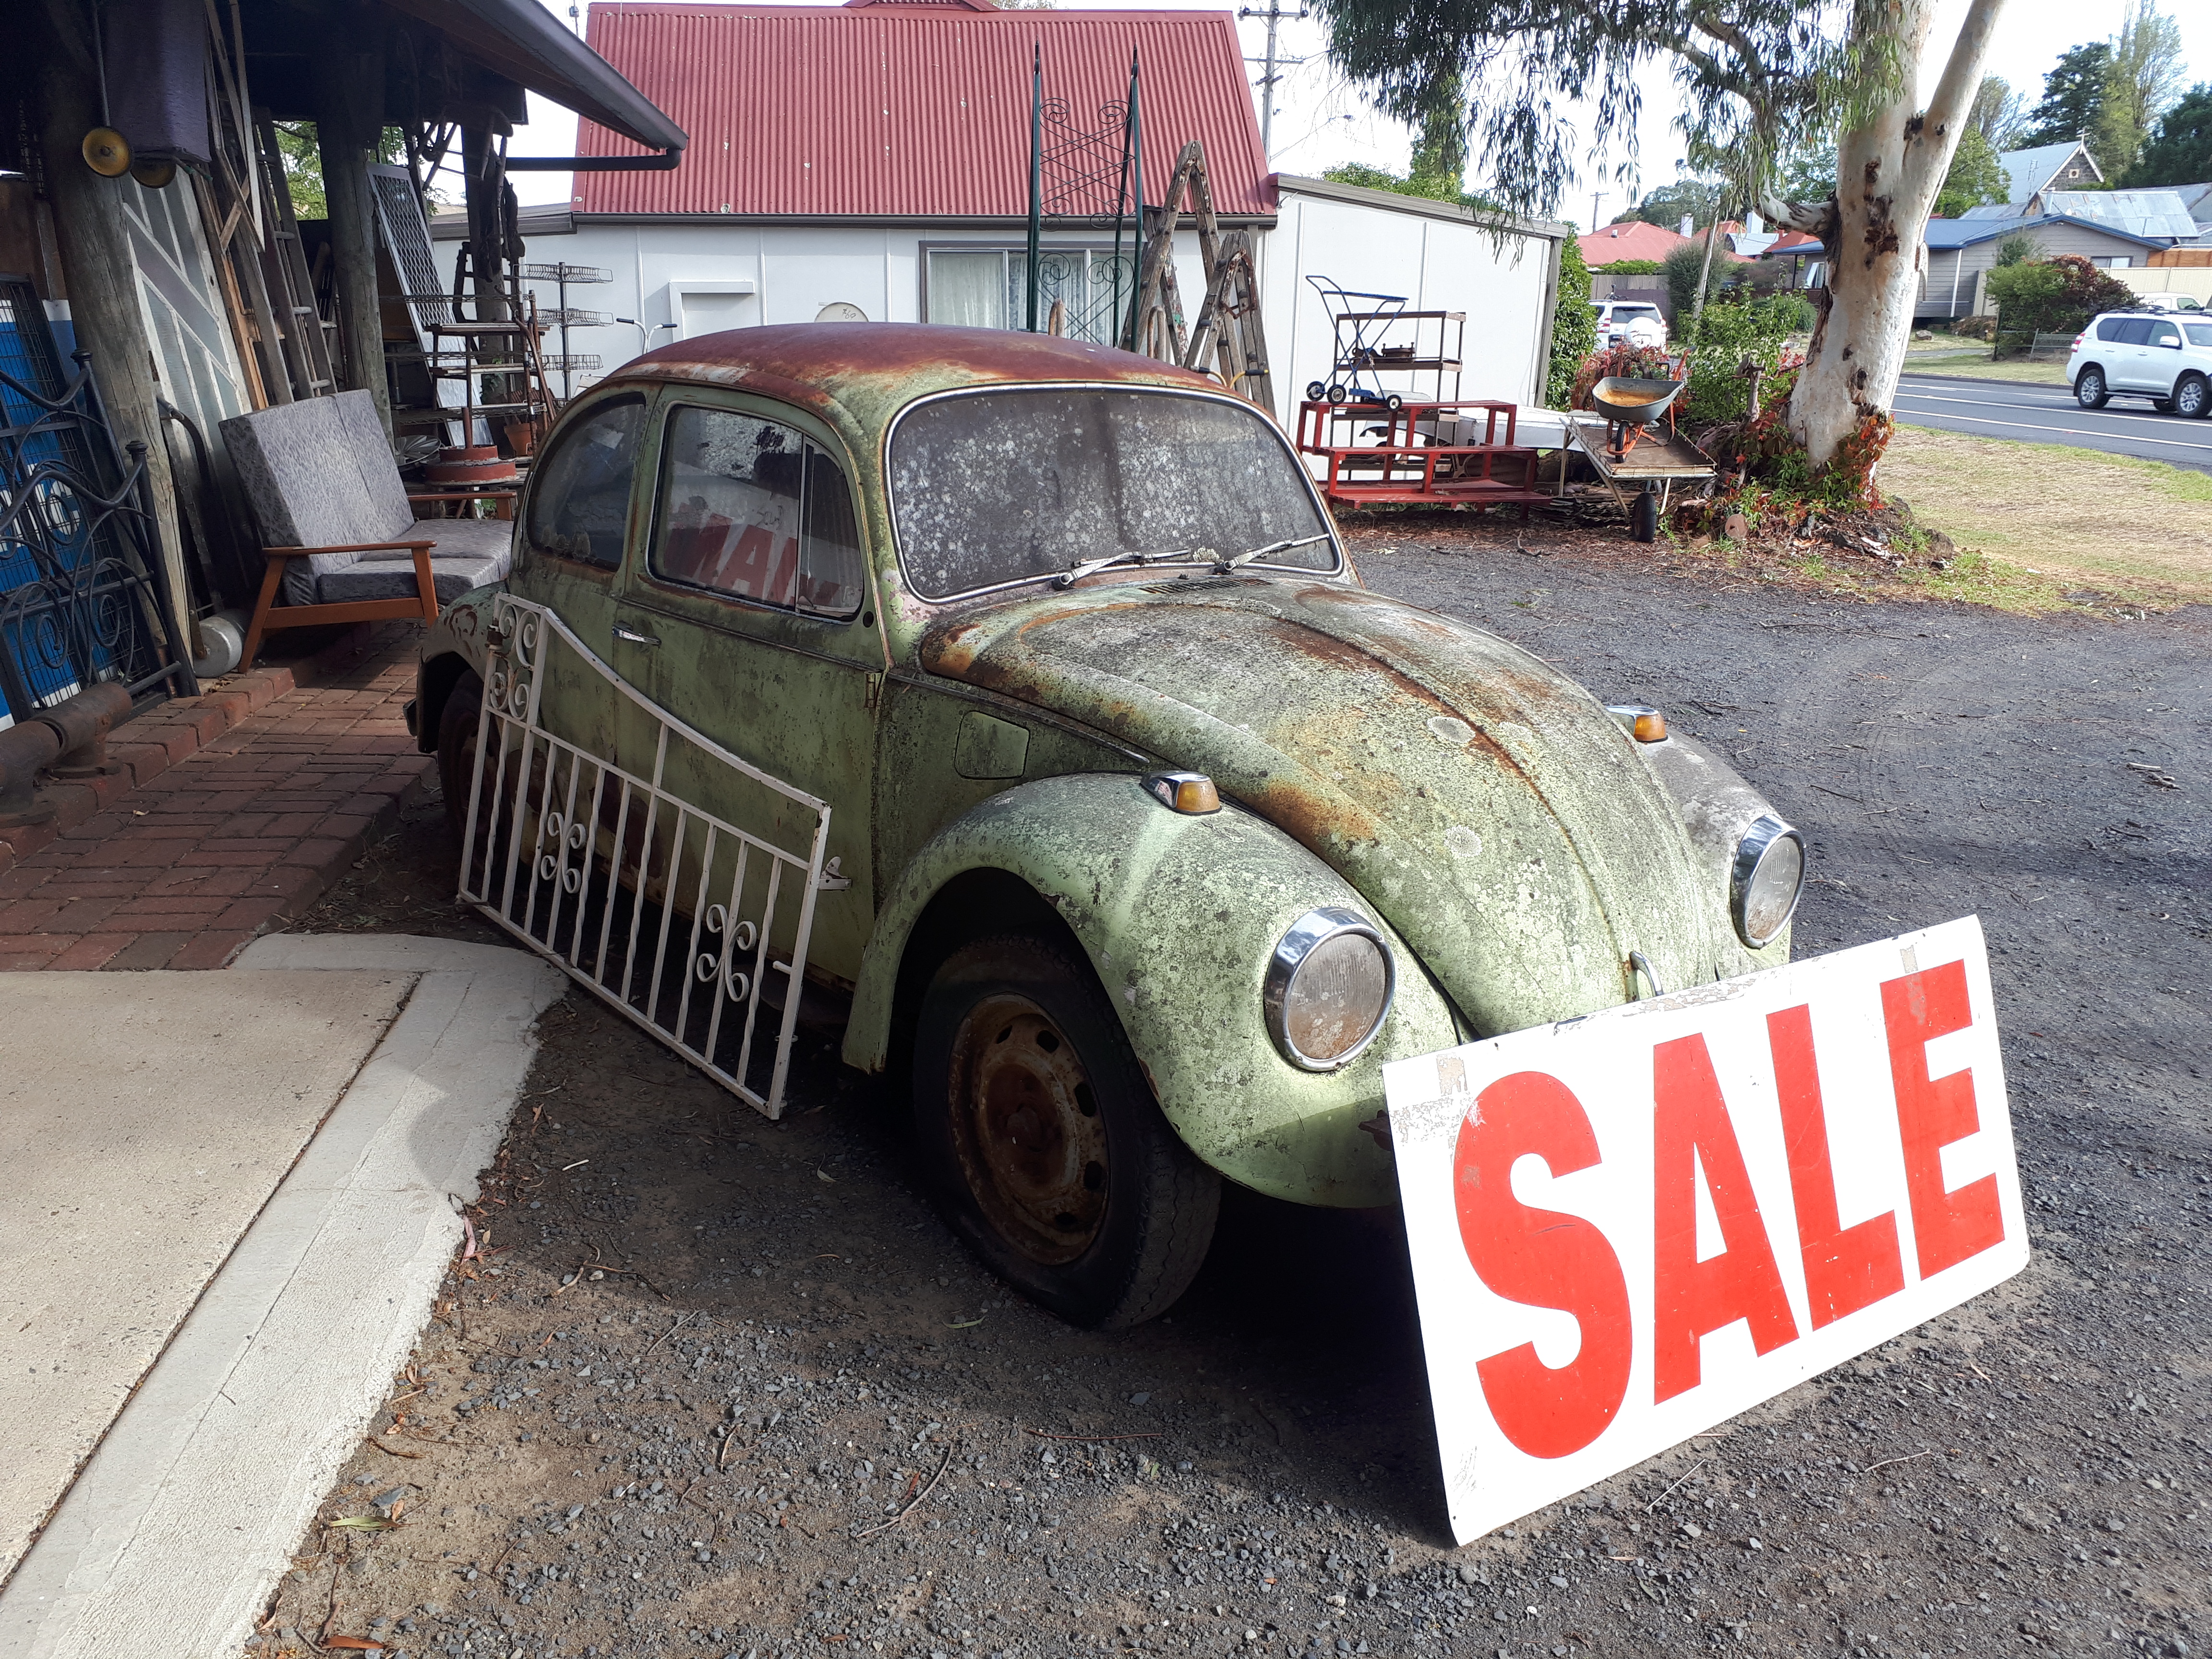
We get to the Megane, load up and head back to base.  On the way we stop to check the tie-down tensions out font of a second hand wares shop that had a lychee covered VW beetle for sale out front. The owner came out to find out more about Ms Megane’s issues and fate. During the conversation he made an offer that was well above what we paid for but we gracefully declined his offer and got on our way.

Ms Renault Megane from top of a hill
Wonder if we should have a shot at restoring this?

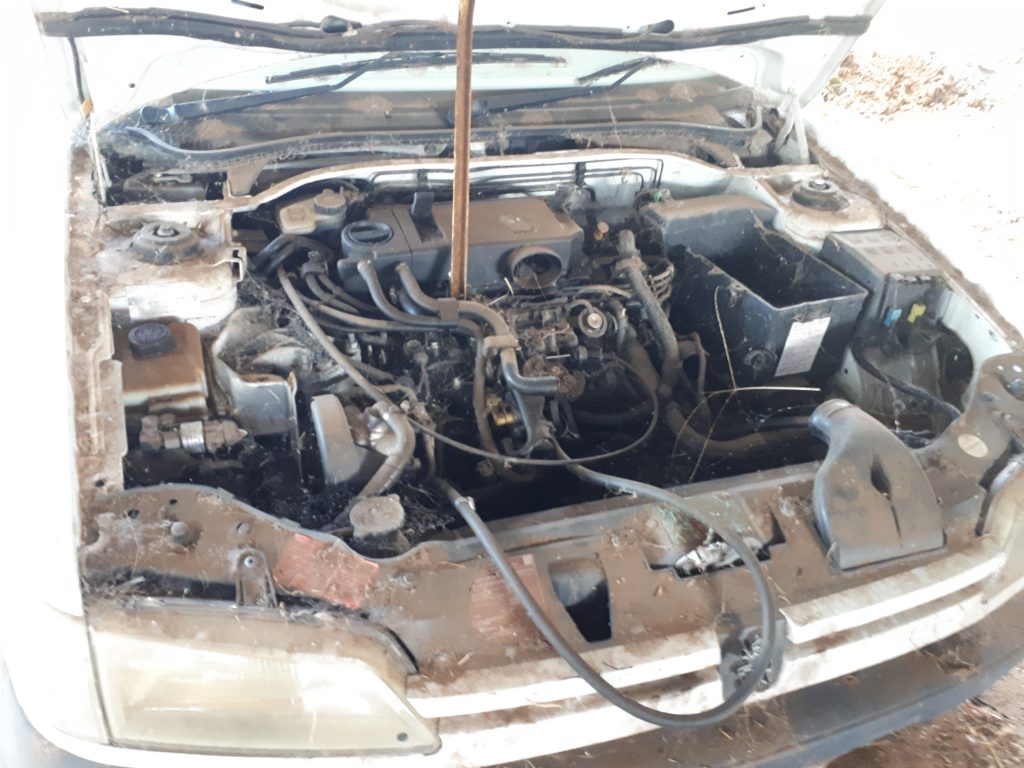
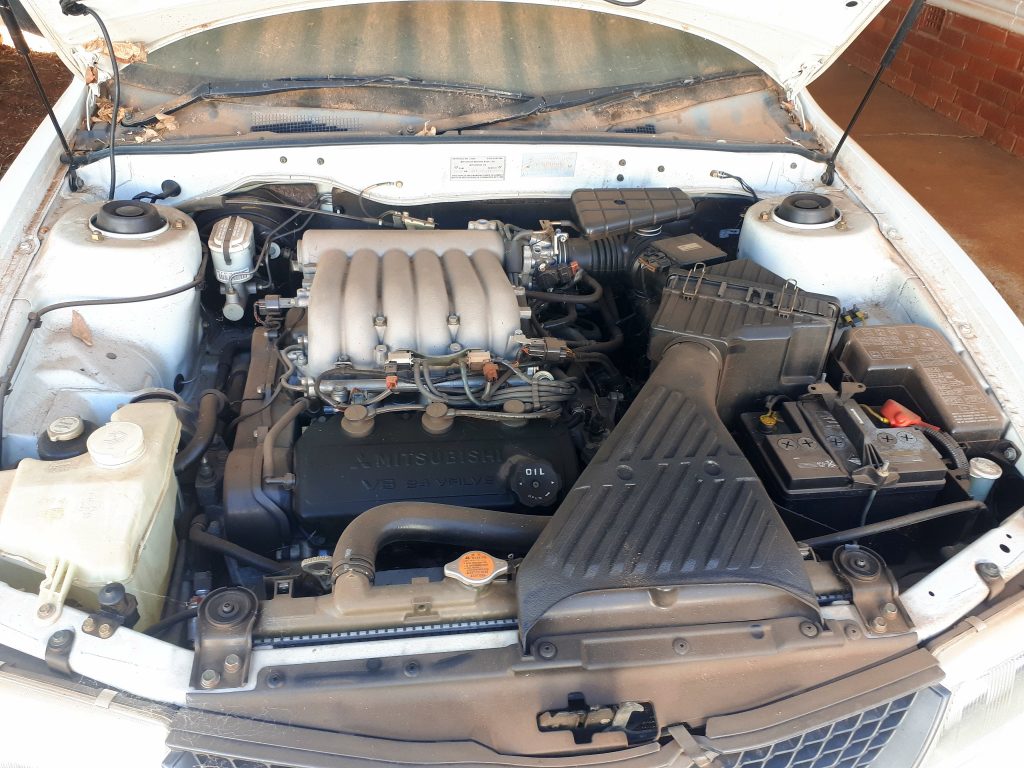
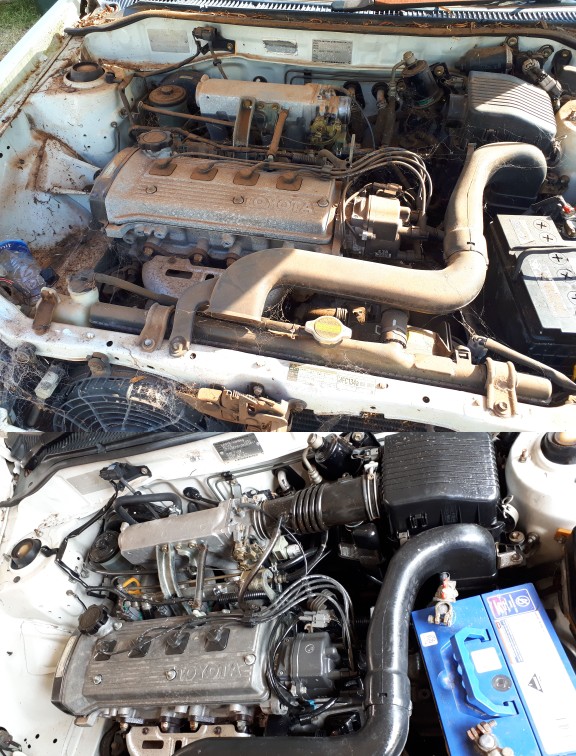
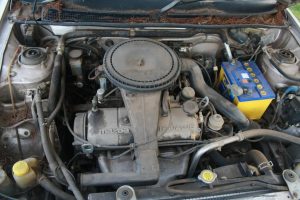
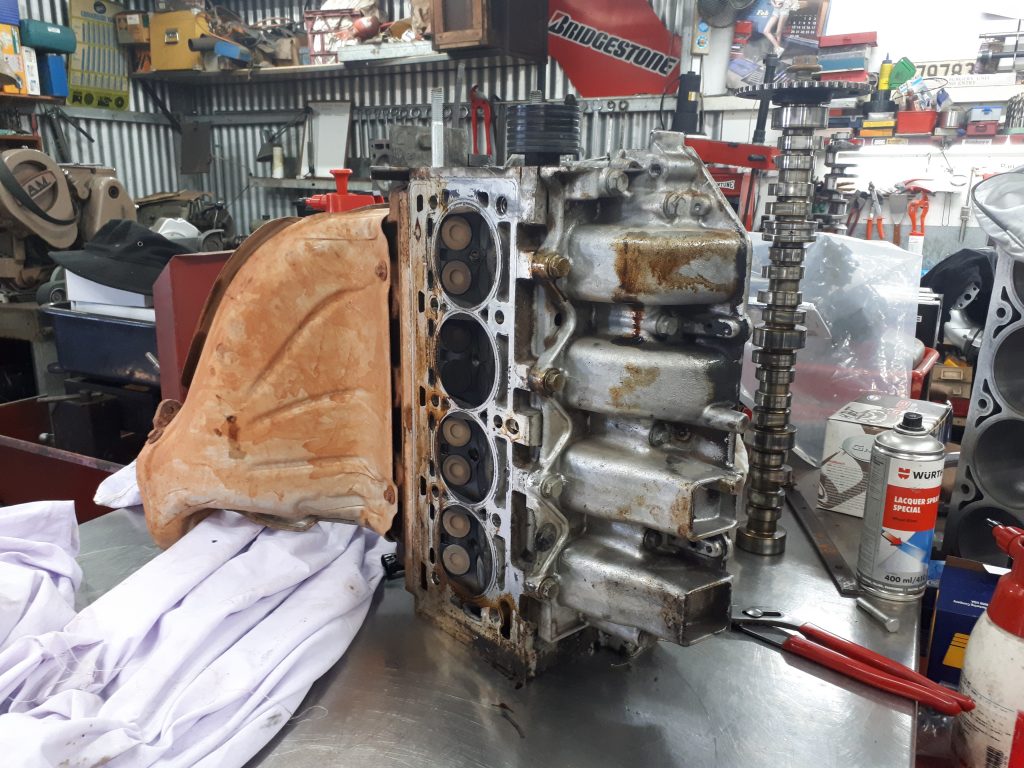
The following day we decided to have a look at the cam belt and got to work. As suspected the cam belt idler pulley bearing had failed and the belt had broken as a result. We needed to remove the head anyway to see what level of damage had been caused as this is like almost all engines of this era are interference engines so the pistons and valves occupy the same space, meaning there would be some internal engine damage.

Engine damage

A few hours later we had our answers. very minimal damage had occured to the internal engine. Very, very lucky. We sent the Head off to one of the finest Automotive engineers we know in Mr. Phil Baker to recondition the head. While that is being done we will get to work on the rest of the car.

Ms Renault Megane from top of a hill
Head being inspected for damage. Exhaust valves slightly bent

What we need to do:

  1. Wash and claybar the car with NDG Mega Gloss wash
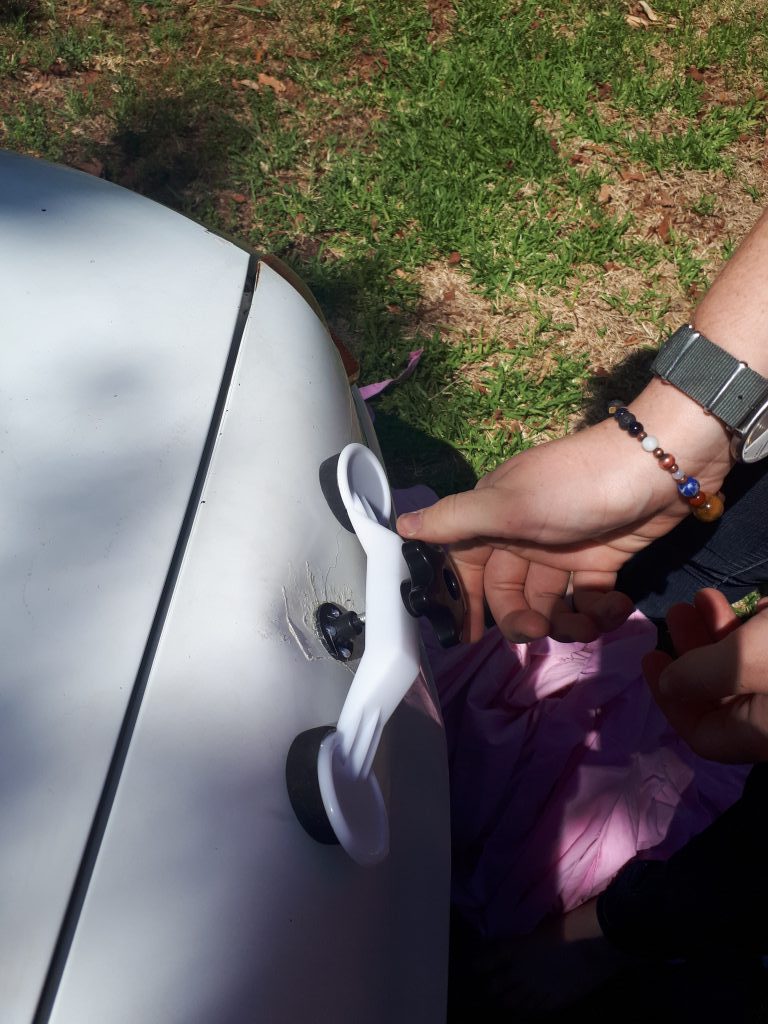
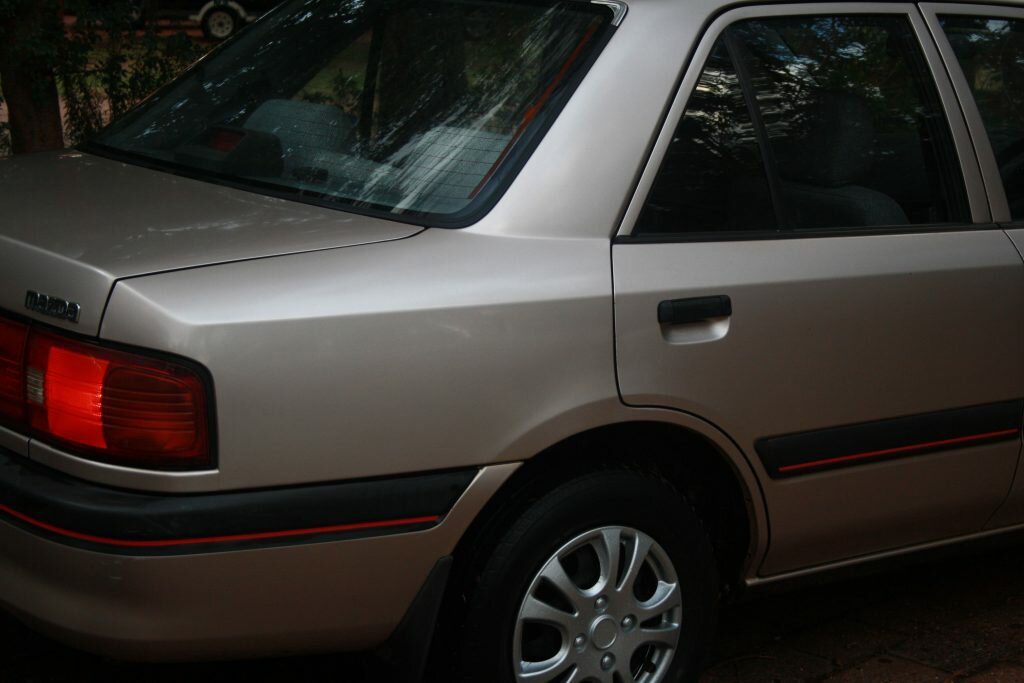
  2. Cut and polish the paintwork and carry out paint correction
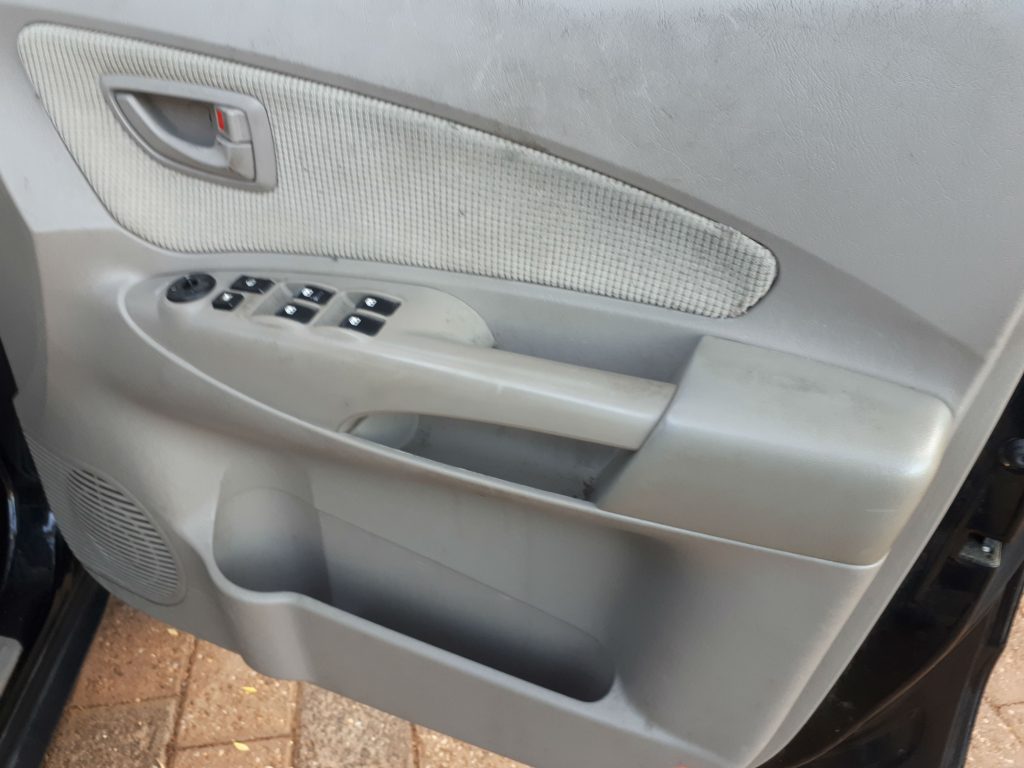
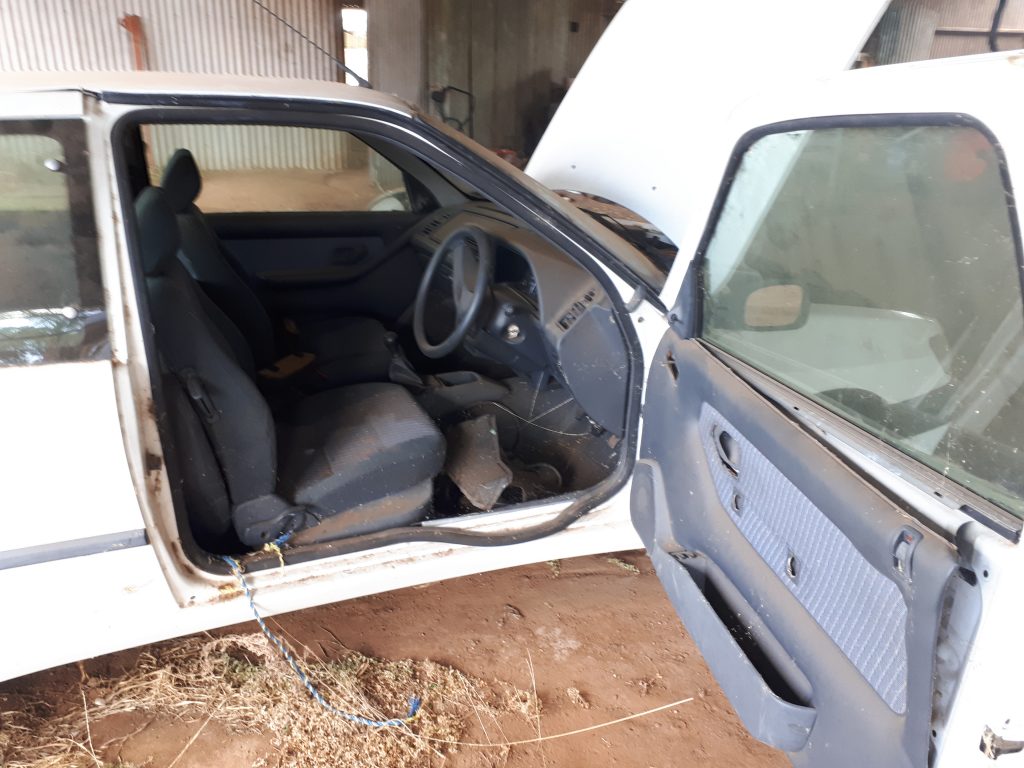
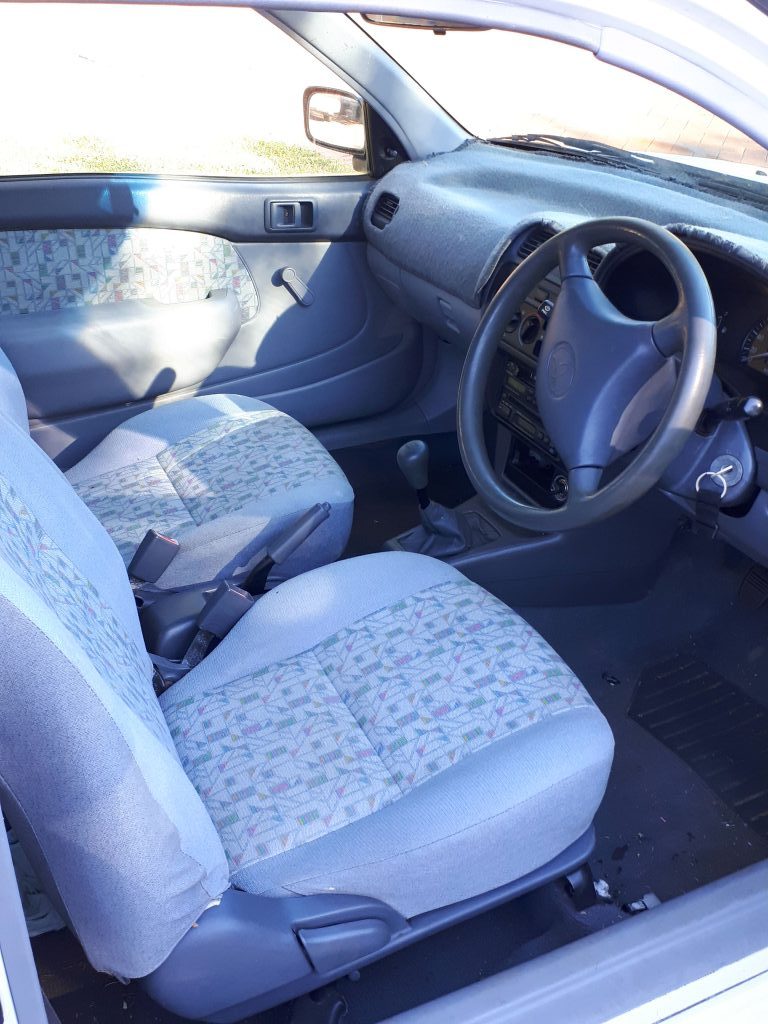
  3. Replace the passenger door regulator
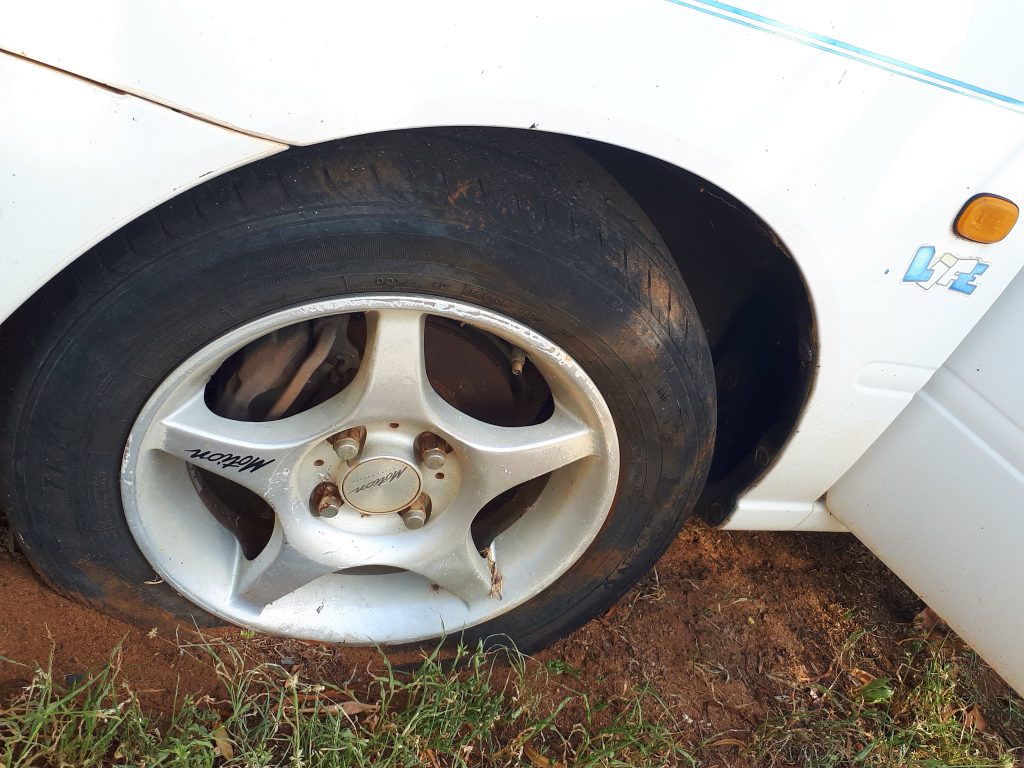
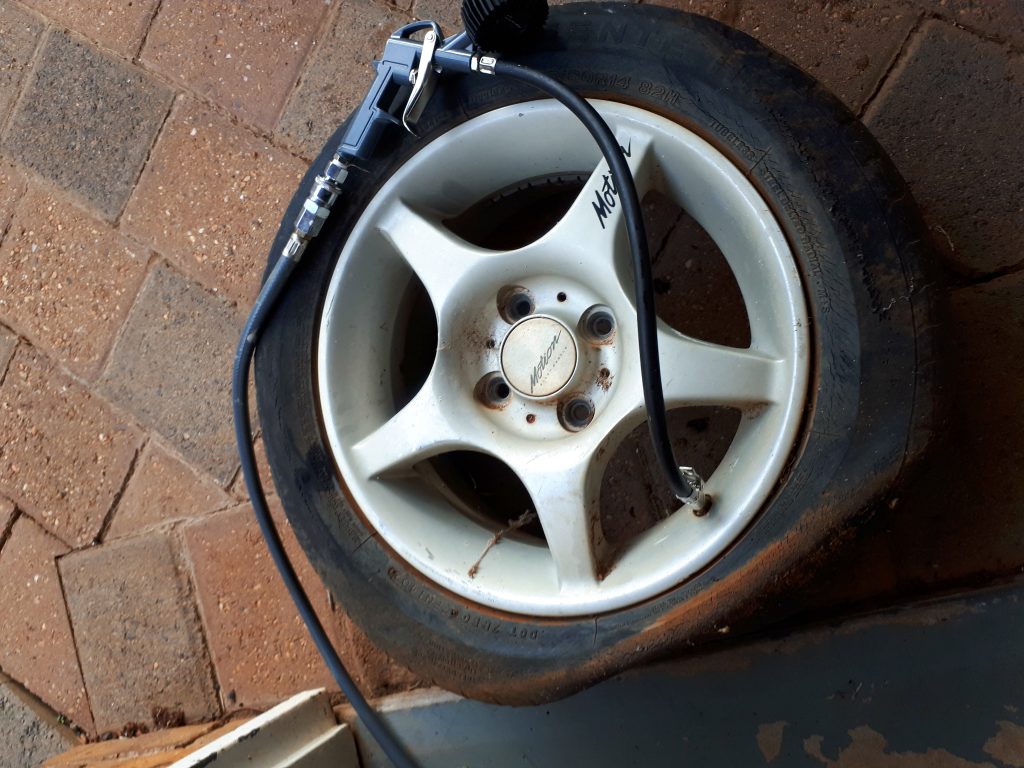
  4. Remove buckle from front rim
  5. Find radio code
  6. Hyperseal the body and all other plastic parts
  7. Order trim clips
  8. Refit plastic trims that are missing screws
  9. Replace the water pump and other seals
  10. Service the injectors
  11. Order colour coded touch-up paint

Mid way phase

  1. We get to work on locating and ordering the parts we need.
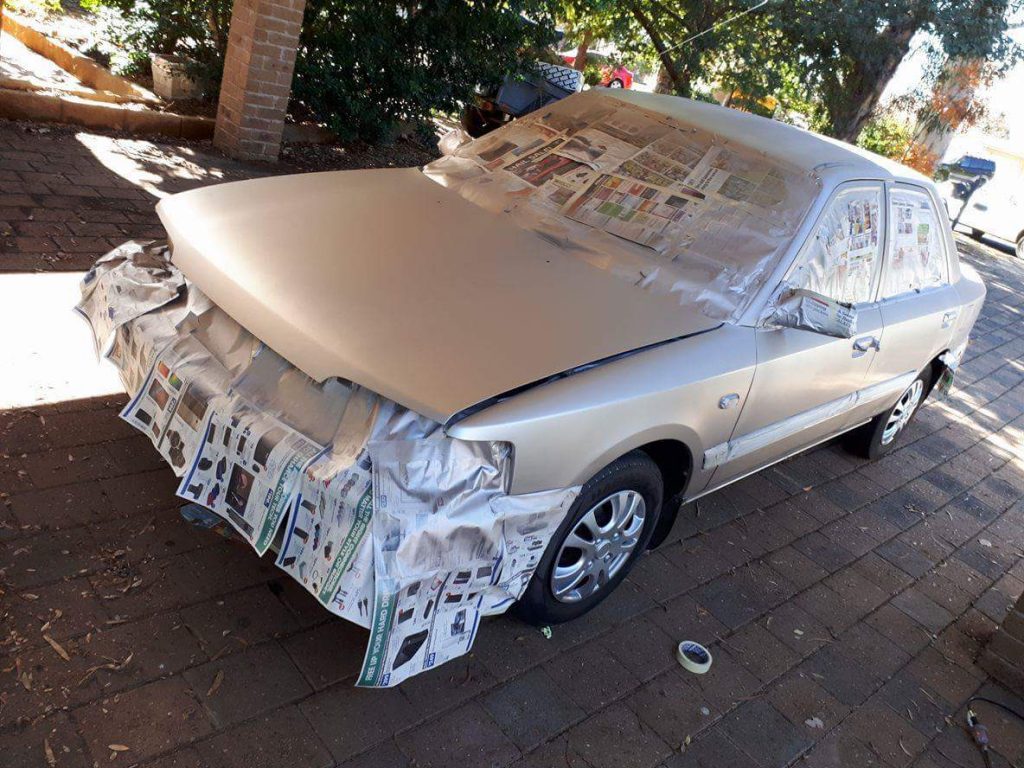
  2. We start on the bodywork NDG DIY bodywork coating process.
  3. Wash and claybar the car
  4. Carry out paint correction on several areas of the car.
  5. Re-secure any body plastic parts
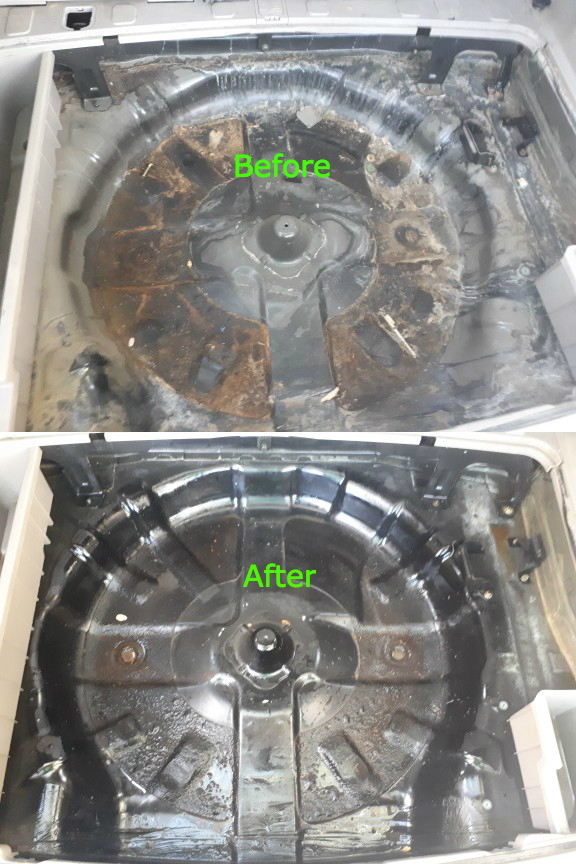
  6. Clean engine bay and apply NDG Instant engine gloss
  7. Recharge battery
  8. Check and change all fuses

Some weeks later,

We assembled the engine replacing the waterpump, idler, Timing belt and tension and various bolts and this got the Megane back on the road.

Ms Renault Megane from top of a hill
A great result using NDG Acid Degreaser brings the engine bay back to life

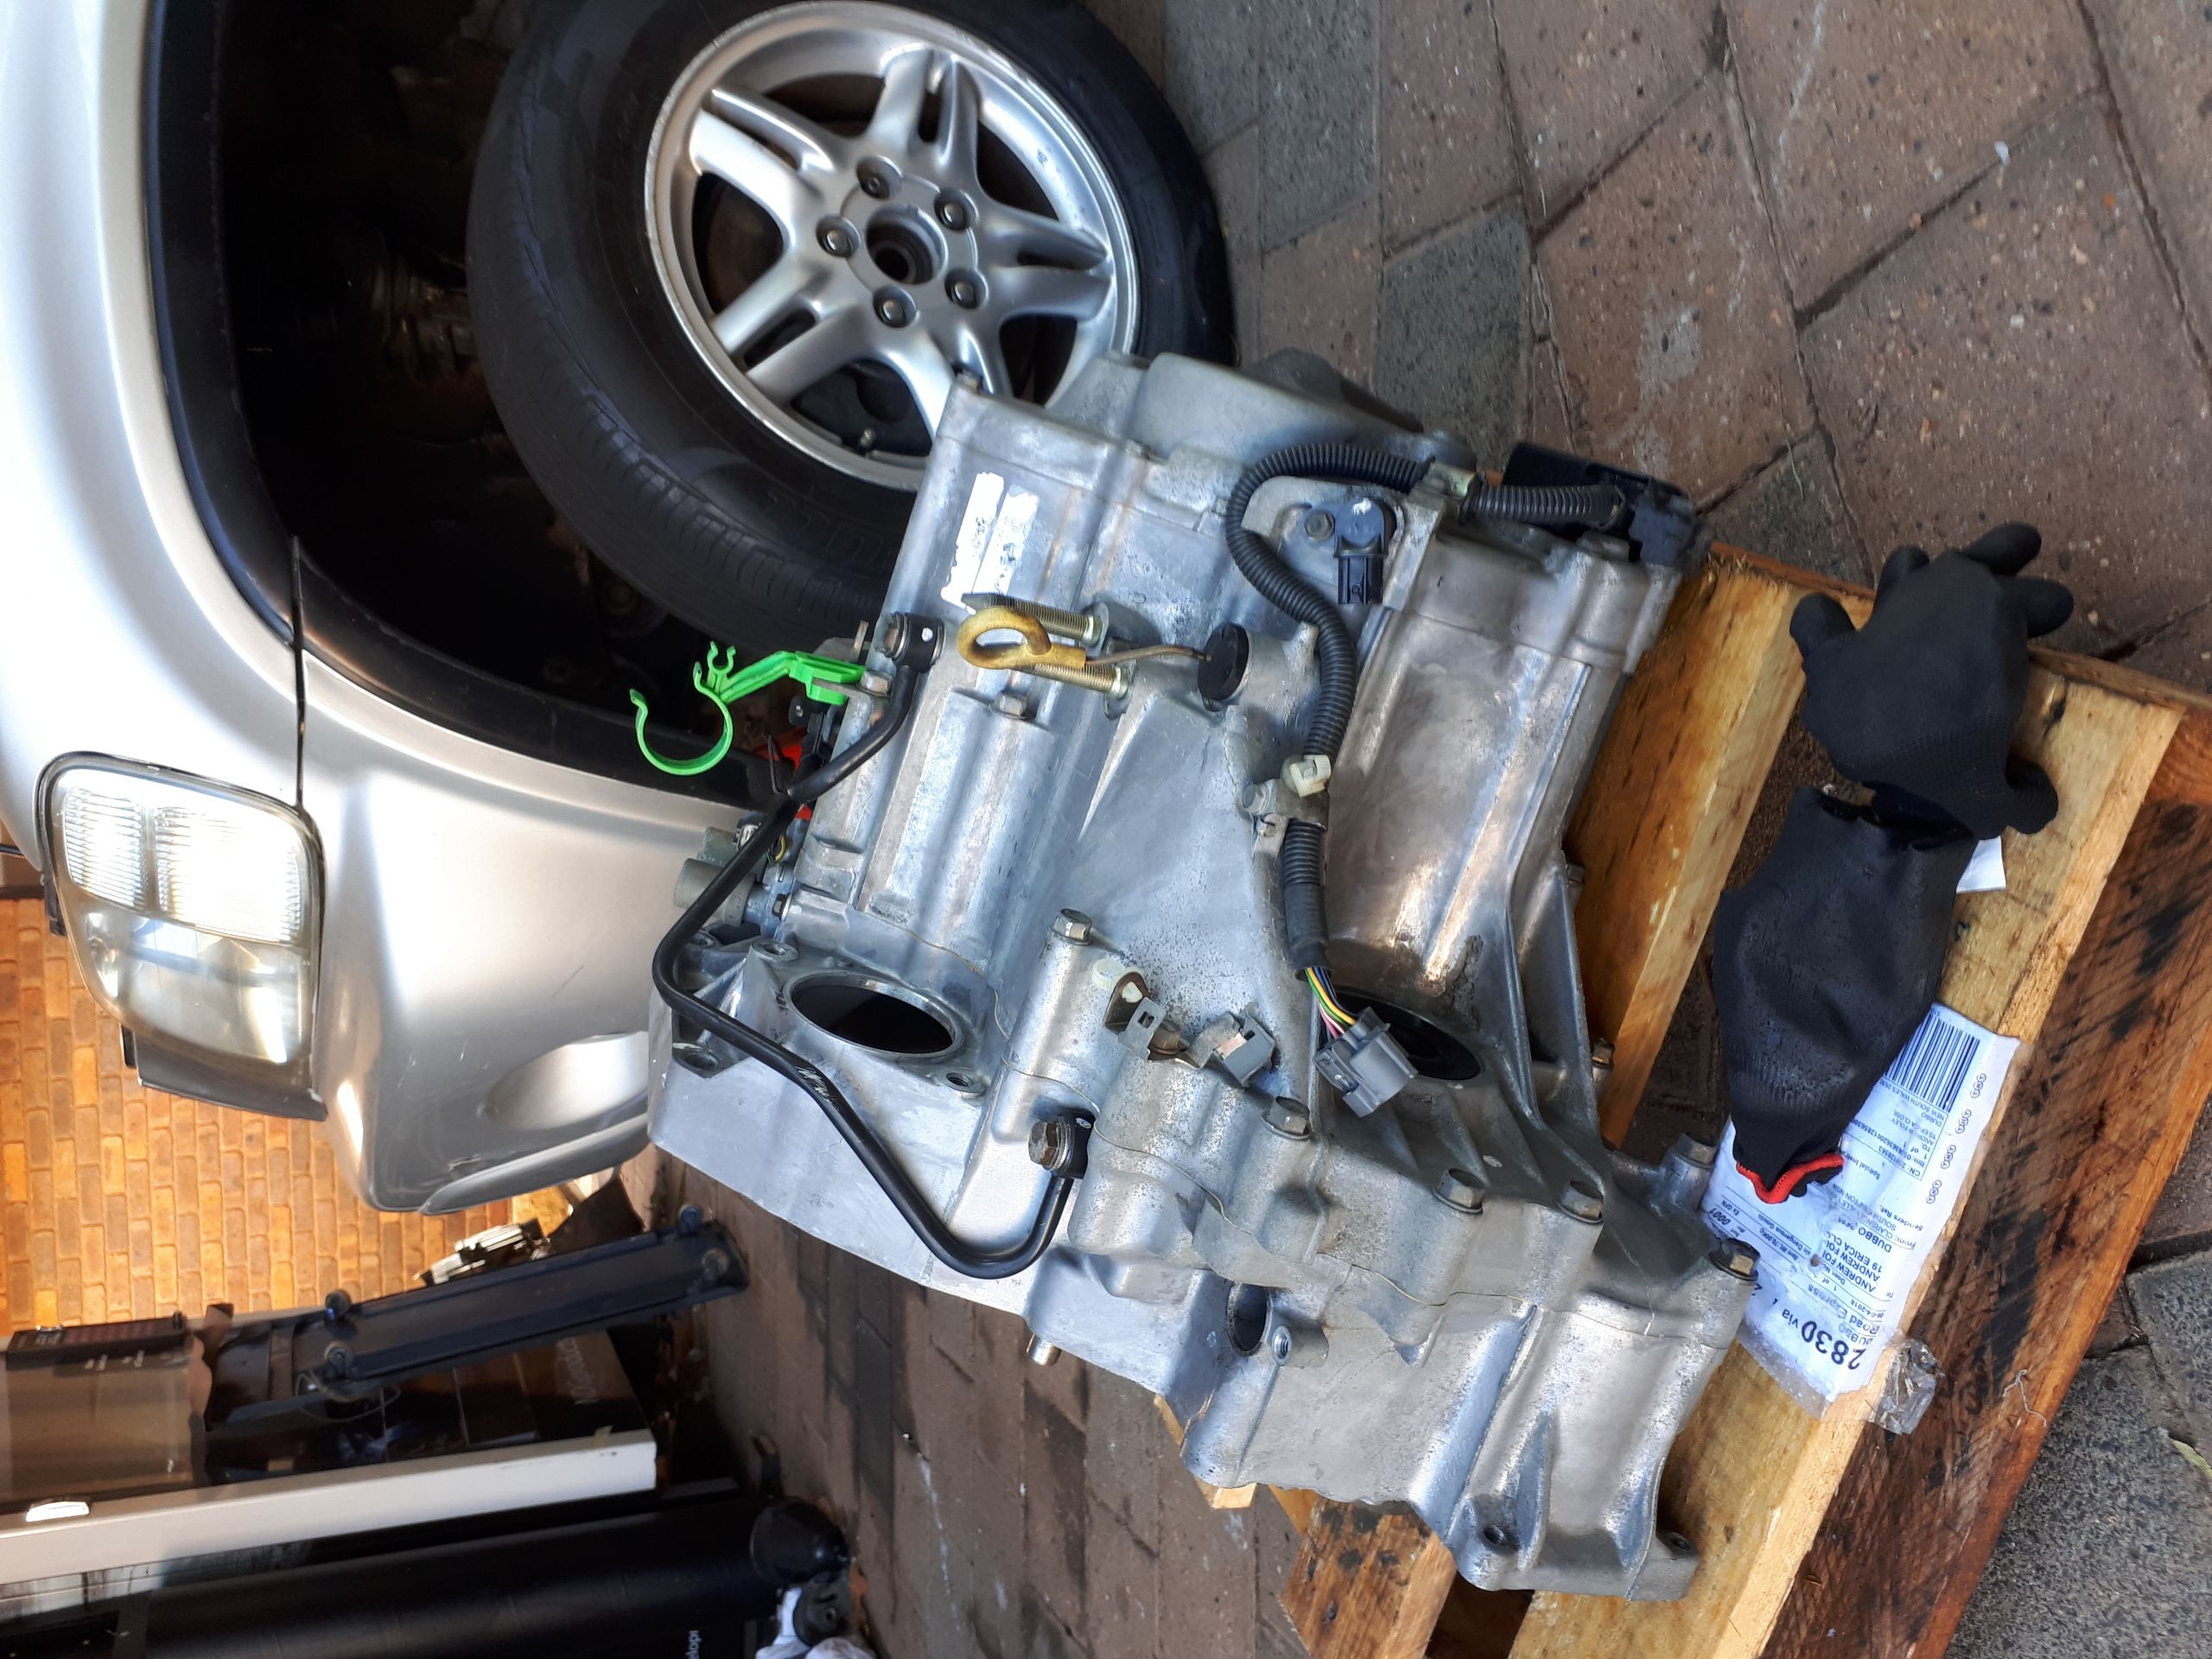
We took it for it’s first road test. 1 and 2nd gear it all sounded good then as we grab 3rd we hear a bearing growl start-up in the gearbox and this only got worse in 4th and 5th.  Dam, this is not something we needed to have happen!

Out comes the gearbox and stripped down. Noisy bearing found and the search started for the bearing kit. No kits in Australia so a kit was ordered from the UK which arrived a week later.

Ms Renault Megane from top of a hill
Megane Gearbox on removal
Ms Renault Megane from top of a hill
Megane Gearbox cleaned with NDG Automotive Acid degreaser

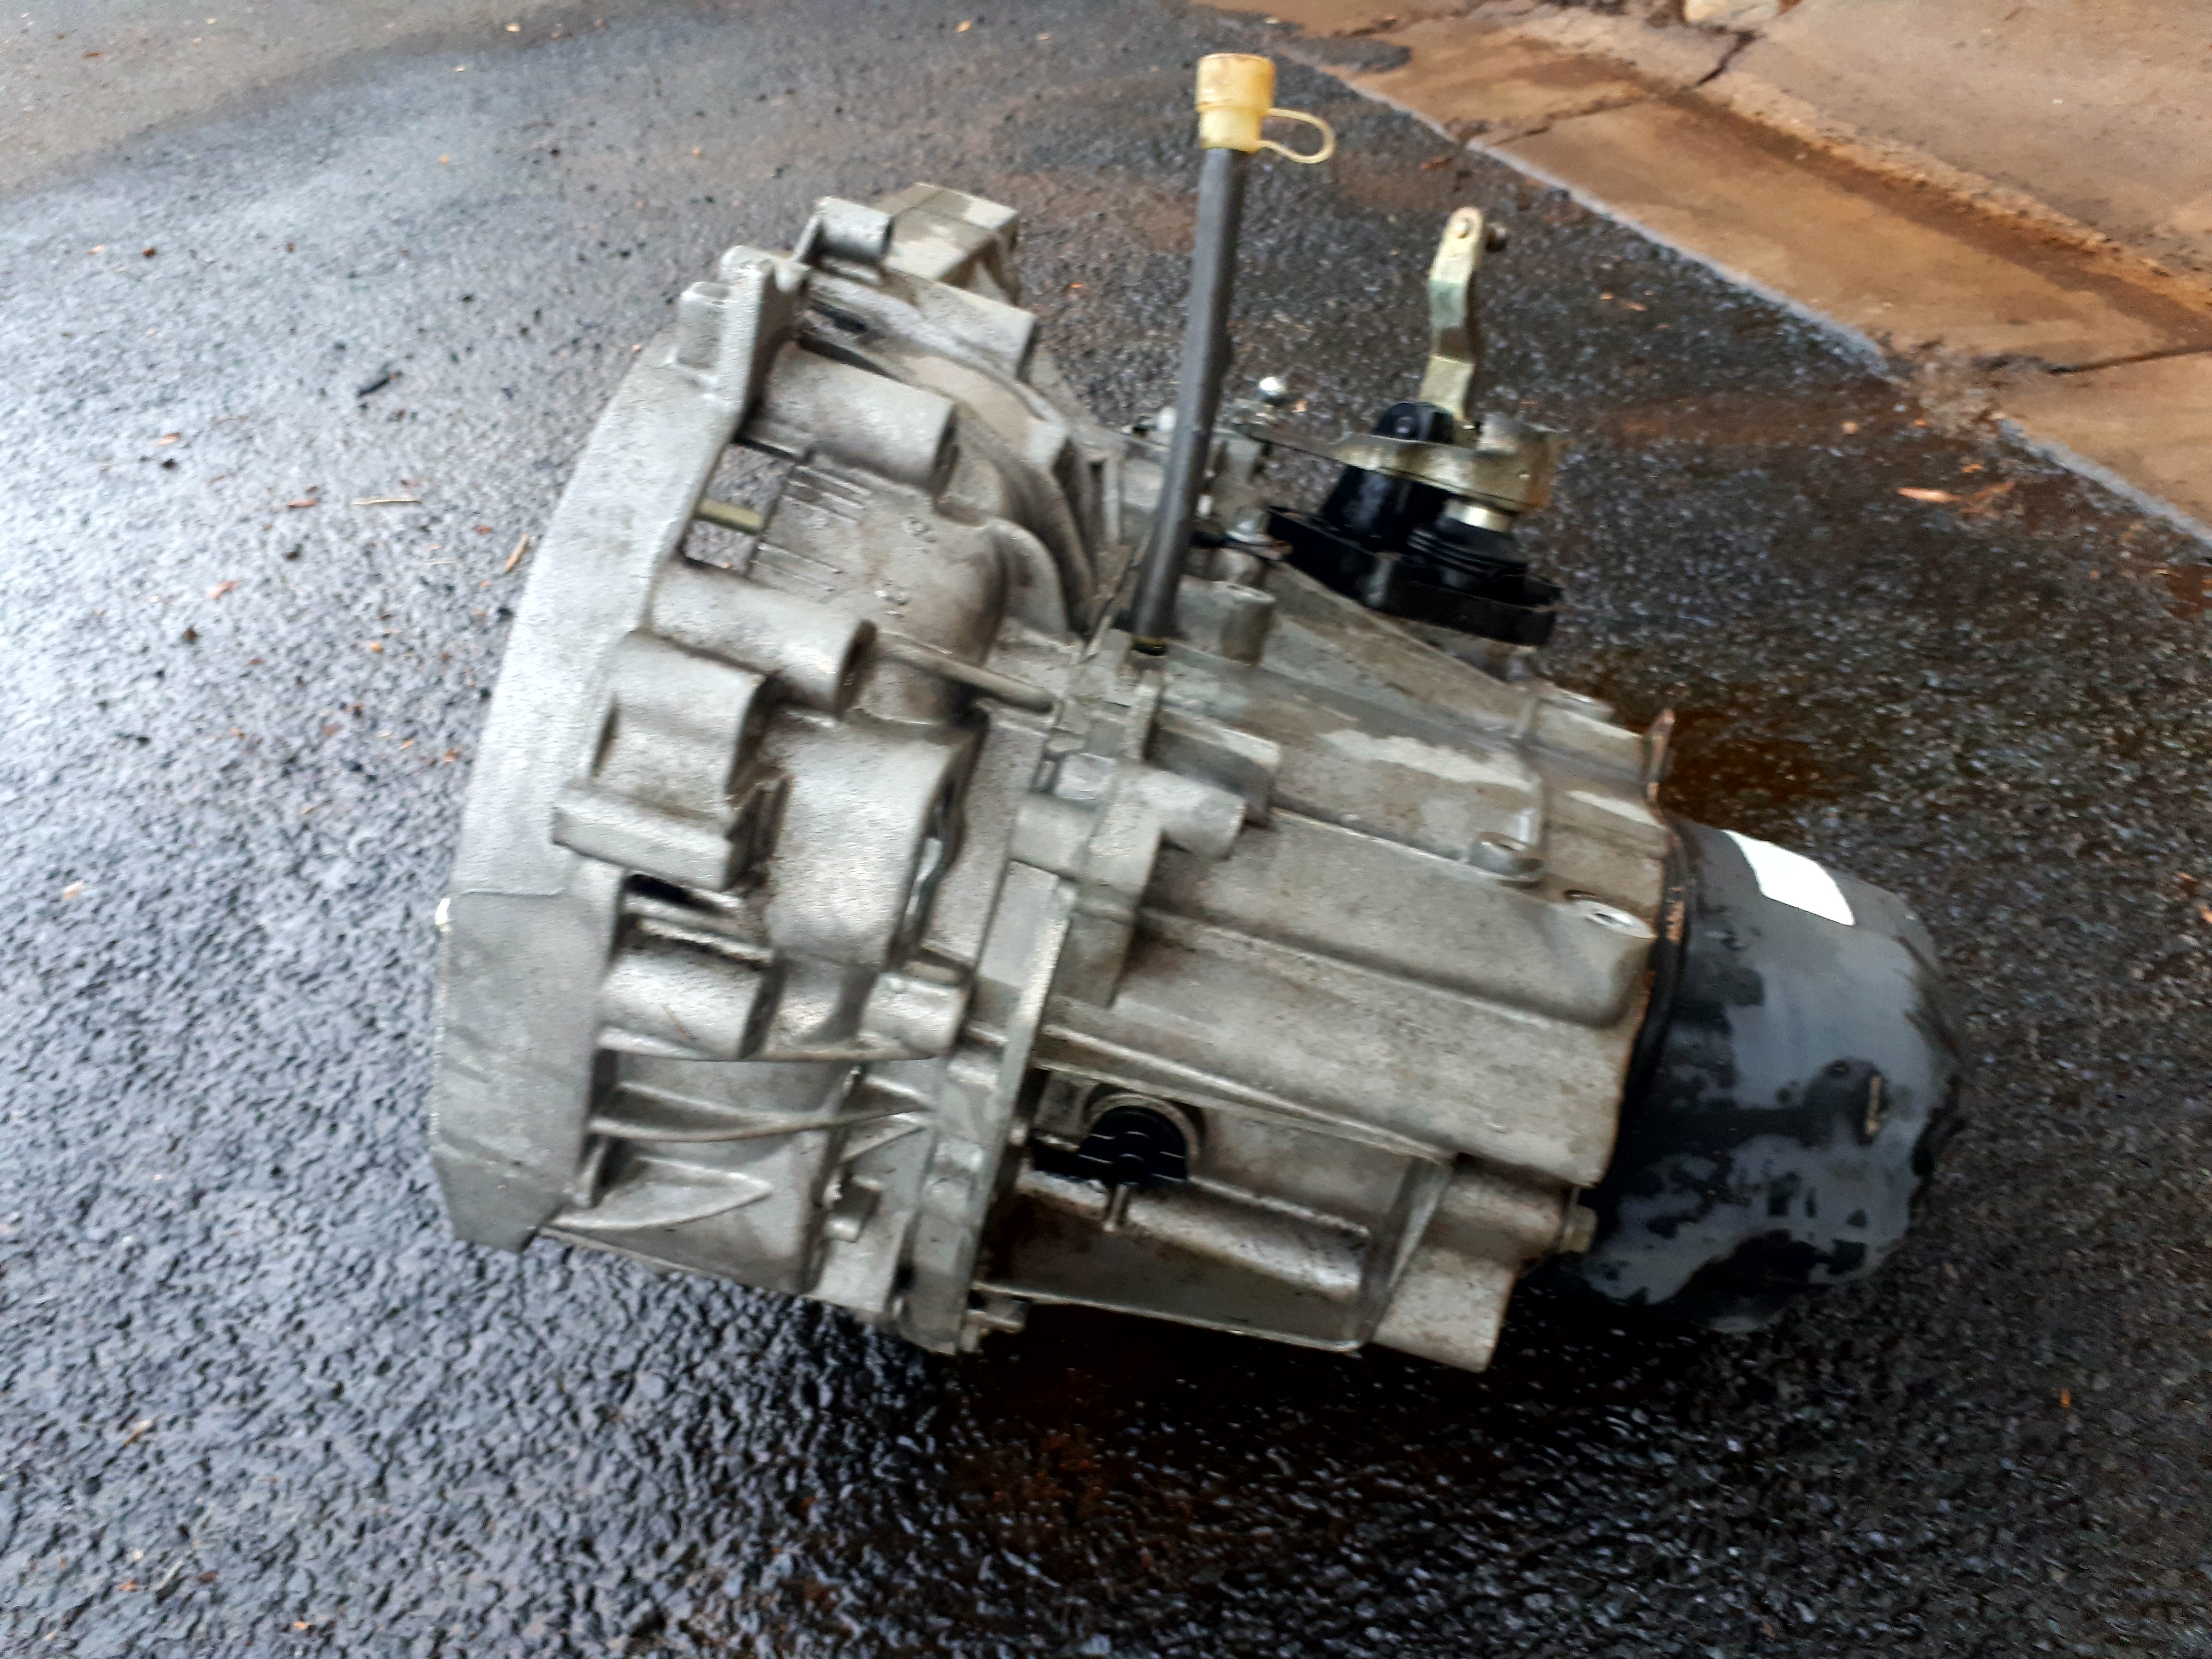
With the Gearbox rebuilt and installed into the car we get to detailing the car and Hyperseal the body and plastics and fitting the new passenger front window regulator.
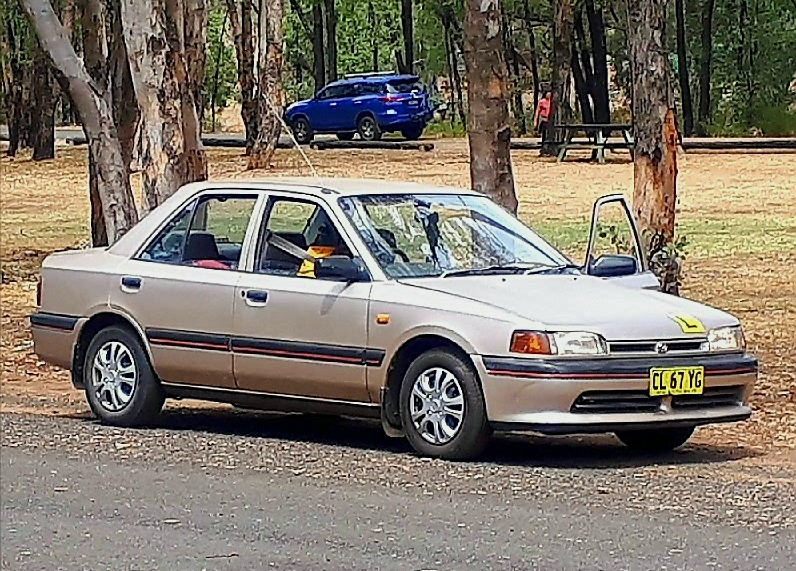
Ms Renault Megane from top of a hill
Gearbox stripped down and bearings replaced

All done.

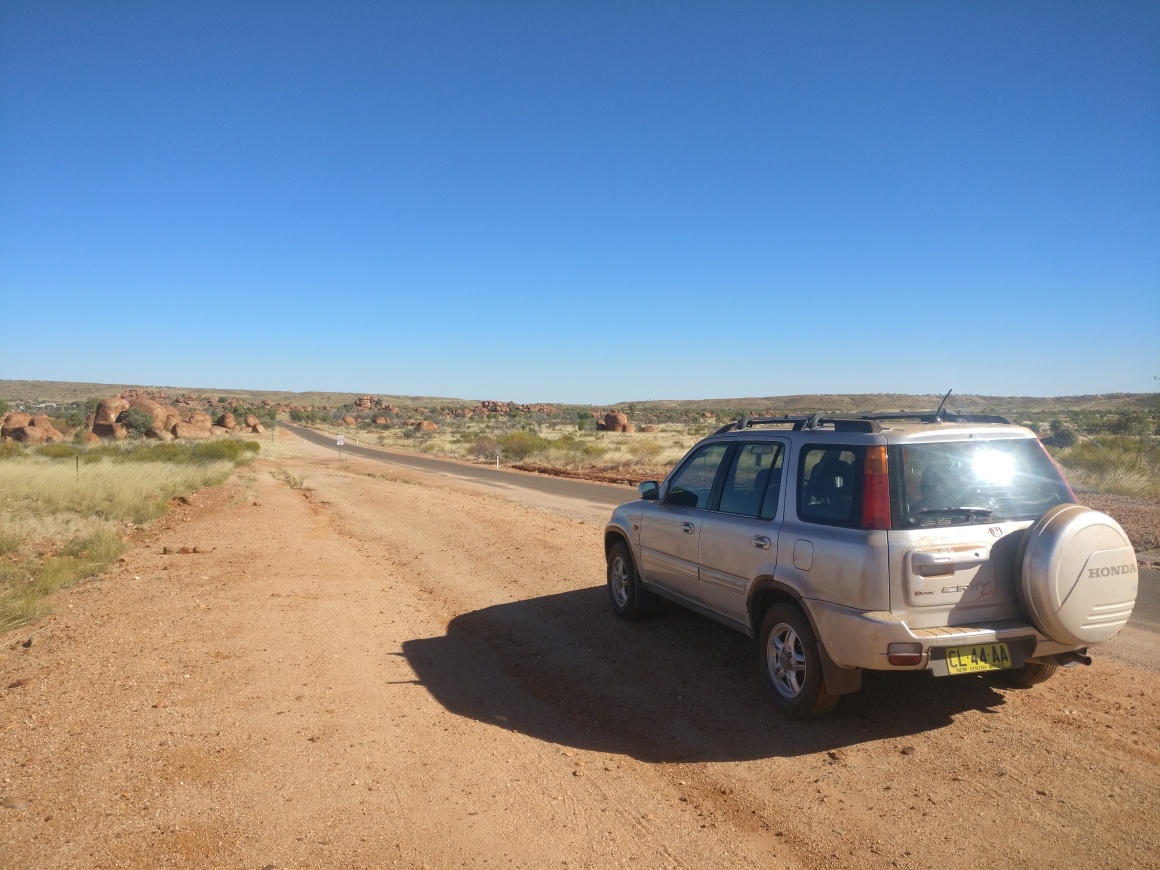
Plan is to drive the car for a couple of weeks and then put it onto the open market to sell. But, it turned out so dam nice ans so much fun to drive  it is tempting to keep it!!!.

Ms Renault Megane from top of a hill
Megane at the end of 4 months rebuild.
Ms Renault Megane from top of a hill
Ready to hit the road

An Update to the Megane.

It is certainly a head turner and people want to know what it is, Sounds strange as they are common but not so in rural Australia, they are around but tend to blend in as most are standard looking commuters.

The car was delivered to it’s new owner Narelle in Sept 18 and, she loved the car the moment she laid eyes on it.

Ms Renault Megane from top of a hill
It seems like they were eade for each other


Copyright ©2016 Nano DG Singapore Pte. Ltd. All Rights Reserved

Where is the Gotcha?

There is one way that makes us very edgy about sketchy owners selling cars. In this Blog we do just that. We buy a slightly beaten 99 model CRV from a sketchy owner with a massive dog that was lurking in their front yard, a yard we had to walk through alone to get to the front door.

We find the dog asleep on the front veranda and with just one step onto the veranda it opens it’s eyes. Gulp!

We survive that and get on with looking over the car that was out of fuel and nosed into the kerb.  We tested for worn wheel bearings which are pretty common at this age and found the RH front was badly worn and the brake disc was hitting the brake calliper, a liveable problem.

We got it to start and moved in slightly in reverse and the engine cut out, no fuel. So we give it a look over for the NDG DIY renovation process and whether this car fitted the bill, but, we could not get the feeling of there being a GOTCHA problem in this deal somewhere. We agree the price and go get some fuel. We fill the tank with enough fuel to get moving and go for a drive.

Yep, as we found the front bearing was undriveable but we drove it anyway. The car seemed fine, at first. The bearing noise was spin chilling but we only had a few kms to drive so we soldered on.

In the workshop for a first look. 

  1. We did the before photos
  2. We did notice that the car didn’t engage the park paw or detent which was a big worry and the cause needed to be found.
  3. We removed the front wheels and found that the car was infact a constant AWD and the front drive shafts were missing on the passenger side and half there on the drivers side.  We jacked up the car so all 4 wheels were off the ground and ran it in drive. Both front output shafts were turning and no abnormal noises were heard the park engage so, the GOTCHA was found, or so we thought.
  4. The headlights were not working on low beam.
  5. An after market stereo was fitted or badly fitted
  6. Interior fan not working
  7. A number of fused missing from the interior fuse box
  8. The body and interior were a little rough but we feel it will look great when we are done.

Parts to order

  1. Front Drive shafts and seals (We feel this is concealing a much bigger problem)
  2. RH Front wheel bearing
  3. Headlight bulbs
  4. Mini Blade fuses

While we are waiting on the parts we get to it and start the transformation process with NDG

Let’s get started on the DIY job!

  1. Mega Gloss wash
  2. NDG Claybar and lubricant process with some paint correction
  3. Cut and polish the paint work
  4. Hyperseal coating
  5. Long life Tyre shine
  6. NDG’s 3 minute headlight restoration
  7. Odour eleminator ( we will use “New Car” fragrance)
  8. NDG 600C Matte Black engine paint
  9. Long life Engine Lacquer

Before and after shots

Where is the Gotcha?
NDG Engine Lacquer & 600C Engine paint in action

Where is the Gotcha?

Where is the Gotcha?

Where is the Gotcha?
NDG Bio Crystal Magic super cleaner

Where is the Gotcha?


Mechanicals

We got stuck into this as we were burning time

  1. Installed new front wheel bearings
  2. Installed the new front drive shafts
  3. Removed the blower fan regulator and replaced the main capacitor
  4. Replaced several damaged fuses
  5. We noticed the valve cover was leaking oil so removed, cleaned and resealed

Now we find the real GOTCHA!

After installing the new drive shafts we decided to test the drivetrain and prepared the car for a test drive. On selecting reverse we hear a massive banging coming out of the transmission and the same for selecting drive. This sound is terminal.

The Sketchy owner got us good!

After searching around we locate a low milage transmission and get it on transport while we remove the transmission from the car.

We really didn’t want to go this deep in repairs in this car but we had accounted for some catastrophic issue into our buying price, luckily!

Where is the Gotcha?
Damaged transmission
Where is the Gotcha?
Low Milage replacement transmission

Post transmission

On receiving the replacement transmission we decided to clean it with our NDG Acidic Degreaser which restores Aluminium to look like new. (on Writing this blog we had not launched NDG Degreaser. Launch date January 2019)

After the transplant we get to go for a decent drive. Wow this is a good car and could be our company run around car.

We advertise the car with half a mind that if it doesn’t sell we will in fact keep the car.  A week into advertising it we receive a message from a Swedish fellow who wants to see the car. He buys it on the spot and loads up his traveling companion and heads to the middle of Australia for an around Australia working holiday which in a one shot drive is 16,500kms.

Bon Voyage guys!  

Some months later we receive an image of their trip.

Where is the Gotcha?
Honda somewhere remote Australia

Copyright ©2016 Nano DG Singapore Pte. Ltd. All Rights Reserved

Hyundai Tucson makes a solid come back

Hyundai Tucson makes a solid come back

Hyundai Tucson makes a solid come back

There is always a danger of buying cars on auction as you really don’t get a sense of what the car has been through in it’s life and, in this case the heading “Hyundai Tucson makes a solid come back” is an understatement as this car has been beaten on. A 2005 model city car which somehow ended up at the car auctions and then to us to see what we could do with it.

We will do all this work using DIY techniques and NDG Products. There will be a significant amount of mechanical work to do carried out and to keep the cost realistic as will look for a low millage donor car to source the parts. But our mission is to get this car looking and smelling as close to showroom condition as possible. We have given ourselves a week to complete this project. Is it even possible?

At first look we see

  1. That it was a smokers car so heavy smoking smell and it has been beaten on for some years, very run down with layers and layers of problems
  2. Light beige interior with significant black marks all over the seats and nicotine smells and discolouration from smoking
  3. Cracked centre armrest and heavily soiled
  4. Steering wheel airbag damaged and worn trim
  5. Driver’s seat torn
  6. Worn gear leaver trim
  7. Fuse panel exposed (not a good sign)
  8. Lettering missing off rear hatch door
  9. ABS light on
  10. Radiator leaking and coolant all over the ABS pump and underside of the car (has been leaking for some time)
  11. Valve lifters ticking
  12. Idler pulley noisy causing drive belt system squeal
  13. Power steering pump reservoir hoses swollen and rubbing on serpentine belt
  14. Belt tensioner noisy
  15. Engine bay layered in typical city driving soiling
  16. Paintwork dull and covered in light scratches
  17. Headlights crazed and have been restored some time in the distant past
  18. Rubbish quality window tint causing poor vision clarity
  19. Some sort of oxidisation in spare wheel well ( needs more investigating)
  20. Auto transmission fluid brownish colour
  21. Tyres worn and spare tyre bald
  22. Car drives straight and no wheel bearing or unusual driveline noises and surprisingly no evidence of accident damage or repairs
Hyundai Tucson makes a solid come back
Headlights need a good NDG restoration
Hyundai Tucson makes a solid come back
Very dirty interior, black hand prints everywhere. Bio Crystal Magic for them
Hyundai Tucson makes a solid come back
Badly stained seat trim

Hyundai Tucson makes a solid come back
Engine bay has typical city driving buildup and some horrible noises coming from the drive belt side.


Hyundai Tucson makes a solid come back
Paintwork is very dull and covered in swirl marks from automatic carwashes
Hyundai Tucson makes a solid come back
Something must have spilt into the wheel well and is growing crystals

Plan of attack

  1. Find a donor car
  2. Diagnose ABS fault
  3. Find source of coolant leak
  4. Clean engine bay and solve engine ticking and belt system squeal
  5. Change engine and transmission fluids and filters
  6. Claybar body to see how much paint correction is required
  7. Cut and polish body
  8. NDG Hyperseal treatment
  9. Clean and restore the interior neutralising the smokers smell
  10. Restore the headlights

Work process

  1. Donor car found (in local wrecking yard)
  2. Removed parts from donor car. Radiator, thermostate, ABS pump, serpentine belt, idler pulley, belt tensioner, abs switch, drivers seat, steering wheel and airbag, luggage security panel, spare wheel, rear hatch lettering, center console and arm rest, body clips and other small trim pieces
  3. Clay bar body
  4. Cut & polish
  5. Mega Gloss Wash
  6. NDG Hyperseal treatment
  7. NDG Acidic engine bay degreaser and pressure clean
  8. Replaced radiator and thermostate
  9. Replaced idler pulley, tensioner and belt (inspected timing belt)
  10. Replaced ABS pump and switch
  11. Cleaned spare wheel well and installed new spare wheel
  12. Carried out NDG Headlight restoration process
  13. Changed engine & transmission oil and filters
  14. Removed all seats, cleaned with NDG Bio Crystal Magic and removed stains from carpet
  15. Replaced Drivers seat, centre console and armrest and steering wheel
  16. Finished off  engine bay with NDG Engine lacquer
Hyundai Tucson makes a solid come back
Donor car found
Hyundai Tucson makes a solid come back
Removal of the interior to clean the years of nicotine smoke and clean the carpet

The results 4 days later

According to the owner: “Simply amazing, the car looks new, cannot believe it, you sure it is the same car?”

Hyundai Tucson makes a solid come back
The perfect straight off the Showroom floor look
Hyundai Tucson makes a solid come back
Picture was taken before the U was added into Hyundai. But look at that shine


Hyundai Tucson makes a solid come back
Paintwork looks great using DIY techniques to apply NDG Hyperseal
Hyundai Tucson makes a solid come back
This image says it all. LIKE NEW!
Hyundai Tucson makes a solid come back
NDG Headlight DIY restoration/rectification processes worked perfectly
Hyundai Tucson makes a solid come back
Fingernail scratching eliminated and replaced with that Newly painted look and feel. Hyperseal treatment sorted this.
Hyundai Tucson makes a solid come back
The seats were blackened through years of exposure to smoking
Hyundai Tucson makes a solid come back
Hyperseal is the perfect plastic restorer
Hyundai Tucson makes a solid come back
The wheel well had a bottle of soda leak into it which had crystalised and discoloured the surface

Hyundai Tucson makes a solid come back  

In summary

The car is a new as it will ever look and considering that everything done to the car was all done as DIY techniques just as it would in any driveway anywhere. We have worked hard to ensure that NDG products are truely DIY and that you can tackle projects as deep as this and get a great result.

This Hyundai was a great project. It was in a very bad way when we received it and there were doubts as to whether it could be restored, but 4 part days later we got not just a great result we got a perfect result. The car looks close to new condition, and smells just like a new car would with our soon to be released odour neutraliser which installs that showroom new car smell. Keep and eye out for that one as we will be launching it in November 2018.

Hyundai Tucson makes a solid come back
Yep,,, Looks new again
Hyundai Tucson makes a solid come back
The perfect finish

End

Copyright ©2018 Nano DG Singapore Pte. Ltd. All Rights Reserved


Matte Vinyl Wrap Restoration

Matte Vinyl Wrap Restoration

We have always claimed that our Hyperseal is an excellent coating for Vinyl wrapped cars. Here we have photographed a recent job that was on a late 2000’s BMW 740il that has had a metal flaked matte vinyl wrapping for approximately 6 years.

First inspection of the wrap showed that bird droppings had left their permanent mark on the horizontal surfaces and that the Suns UV rays had dried out the same surfaces.  The metal flakes were very dull and the surface looked 1 dimensional.

There were several large scratch marks on the Boot/Trunk lid possibly from shopping bags or boxes being dragged on or off but other than that the wrap adhesion was as good as ever.

The restoration plan.

The plan was to restore the wrap to look unified in it’s appearance and the original Metallic flake Matte look.

First we washed the car with Mega Gloss Wash to clean the surface well

Using a waffle pad and an orbital buffing machine on low speed applied Hyperseal to the horizontal services and hand applied Hyperseal after misting all the panels with water to the vertical surfaces and left to settle for 30 minutes.

Using the same pad and machine on midrange speed we buffed the excess Hyperseal.

The Bonnet/Hood and Boot/Trunk took some work. The dryness was worse than it first seemed so it took 3 coats of Hyperseal & polishing process to get the look and feel of a newly wrapped car in all it’s glory.

The owner was beyond happy with the result and so were we.

The end result.

Matte Vinyl Wrap Restoration

Matte Vinyl Wrap Restoration

Matte Vinyl Wrap Restoration

Matte Vinyl Wrap Restoration

Matte Vinyl Wrap Restoration

End

Copyright ©2018 Nano DG Singapore Pte. Ltd. All Rights Reserved

It was all too hard

Someone somewhere is saying this very thing every minute of every day for just about any subject you could think of. In this case it was a 1994 306 Peugeot that we had been told had broken down on a nearby highway and the nearest place to get help was a farm with a farmer who had some mechanical know how, but not enough to get the 306 running again. So there it sat in his farm shed ever since, for some years.

We spotted it on a visit to the farm while there for another reason, but it caught our eye. Why? the car seemed out of place against the rest of the items on the farm. We worked a tentative deal with the farmer pending on whether the car started. We did an assessment of the car to see what it would take to get it back on to the road. Below is our initial list.

First look list

  1. Fuel pump has left the building. Not even in the car and the fuel tank has been exposed to the elements. (the driver door has been open all this time)
  2. The fuel lines are cut in the engine bay
  3. The inlet snorkel is not around
  4. Battery terminal have take a beating (not sure why this would have been )
  5. The car has 3 steel wheels and 3 alloy wheels
  6. Battery is missing
  7. Drivers door panel hanging off the door (hence the door open all this time)
  8. small dent in the drivers door and a scrap mark on the drivers rear quarter panel.
It was all too hard
Slight damage to body
It was all too hard
Dust everywhere
It was all too hard
Not sure why there is a stick holding up the hood. Fuel line is a worry
Door open for some years
It was all too hard
The car as we found it. Bonnet/Hood up and drivers door open.


It was all too hard

Next job

Was to see if the engine will start so fitted a battery carried out the standard checks before we attempted to fire the engine. We sprayed “Start Ya Bastard”into the engine and it fired up straight away and sounded sweet for the short time it ran under test conditions.

We now know that the car had a fuel problem of some type but what specifically is still not known but highly suspect that the fuel pump failed.

Next job was to find a donor car so we visited the local wreckers where we found the same model car that had the same parts we needed to get our project car going.

It was all too hard
wrecked donor car
  1. Fuel sender unit with pump
  2. Air tract snorkel
  3. genuine tool kit
  4. Good battery terminals and leads

Now all the elements are sourced we can determine whether the project is viable which we think it is, but not by a lot.

Our plan is to get the car mobile in situation on the farm then drive it to get it registration checks.

We may even go as far as to carry out the NDG renovation treatment on the car on the farm.

Lets get going on this.

We will update this Blog as it happens.

Update 12th March

We removed the donor fuel pump and connector and headed out to the farm where the car was located. Installed the pump, sorted out the bad wiring, installed the battery and tested for power which there wasn’t any. Found the fuel pump fuse which was unmarked and the car fired up first go.

Reversed the car out of the shed and gave it a quick pressure wash and pumped up the tyres and took it for a short drive.

All the drivers door hardware was on the floor of the car but all the bolts and screws were missing so we taped the door closed and fitted the unregistered car permit to the windscreen and drove to town for the next phase.

Something got the better of us. The car was terrible to drive and a fuel line sprung a leak so fuel was spray in the car interior. A quick fix and then an idea occurred to us. Take this car straight to the wrecking yard!

We didn’t make it to the wrecking yard. The car stopped on the side of a lonely country road, refusing to go any further.  Not giving in we sent back our pilot car to get our SUV and a tow rope to complete the final few kms to the wreckers, which we did and got there just before closing time.

It was all too hard
Final resting place 306

Our wrecker friend would not let us abandon the car but instead offered his workshop and a special deal on the donor car in his yard to get the job completed. He is a big supporter of our Blogging work and he said that this is all part of the story and to go away and think about it overnight.

We left the car in his yard to go away and think about it.


Copyright ©2018 Nano DG Singapore Pte. Ltd. All Rights Reserved


10 Years under a tree

10 Years under a tree

10 Years under a tree

Just when we thought we were going hard with the Mighty Starlet sitting in a front yard for 9 years we go one step further here with this 91 model Mazda 626 which sat in a front yard under a tree for 10 years.

The car came from a deceased estate and was inherited by one of the family members who had no interest in Mazdas.

We came across this car on a drive around and cold called the owner about what they wanted to do with the car. They were very happy to have someone take interest. We came to an agreement and started to photo log the car in situation.

What we found.

The car was sitting on small lino type tiles to stop flat-spotting. (good thinking on whoever parked the car)

The grass creepers had grown the entire length of the underside of the car

Passenger window was down

Steering wheel had a hole in grip

The car was serviced before it was parked

Clear coat was gone off the horizontal surfaces.

10 Years under a tree

Parts needed

  1. Master window switch
  2. Right taillight
  3. Filters
  4. Drive belts
  5. Rear muffler
  6. Paint
  7. Steering wheel cover

    Starting the car

    1. We diluted the stale fuel by adding some fresh fuel into the tank
    2. Connected the Jumper leads
    3. Cranked with the coil lead earthed to get oil pressure then reconnected the coil lead and attempted to start the engine.
    4. The engine took a while to come to life and once again “Start Ya Bastard” was used to get a pulse which worked and the engine came to life
    5. The brake pedal was close to the floor so the rear brakes were the only ones working.
    6. We drove the car under it’s own power from under the tree for the first time in the 10 years.
    7. We towed the car to our driveway workshop to get into the NDG DIY process.

    Step one

    1. Removed all the grass from inside and under the car
    2. Pressure cleaned the car
    3. Wash the car in Mega Gloss wash & Claybar to take a look at the condition of the car.

    Before work shots

    Mazda 626 as it sat for 10 years

    10 Years under a tree

    10 Years under a tree

    Years of Pine tree nettles build-up
    10 Years under a tree
    Broken glass, but not too bad
    10 Years under a tree
    Grass made it into the interior of the car through a torn door seal
    10 Years under a tree
    Plenty of build-up around the engine bay

    10 Years under a tree 

    Midway shots

    10 Years under a tree
    Getting ready for some new clearcoat

    10 Years under a tree

    10 Years under a tree


    10 Years under a tree
    Removing someones creative wiring additions

    Clear Coat on and ready for the Hyperseal finish

    10 Years under a tree
    Hmm, someone missed getting that dent out.

    10 Years under a tree

    Finishing touches.

    1. Replaced the master window switch
    2. Refitted the passenger window regulator to the door mounts
    3. Replaced muffler and drive belts
    4. Changed oil and filter
    5. Reapplied clearcoat
    6. Installed a stitch on leather steering wheel cover

    Applied NDG products

    1. Odour Neutraliser
    2. Instant detailer
    3. Shield 120
    4. Hyperseal
    5. Mega Gloss wash
    6. Clay bar and NDG Lubricant
    7. Long life tyre shine
    8. Bio Crystal Magic
    9. Instant Gloss Engine lacquer

    After Shots


    10 Years under a tree10 Years under a tree


    10 Years under a tree
    NDG Instant Gloss Engine Lacquer

    10 Years under a tree,Instant Gloss Engine Lacquer

    The Happy New Owner.

    We call that this was a major success.

    Taking what was an abandoned car from out of the grip of nature and bring it back to showroom condition in a matter of a week is sensational.  The car really did look showroom condition. With NDG Automotive products you can get these results using simple DIY techniques. This is what makes our products stand out, and our prices are well positioned to make a driveway reco. feasible..

    10 Years under a tree

    We look forward to receiving images of your project car soon.

    Copyright ©2018 Nano DG Singapore Pte. Ltd. All Rights Reserved


    Lost, but still very worthy

    We were alerted to a car that was iconic as the fleet car of choice in the long country and city roads of Australia. In their day you would be hard pressed not to see at least 1 of these Australian built Mitsubishi Magna’s on any drive anywhere.

    Here we have a wagon version of this car. Super versatile with being a very reliable 3.5ltr v6 and fold down flat rear seat made it excellent for travelling sales people to securely transport their samples to show clients.

    The cars were good for well over 500,000kms of hammering without more than the normal service items which in this case were very cheap in comparison to other vehicles.

    Enough of the preamble and into what we found.

    Lost, but still very worthy
    Been a long time since these were cleaned
    Lost, but still very worthy
    8 years of dust

     Lost, but still very worthy  

    Lost, but still very worthy
    Engine was dusty but intact.

    We found an excellent low milage example of one of these 2001 Australian produced Mitsubishi Magna that had been sitting in the spot we found it for 8 years and was owned by an elderly couple of almost all it’s life. Before coming to rest here the car was a daily commuter and didn’t leave the city of 50,000 population so it idled along.

    The DIY work begins 

    First thing to do was check the oil and coolant levels and put in a fresh battery to see if it would start. It had a full tank of fuel which would be stale but enough to start the engine.

    A few cranks to get the oil pressure up and then we went at a proper start which it did just like it was driven the day before.

    4 washes later we had something we could move to the DIY driveway and get on with seeing if we could get the showroom new look using our NDG products.

    https://ndgproducts.com/lost-but-still-very-worthy/
    4 Mega Gloss Washes later

    6 hours were spent on the car to detail it inside and out but it turned out looking brand new. A sensational result!!

    The Before & After Images

    Lost, but still very worthy

    Lost, but still very worthy

    Lost, but still very worthy


    The car will head to it’s new owner soon enough and will be a good solid workhorse.

    We are tempted to keep this one as a low cost reliable, useful car.

    Lost, but still very worthy

    Copyright ©2018 Nano DG Singapore Pte. Ltd. All Rights Reserved

    9 Years in the baking Sun

    The Mighty Toyota Starlet

    9 Years in the baking Sun.

    Here, we go deep. Deeper than we have ever taken our products before, just to see what we can achieve using just normal DIY tools and techniques just to prove that our NDG Automotive products are truly DIY products and that great results can be achieved, at home, in your driveway.

    This project was a huge success with the car looking close to showroom condition in every way. NDG Automotive Specialty surface coatings are true DIY superhero’s. 

    Starlet as it sat for 9 years
    Starlet engine as found

    The Project

    We found this 1997 Toyota Starlet sitting in a front yard where it had sat for 9 long years in the Harsh Australian climate. What happened before it arrived in the front yard it’s owner cannot recall so it’s history is lost to the mist of time.

    So after negotiating removing the car and completing the relevant paperwork we asked for the keys. We were handed a big bag of keys and told that the keys were in that bag. 30 minutes and 87 keys later we had no luck finding the car keys or the wheel locks.  We then broke into the car and removed the door lock to get the key code and crossed our fingers that this was not a chip enabled key system and got a key cut at the local locksmith.

    Next day we went back to the car armed with “Start ya Bastard” spray and a spare battery to see if we could start the engine, so we were lucky with the key. (see video of this process).

    We got the car to start after a bit of clutch encouragement using Start ya Bastard but something was wrong with the fuel system.

    Fuel sender unit crystallised

    We removed the fuel sender and pump from the tank and found it completely crystallised. So we know that the engine runs and the clutch is operational so we left this for the moment.

    We removed the wheels and fitted another temporary set and  moved to the car to our driveway where the DIY process of restoration would begin.

    Starlet first wash with temp wheels.

    So far so good.

    We went to the local wreckers in search of a donor car and we found one so we were in luck.

    9 Years in the baking Sun
    Donor car

    We took off the mechanicals we needed and the windscreen and go to work on our project. So far we spent $200 on the parts we needed. All the tyres were buried in the dirt and dry rotted.

    Wheels buried in the ground
    Trying to inflate to get on tow trailer

    First thing we needed to do was to get the car running so we cleaned the inside of the fuel tank  with the donor fuel sender, fuel pump unit, fuel filter and some fresh fuel,  and got the engine to fie up straight away.  So we took it for a short drive to check out whether it drove ok or not.

    Outside of a noisy front wheel bearing we were solid as it drove great once we got the brake discs to burn the surface rust off the brake discs. Back to the wreckers to get the wheel bearing and brake discs.

    Wheel bearing and Brake discs and pads replacement

    Next steps

    1. To start the DIY process while the new tyres were being fitted. as
    2. Wash and claybar the body using NDG Mega Gloss Wash and NDG Claybar lubricant and remove the pin strips off the body.
    3. Remove a couple of dents
    4. We got our resident artist to produce son JDM Toyota stickers to cover the baked in stickers and to make the car look a little more appealing.
    5. Replaced the windscreen
    New windscreen fitted DIY style
    Dent removal


    90’s Pin stripes removed
    JDM Decals ready to install

    JDM Decals installed

    We then we cleaned out the interior using:

    1. NDG Nil Odour
    2. NDG Instant Detailer
    3. NDG Bio Crystal Magic
    4. NDG IPA
    5. Applied Shield 120 to the windscreen

    The results made the abandoned wreck look completely showroom new.

    The abandoned wreck look before we started

    Interior before 1, a wreck
    9 Years in the baking Sun
    Interior before 2, a wreck

    Showroom New results!

    Interior finished 1
    Interior finished with a genuine radio

    We needed to re-trim some of the side panels where the vinyl was lifting.

    Fitted a genuine radio system and sorted out some hack job wiring that someone had done in the past.

    Down to the final touches.

    We then carried out the NDG Hyperseal process in true DIY fashion driveway style which brought back the original shine to the paintwork and added the new decals and serviced the AC system.

    The car passed roadworthiness  inspection so the project comes to an end.

    This Toyota Starlet turned out to be a really nice car.

    A GREAT SUCCESS.


    Image used in the Advertisement


    The end result was we advertised the car on the local car mart website and it sold within the first week to the first buyer.

    New owner of the Starlet

    Before and after shots

    9 Years in the baking Sun

    9 Years in the baking Sun
    Before & After in the original position

    9 Years in the baking Sun

    Close to finished


    Copyright ©2018 Nano DG Singapore Pte. Ltd. All Rights Reserved


    From $50 car to a Gold Bar

    $50 Car
    $50 Car
    Before any restoration by NDG Products

    The answer is always, Not Much.

    We are going to have a red hot go at getting this early Mazda 323 and get it back on the road and looking ok. It has been sitting under a tree for a few years and has all the marking of nature taking over, but it had not been subject to hack repairs so, it is a good start to this project.

    What have we got here.

    Early model 4 door Auto with cloth seats and 16 valve engine. 125,000kms on the speedometer. Service books confirm that is about right.  Battery is ok and the car started without any valve train rattles or bottom end knocks.

    • The body is very straight with no scraps or dents and no signs of repairs
    • Headlights lenses and reflectors are in good condition and still sealed
    • The paint is completely gone from the bonnet and front guard upper surfaces
    • the front tyres are worn and may not pass rego. spare tyre is almost as bad
    • CV joints are slightly noisy but the boots are ok
    • Seats are dirty but not threadbare or sun damaged
    • We can’t tell what the roof paint is like as it is completely covered in dried out dust and lichens
    • exhaust system is not leaking
    • engine is not leaking oil
    • Before images

      $50 Car
      Clear Coat completely burn’t off
    $50 car
    Mazda 323 sat under a tree for 7 years
    $50 Car
    The moment we met “Gold Bar”
    $50 Car
    Pretty straight. It could be good. 19 model with 125K’s

    $50 Car

    $50 Car

    $50 Car
    Engine bay has not been hacked by a backyard mechanic.

    Midway through the project.

    • De-craped the car and pressure cleaned everything
    • Used NDG’s Bio Crystal Magic to clean the seats
    • Installed hubcaps and resprayed the rims Black
    • Aggressive Clay Bar process using Mega Gloss wash as the lubricant
    • Sort out small mechanical roadworthy elements
    • Car ready for Registration inspection
    • Looking a lot better

    $50 Car
    Mid way through the project, Looking good

     Final stage of the project

    • Register the car for street driving
    • Remove drive shafts and re-grease CV joint
    • Respray Bonnet and Roof
    • Hyperseal the exterior
    • Clean the stains off the carpet
    • Remove dent from door
    • NDG Fabcare the interior
    • Shield 120 all the glass and wing mirrors
    • Looking a lot better
    $50 Car
    Bonnet/Hood Painted and Body prepped

    Final stage of the project

    • Register the car
    • Replaced both drive shafts
    • Respray Bonnet and Roof
    • Hyperseal the exterior
    • Clean the stains off the carpet
    • Remove dent from door
    • NDG Fabcare the interior
    • Shield 120 all the glass and wing mirrors
    • $50 Car
      Before and After Hyperseal application.
    $50 Car
    Dents pulled and Hyperseal restored the Gloss


    Summary

    What a great project.

    The Mazda was so good it was kept as a company run-about and is currently being used for some of our young drivers to get their hours up before they sit for their drivers license test.

    It has been renamed the “Gold Bar”. Very suiting.

    $50 Car
    Gold Bar Road Trip

    Copyright ©2016 Nano DG Singapore Pte. Ltd. All Rights Reserved

    Daily Ride Rescue an Audi A3

      Daily Ride Rescue an Audi A3

    The Challenge

    For this Blog we are taking a 1999 Audi A3 1.8 daily commuter that has been driven to work, parked (in the wrong places) and driven home again each night. The result is not a bad car with low KM’s for it’s age 188,000 kms.

    We plan to take this car from a sorry state to a Mega gloss finish with a clean hydrophobic interior with everything working in sound condition in 7 days. We paid AUS $1500/$US1200 for the car.

    Our objective is to sell it for AUS$4500/US$4000 with 12 months Australian registration included.

    Day 1

    The purchase and then the assessment. Car was bought from a foreign student who’s tenure was completed in Australia and it was time to return home. We washed the car with Mega Gloss car wash so we could do an assessment of what is needed to achieve out goals.

    Things wrong.

    1. Hood lining separated ( a common problem for German cars in hot climates)
    2. Many small dents
    3. Scuff marks on the front Bumper
    4. Swirl marks on every painted surface
    5. Dull paintwork
    6. Body plastic trims loose and hanging down
    7. Very dirty seat fabric and luggage areas
    8. Bump strips on doors peeling
    9. Rims have excessive brake dust build up
    10. Engine bay very dirty
    11. Headlights are hazy
    12. Glove box hinge broken
    13. CD cover missing
    14. Not registered for road use
    15. ABS light on and a clunk when applying brakes. (sounds like a loose brake calliper and on checking there are new brake pads so this is possible)
    16. 2 x tyres needed

    Things needed

    1. NDG products
    2. Mega Gloss wash
    3. Shield 120
    4. NDG Hyperseal
    5. NDG Clay Bar
    6. NDG instant detailer
    7. NDG Genesis Compound & Polish
    8. NDG Extreme Hydrophobic Shield (For all wheel rims)
    9. NDG Fabcare
    10. Bio Crystal Magic cleaner
    11. Engine lacquer
    12. NDG Long life tyre shine
    13. Audi touch-up paint
    14. 1200 emery & sanding block
    15. Paintless dent removal equipment
    16. CD cover
    17. Plastic adhesive
    18. New hood lining material
    19. Trim glue
    20. 2 tyres
    21. Registration

    Day 2

    1. Firstly to find out what that noise is when braking.
    2. Count the number of small dents in the paintwork and arrange the paintless dent removal tools
    3. Reattach plastic trim pieces
    4. Repair glovebox hinge
    5. Clean engine bay
    6. Order hoodlining trim (possible a change of colour to black)
    7. Remove all wheels and clean rims and apply NDG Extreme Hydrophobic Shield
    8. Remove seats for cleaning and NDG Fabcare treatment
    9. Clean Carpet and apply NDG Fabcare
    10. Apply NDG Shield 120 to all glass surfaces
    11. Start the paint restoration process

    Day 3

    After a morning at a photoshoot with the Barn Yard rescue Mercedes which was invited to attend the official photoshoot for the reopening of a Drive-in theatre after 33 years of abandonment. (just a one off event) it was back to theDaily Ride Rescue Audi.

    Work completed:

    1. Paint correction and colour coded touch-ups.
    2. Re-apply underbody paint to doorsills
    3. Re-buff the bodywork with Rotary machine and waffle pad
    4. Vacuumed interior
    5. Repaired plastic trims
    6. Cleaned all door trims

    Day 4.

    Getting closer to finishing you always need to ask yourself it you are putting too much into the project. In this case probably the answer in “Yes” but the results we are getting from this A3 are excellent. We did remove the Headlights and repaired a broken mounting tab and cleaned lenses and reflectors which always gives a car that new look. Now the remaining jobs are Re-trim the hood-lining and to remove the remaining small dents.

    Work completed:

    1. Restoration of headlights
    2. Removed tape holding down re-glued trims
    3. Vacuum the car
    4. Repainted the battery clamp

    Day 5.

    The new RH lower control arm arrived and was fitted without any issue. The car has been taken by a journalist who it driving it until the headlining material arrives where the interior will be removed and seats will be cleaned and coated in NDG Fabcare while the headlining is being re-trimmed. If we have enough material left we will also trim the door and side panel inserts. We took the car for a drive to settle in the suspension and check for any noises. We got a nice video of NDG Shield120 in action. The remaining dents will be removed on the final day of the work. This is turning out to be a nice car.

    Work completed:


    1. Lower control arm fitted
    2. Smaller dents removed

    Day 6:

    Now the hard part of this rescue project. Replace and treat the trim with NDG Fabcare. First we needed to remove the Hood-lining and inserts on the door trim and back seats areas. No-one put their hands up for this job as it there is no fun in doing this work on an older car. clips break and plastic is brittle so a hot glue gun needs to be on hand to repair this inevitable breakages.  But outside of this the replacements went straight forward enough and the car just looks that much better. We all think we did a better job of trim colours than the Audi Factory. We noticed that there was a small coolant leak and on closer inspection saw that an o-ring was leaking so we replaced it. The AC was a bit weak so one of our staff have an AC service license and got that sorted out along with a medium pressure clean of the condenser to improve the temperature drawdown.

    Work completed:

    1. Straighten the steering wheel
    2. Replace the Hoodlining
    3. Replace the door and side panel trim inserts
    4. replace the Temperature sensor o-ring
    5. Service AC system.


                                      Before

    Daily Ride Rescue an Audi A3

                                     After

    Daily Ride Rescue an Audi A3

    The End result is that we all like this car and if it wasn’t a project car we would keep it.  It turned out great!.  Maybe we put too much effort into is car but it was a case of everything we did just made it a nicer car. Now to sell it to someone who will enjoy it.

    Project Daily ride rescue completed, SOLD and delivered.


    Copyright ©2016 Nano DG Singapore Pte Ltd. All Rights Reserved

    This function has been disabled for NDG PRODUCTS.